 Pin it
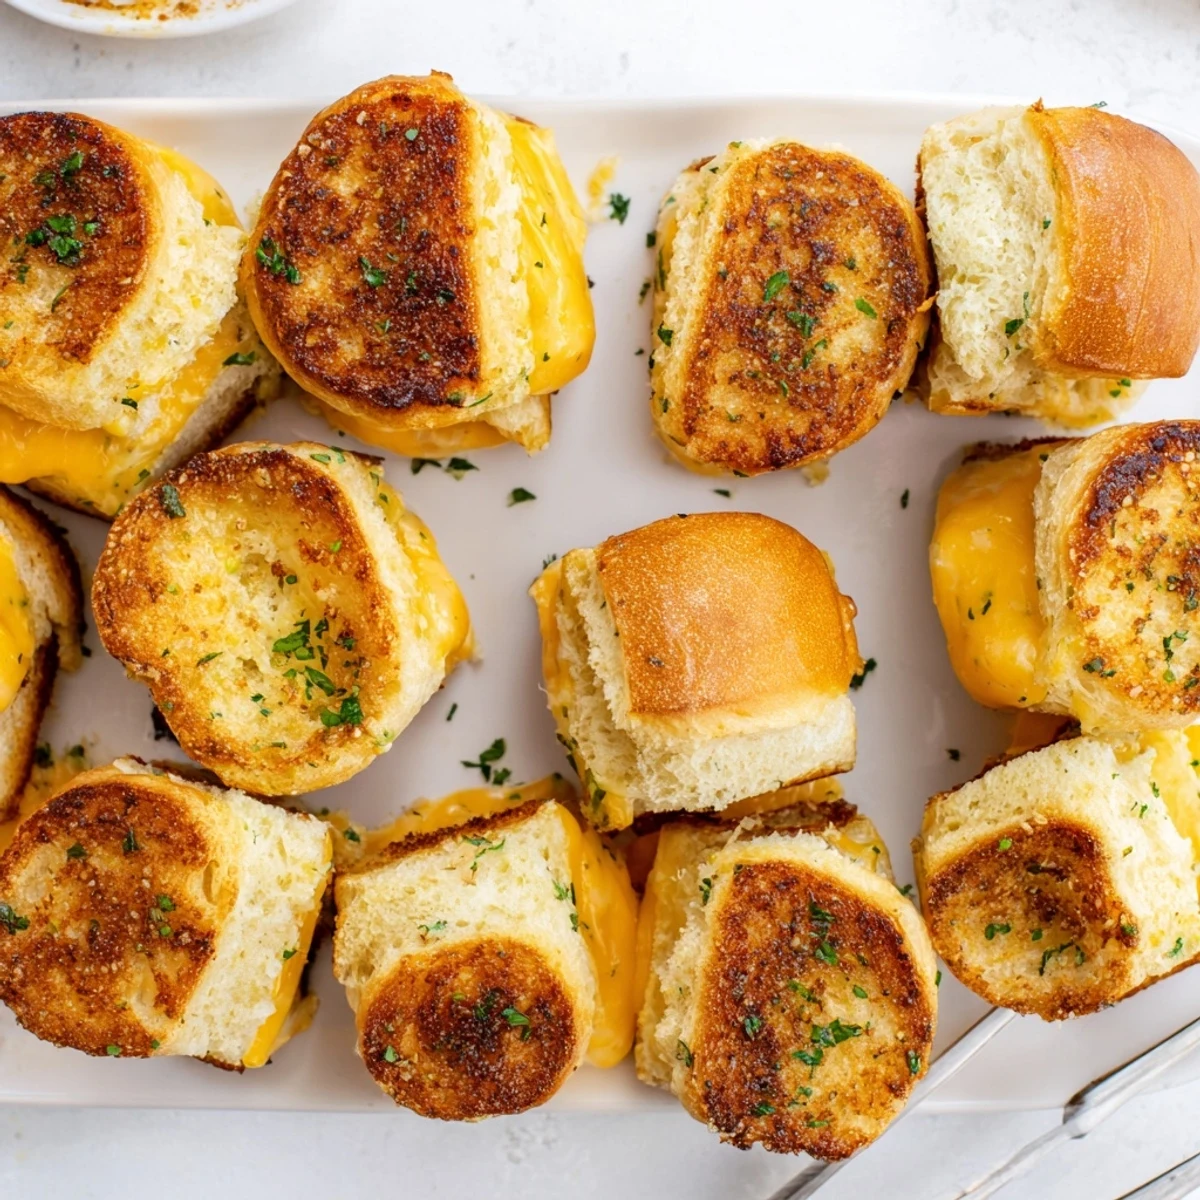
 These bite-sized sliders feature soft Hawaiian rolls piled with cheddar cheese and brushed with seasoned garlic butter. The rolls stay connected while baking, creating an easy-to-serve party appetizer that feeds a crowd. After 15 minutes in the oven, the cheese melts into gooey perfection while the tops turn beautifully golden brown.
The sweet Hawaiian bread balances perfectly with savory melted cheese and buttery garlic topping. Slice into individual portions and serve warm alongside tomato soup or as standalone finger food.
The smell of sweet Hawaiian rolls toasting in the oven hits differently on a gray Tuesday afternoon. I discovered these mini grilled cheeses during a party prep emergency when I needed something that felt special but wouldn't keep me trapped in the kitchen away from my guests. They vanished in seven minutes flat, and I've been making them for everything from movie nights to unexpected company ever since.
Last summer my niece asked if I could make something 'fun but not too weird' for her birthday gathering. I doubled this recipe and arranged them on a wooden board with some pickle spears on the side, watching three generations fight over the last ones. Something about miniature food makes everything taste better, and these sliders hit that perfect nostalgic note while still feeling like a treat.
Ingredients
- 12 Hawaiian rolls: The sweetness in these rolls creates this incredible balance with sharp cheddar that regular sandwich bread just cannot achieve
- 12 slices cheddar cheese: Cheddar melts into that perfect gooey pull apart consistency though Ive also used pepper jack for friends who like a little kick
- 4 tablespoons unsalted butter melted: Real butter makes the tops turn this gorgeous golden brown that gets everyone asking whats in the oven
- 1 teaspoon garlic powder: This subtle savory note cuts through the sweetness and makes them taste like something special
- 1 teaspoon dried parsley optional: Mostly for that pretty green speckle on top but it adds a tiny fresh herbal note too
- 1/4 teaspoon salt: Just enough to enhance all the flavors without making them taste salty
Instructions
- Preheat and prep:
- Get your oven to 350°F and grab a baking dish that fits all 12 rolls snugly together
- Split the rolls:
- Cut through the entire package of rolls horizontally at once so they stay connected as one big rectangle
- Layer the cheese:
- Place the bottom halves in your baking dish and drape a slice of cheese over each roll letting them overlap slightly
- Reassemble:
- Set the tops back on creating one continuous sandwich slab
- Make the butter mixture:
- Whisk together melted butter garlic powder parsley and salt in a small bowl until combined
- Brush generously:
- Use a pastry brush to coat every inch of the roll tops with that seasoned butter
- Bake until golden:
- Slide into the oven for 12 to 15 minutes until the cheese has completely melted and the tops are deeply browned
- Separate and serve:
- Let them cool for just a couple minutes then cut between the rolls to separate them into individual sandwiches
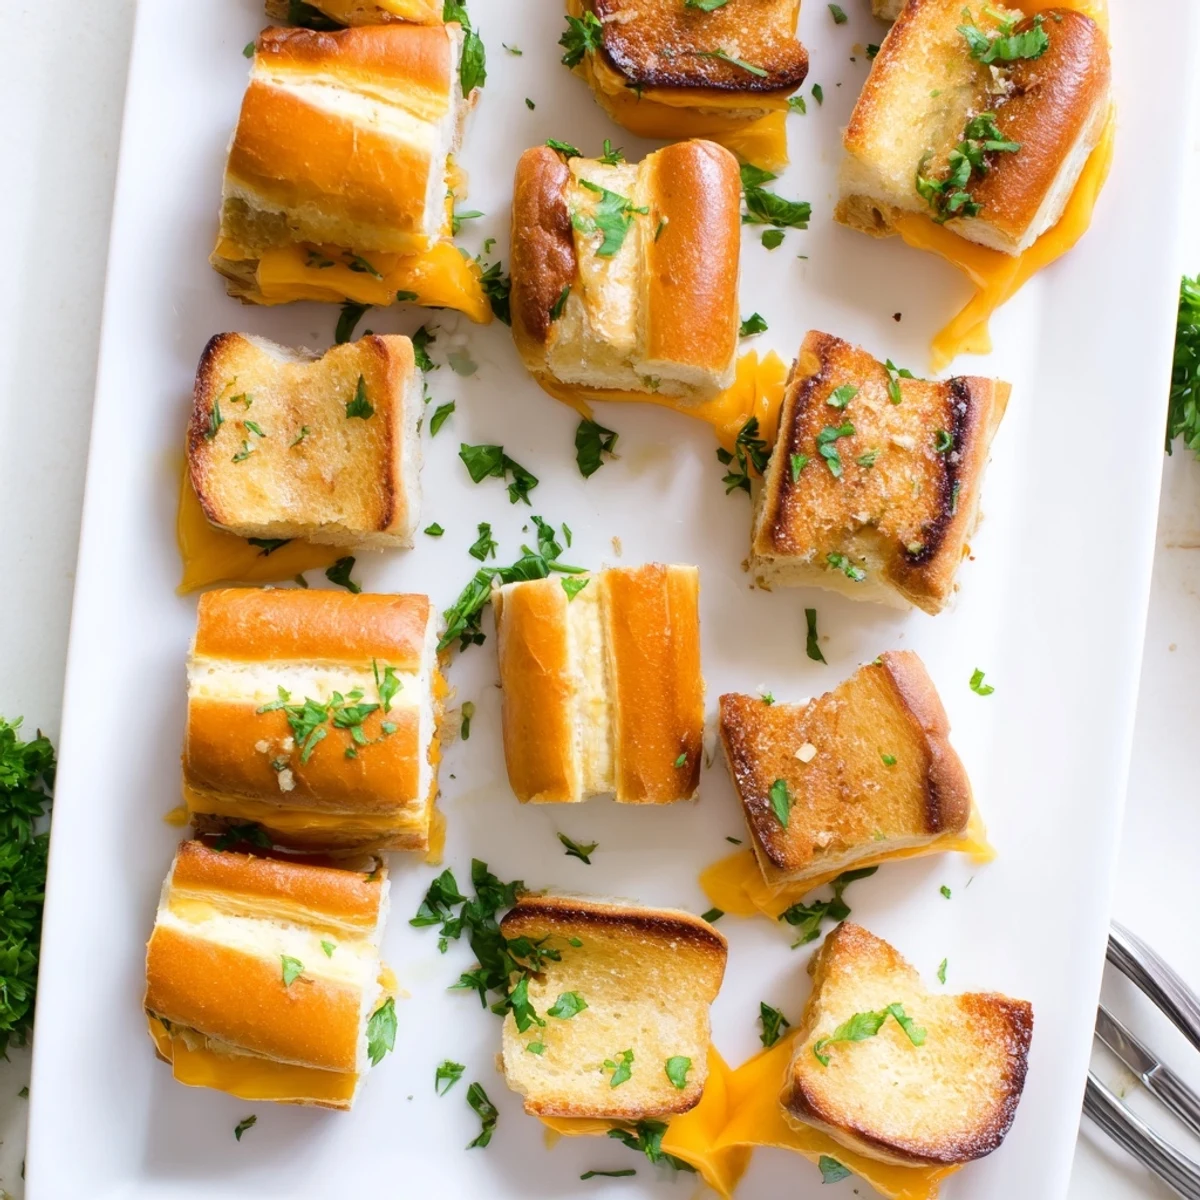
 Pin it
 My friend Sarah confessed she eats these standing over the counter right out of the oven before they even make it to a serving plate. I started keeping a secret batch just for myself on lazy Sunday afternoons when the house is quiet and I want something warm and comforting without the fuss of a full meal.
Making Them Your Own
The beauty of this recipe is how easily it adapts to whatever you have in the fridge. Thin tomato slices add this bright acidity that cuts through all the richness, and a layer of ham or turkey transforms them into a proper meal.
Cheese Selection
Cheddar is classic but gruyere brings this incredible nutty depth, while mozzarella makes them extra kid friendly with that mild milky flavor. Sometimes I mix two cheeses for a more complex taste that keeps people guessing.
Serving Suggestions
A warm bowl of tomato soup alongside turns these into dinner instead of just appetizers. They also pair beautifully with a crisp green salad dressed simply with vinaigrette.
- Set out some pickles or cornichons for a tangy contrast
- Cut them into quarters for cocktail party portions
- Keep them warm in a low oven if you are serving a buffet
 Pin it
 There is something undeniably happy about food that comes in miniature form, especially when it involves melted cheese and golden bread. Hope these little sliders bring as much joy to your table as they have to mine.
Recipe Q&A
- → Can I prepare these ahead of time?
-
Assemble the sliders up to 24 hours in advance, cover tightly, and refrigerate. Add the garlic butter just before baking for best results.
- → What other cheeses work well?
-
Mozzarella creates extra stretch, Swiss adds nutty flavor, provolone melts beautifully, or mix multiple varieties for complex taste.
- → How do I store leftovers?
-
Keep refrigerated in an airtight container for up to 3 days. Reheat in a 350°F oven for 5-7 minutes to restore crispness.
- → Can I add meat to make them heartier?
-
Layer thin slices of ham, turkey, or cooked bacon between the cheese and bread before baking for protein-packed sliders.
- → Why keep the rolls connected during baking?
-
Baking them together helps retain moisture, prevents individual rolls from drying out, and creates an impressive presentation for serving.
- → What pairs well with these sliders?
-
Tomato soup makes a classic dipping combination, or serve alongside vegetable platters, potato salad, and other party finger foods.