 Pin it
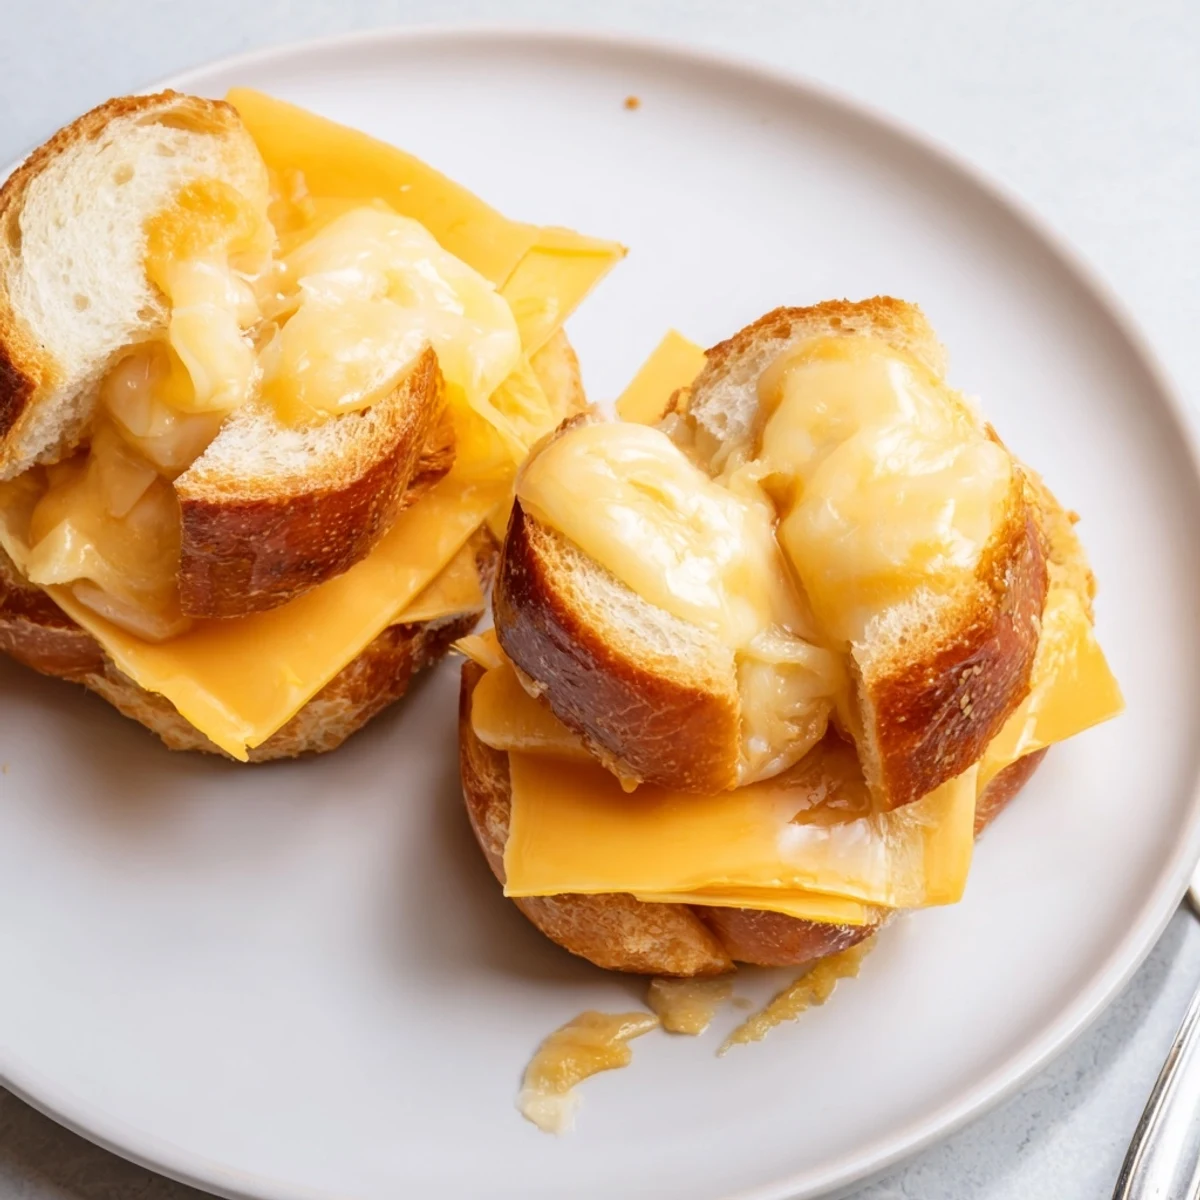
 These bite-sized grilled cheese sliders start with a full pack of Hawaiian sweet rolls split horizontally, layered with sliced cheddar and optional ham, then topped and brushed with a melted butter, mustard and honey glaze. Bake at 350°F for 10–15 minutes until cheese is melted and tops are golden. Let rest 2 minutes, cut into 12 mini sandwiches and serve warm. Swap cheeses, add caramelized onions or bacon for extra depth.
There’s something about the scent of melting cheese mingling with the gentle sweetness of Hawaiian rolls that instantly brightens a drizzly afternoon. I once made these mini grilled cheese sandwiches on a whim, when my neighbor popped over for coffee and lingered just a little past lunchtime—neither of us wanted to settle for a plain snack. The sound of the knife slicing cleanly through soft rolls and the satisfying sizzle as butter met the oven always makes my kitchen feel extra inviting. These tiny sandwiches proved, within minutes, that comfort can indeed come in bite-sized packages.
One rainy Saturday, these minis became the highlight of a board game night—everyone circled back to the kitchen for seconds between rounds of laughter and cards. I ended up standing by the oven, slicing each golden square, and realizing there’s genuine joy in feeding a crowd with almost no fuss. Now, any excuse—birthday, brunch, or surprise visitor—is reason to whip up a tray.
Ingredients
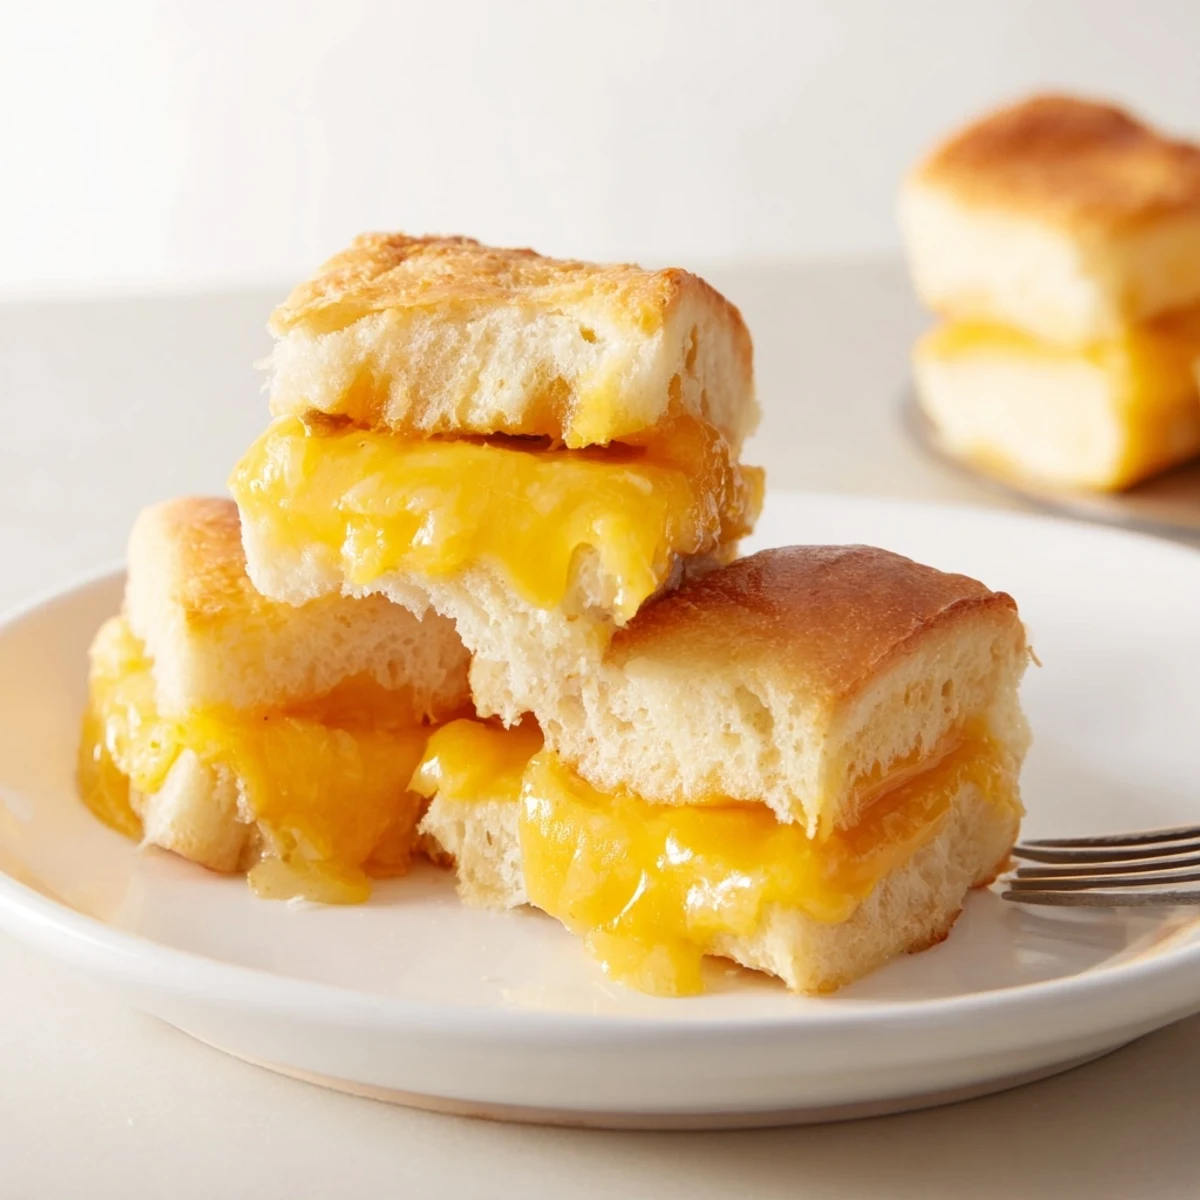
- Hawaiian sweet rolls: Their pillowy texture and subtle sweetness bring a playful twist to traditional grilled cheese, and separating the block after baking gives every piece a soft edge.
- Sliced cheddar cheese: It melts beautifully and holds together each mini sandwich, but I’ve learned that layering slices rather than shreds keeps the filling neat.
- Unsalted butter (melted): Brushing the tops generously helps the rolls bake up golden and crisp without overpowering the delicate flavors.
- Deli ham or turkey (optional): For non-vegetarian guests, a little salty meat tucked inside adds heartiness (just be sure not to overstuff).
- Dijon or yellow mustard (optional): Mixing this into the butter creates a subtle tang that wakes up every bite.
- Honey (optional): A drizzle in the butter mixture makes the tops caramelize to glossy perfection.
- Garlic powder (optional): A light dusting before baking is a quick hack for extra savory punch.
Instructions
- Get your oven ready:
- Preheat to 350°F (175°C) and line a baking sheet with parchment paper—no sticking, no mess.
- Slice in one swoop:
- Keep the rolls connected and carefully run a serrated knife horizontally to split into a tidy top and bottom, a trick I wish I’d known sooner.
- Layer and stack:
- Place the bottom half on your baking sheet, then blanket them in cheddar; if you’re adding ham or turkey, lay it right over the cheese for an easy melt.
- Seal the deal:
- Set the top half over your filled rolls and press gently so everything tucks in neatly.
- Mix and brush the magic:
- Stir melted butter with mustard, honey, and garlic powder if you’d like, and brush liberally across the tops—the more thorough, the prettier the crust.
- Bake until irresistible:
- Slide the tray into the oven and bake 10–15 minutes, watching for bubbling cheese and golden tops; sometimes the aroma alone tells you it’s ready.
- Cool and cut:
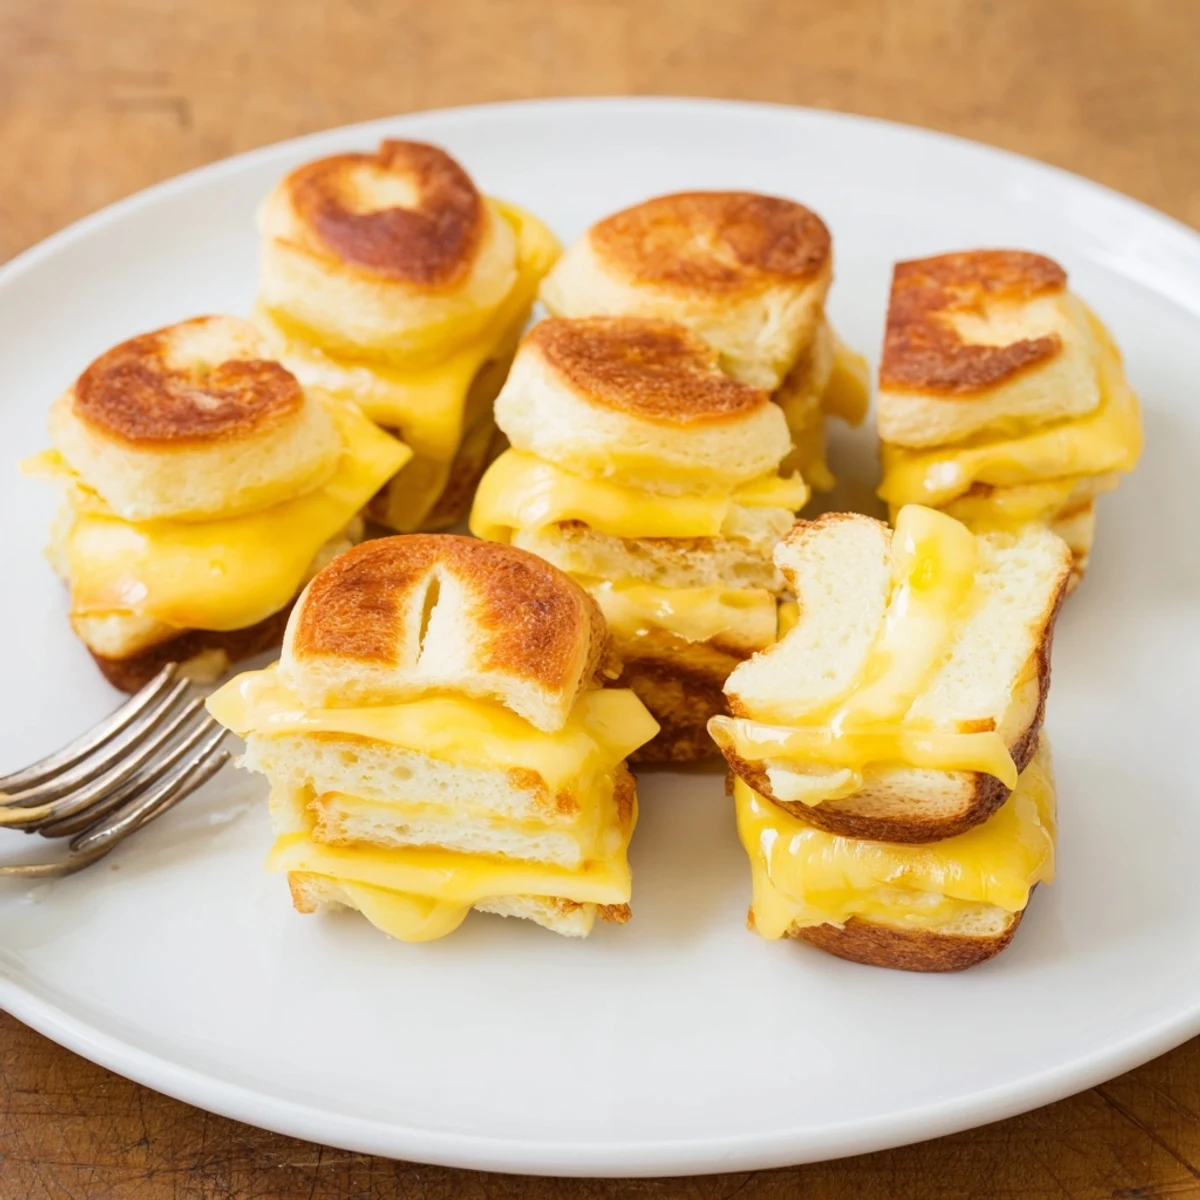
- Let rest a couple minutes, then slice between the rolls to create perfect bite-sized sandwiches ready to serve warm.
 Pin it
 There was a moment—quiet, right after cleaning up—when someone plucked the last mini sandwich from the tray and called dibs. We all laughed, and it struck me how these little melts became so much more than just a snack—they turned an ordinary get-together into an event worth remembering.
Cheese Choices and Custom Swaps
If I get bored with cheddar, a quick rummage through my fridge leads to some great combos: Swiss for gentle tang, pepper jack when I want a kick. Swapping in different cheeses keeps the recipe fresh and lets me use up whatever is on hand without fuss.
Making Them Ahead for Parties
I’ve learned these are ideal for prepping just before guests arrive since they reheat well and taste freshly baked if popped back in the oven for a couple of minutes. Building the rolls in advance means I can actually relax when company steps through the door.
Small Kitchen Wins: Favorite Tricks
Spreading the butter mixture right up to every corner ensures that gorgeous gloss and crunch, and adding a sprinkle of garlic powder at the last minute makes them smell extra enticing—my kitchen always gets compliments. Patience pays off, too: cooling just a couple minutes before cutting keeps the filling neatly tucked inside.
- Keep the cuts gentle to avoid squishing the filling.
- For vegetarian friends, skip deli meat and double up on cheese for gooey perfection.
- Don’t forget to check the labels on rolls if you’re serving anyone with allergies.
 Pin it
 These mini grilled cheese Hawaiian rolls never fail to deliver instant smiles around my table. I hope you enjoy every golden, gooey morsel as much as we do!
Recipe Q&A
- → How do I prevent soggy bottoms?
-
Keep fillings minimal and avoid wet ingredients directly on the bottom half. Bake on a parchment-lined sheet so air circulates and the bottoms stay slightly crisp. Let the tray cool a minute before cutting.
- → What cheeses work best?
-
Cheddar gives classic flavor and melt; Swiss and provolone add nuttiness, while pepper jack brings a kick. Use sliced cheeses for even melting and layer thinly for good coverage.
- → Can I make these ahead of time?
-
Assemble and keep unbaked in the fridge for up to a day; brush with butter mix just before baking. Reheat baked sliders in a low oven to preserve texture rather than microwaving.
- → How can I adapt baking for convection ovens?
-
Reduce the temperature by 15–25°F and check at the earlier end of the time range. Convection circulates heat more evenly, so tops may brown faster—cover loosely with foil if needed.
- → Any suggestions for savory or sweet variations?
-
For savory, add caramelized onions, cooked bacon, or sliced tomato. For a touch of sweetness, brush tops with honey-butter or swap ham for a sweet-cured variety to complement the rolls.
- → Are these suitable for freezing?
-
You can freeze fully cooled, baked sliders wrapped tightly for up to a month. Reheat from frozen in a moderate oven until heated through to retain texture.