 Pin it
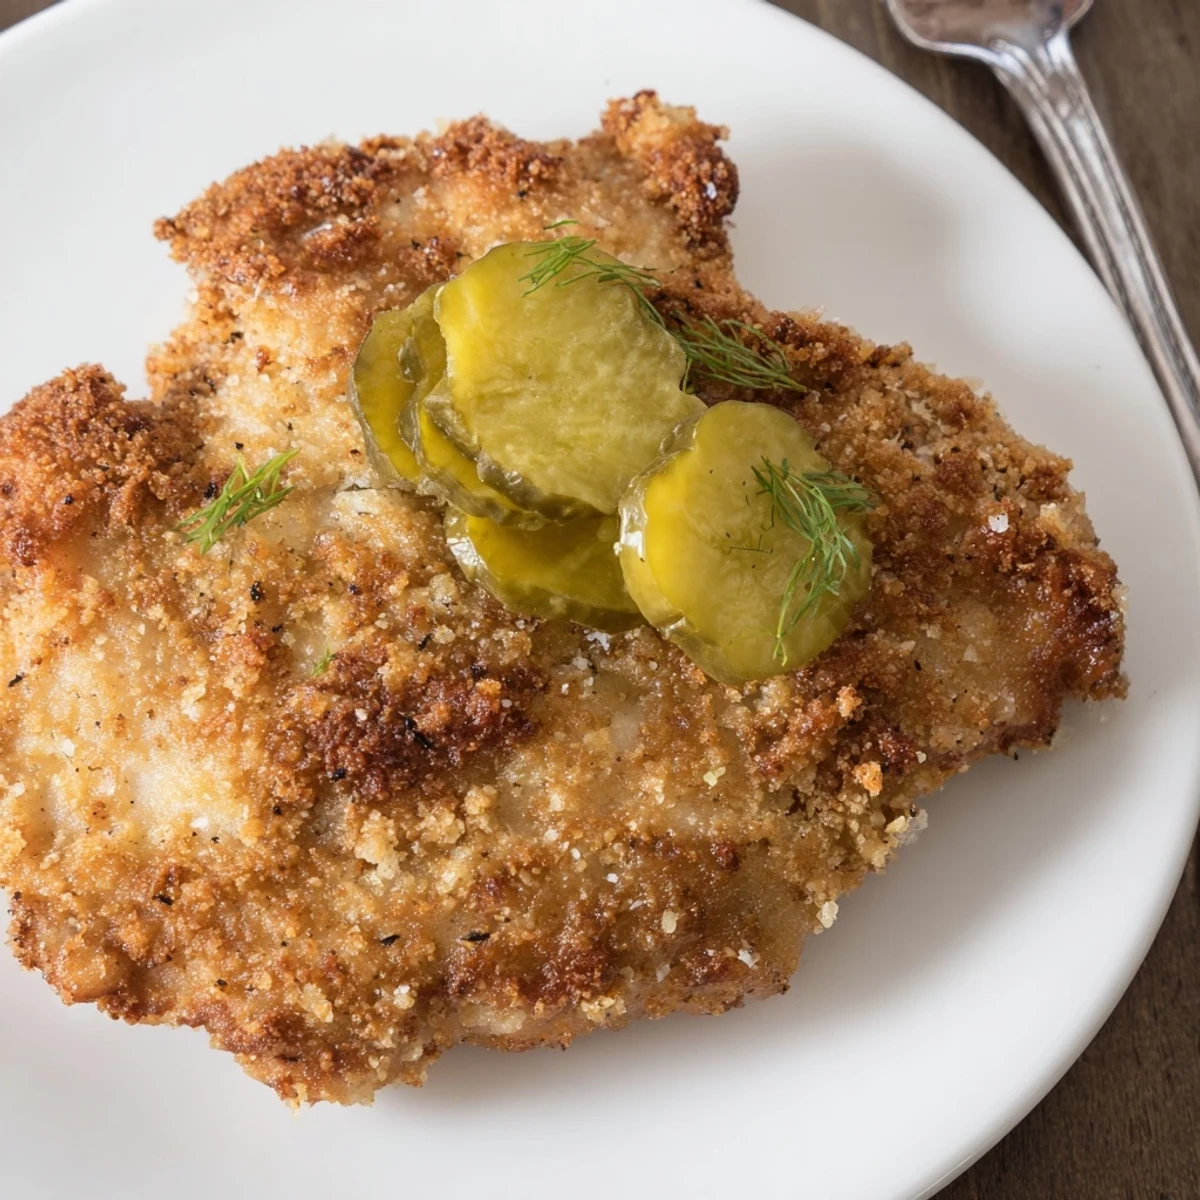
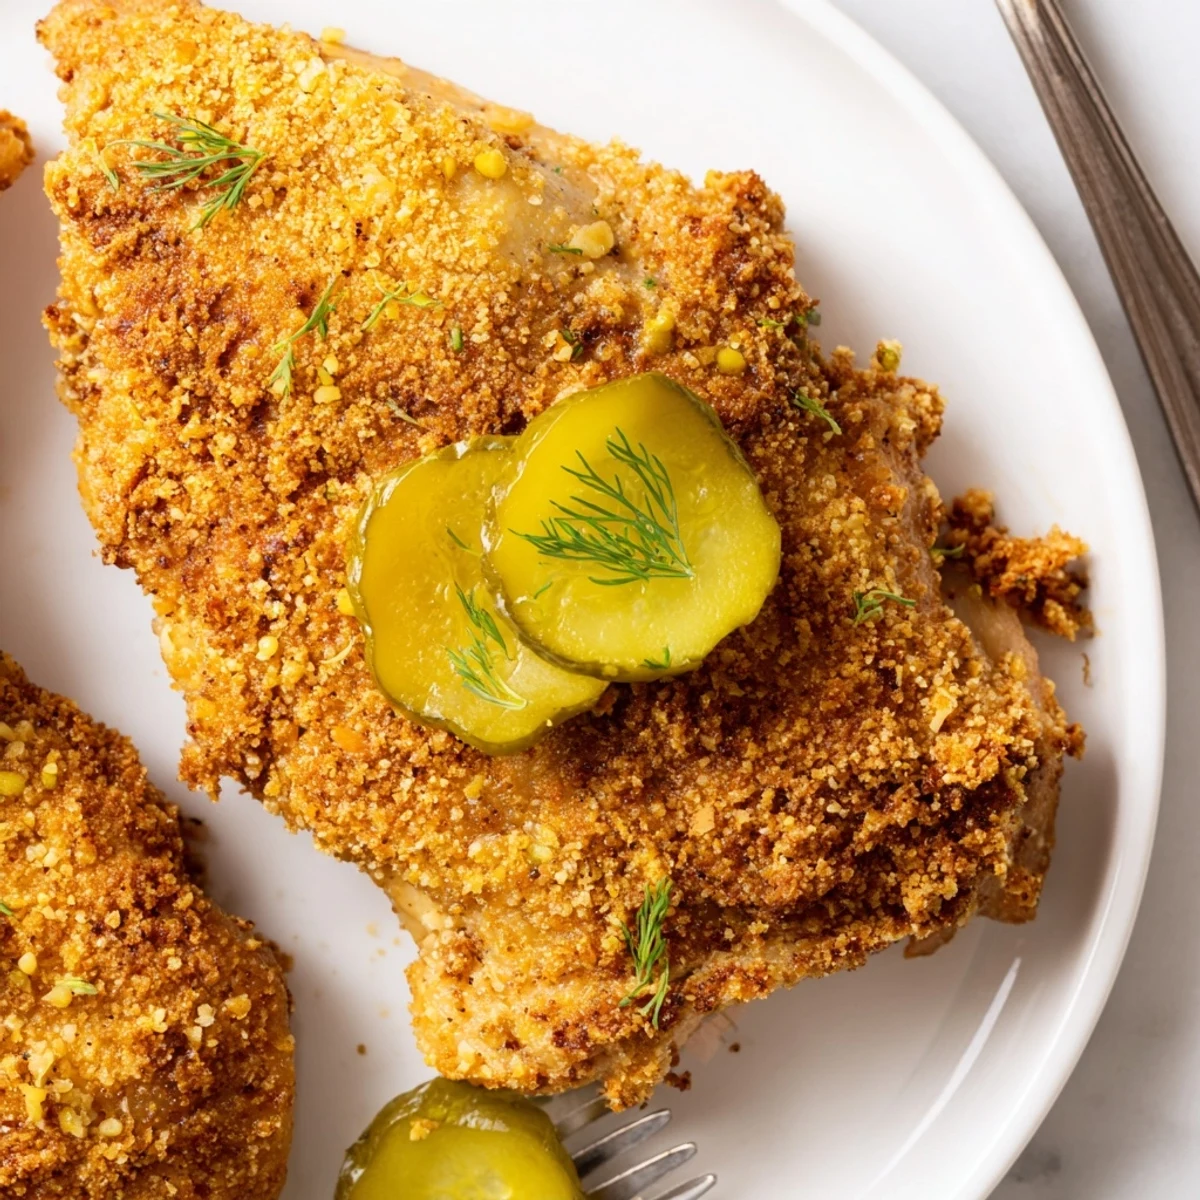
 Marinate boneless chicken in dill pickle juice with chopped pickles and garlic powder for 1–12 hours to build bright, tangy flavor. Pat pieces dry, dredge in seasoned flour, dip in egg wash, then press in panko for a sturdy, crunchy crust. Fry in ½ inch vegetable oil 4–6 minutes per side until 165°F, then drain on a wire rack. Finishes with extra pickles or fresh dill; swap gluten-free flour and crumbs or add cayenne for heat.
The first time my kitchen filled with the sharp tang of dill pickle brine swirling around sizzling chicken, I realized I might be onto something. There’s a snap and sizzle as the breaded thighs hit hot oil, making the neighbors curious (at least, I pretend that’s why they leaned over the fence). This is one of those recipes that surprises with every bite: familiar, fun, and just left of ordinary. Sometimes, cooking is a chance to play, and this dish is proof you don’t need a special occasion—just a jar of pickles and a little curiosity.
I once made this for a backyard movie night, the kind where everyone brings lawn chairs and ends up eating with their hands. I watched two teens argue over the last piece, then split it in a burst of laughter—turns out pickle juice and a crunchy crust had stolen the spotlight. The kitchen stayed cozy long after the movie ended, just from the heat of the skillet and a few new inside jokes. Cooking, in moments like these, is more about memories than meals.
Ingredients
- Boneless, skinless chicken thighs or breasts: Thighs bring richness, but breasts work great too—just watch that you don’t overcook them and keep them juicy from the brine.
- Dill pickle juice: The secret star, it’s what gives the chicken its unique tang and tenderness; use plenty for overnight soaking if possible.
- Chopped dill pickles: These bits add sneaky pops of flavor inside and on top, plus you’ll want extras for garnish.
- Garlic powder: It sneaks warmth into the marinade without overpowering the pickle brightness.
- All-purpose flour: Forms the foundation of that crispy coating, and helps the craggy bits cling.
- Panko breadcrumbs: Delivers crunch like no other, and I once tried regular breadcrumbs, but panko makes it sing.
- Paprika: For a gentle heat and pretty color, smoked paprika can add a little mystery.
- Onion powder: Rounds out the breading with a mellow savoriness—skip it at your peril.
- Salt & black pepper: Always taste the flour mixture before dredging, just to be sure it’s seasoned enough.
- Large eggs: Essential for making the crunchy breading cling as a robust glue.
- Water: Loosens the eggs just so, ensuring there’s enough to coat every crevice.
- Vegetable oil for frying: Use enough so the chicken doesn’t touch the skillet bottom, but not so much you’re deep-frying; keep it at a lively bubble for best crunch.
Instructions
- Give That Chicken a Bath:
- Slip chicken pieces into a big resealable bag and pour in pickle juice, chopped pickles, and garlic powder. Close it up, massage gently, and let it chill in the fridge from an hour to overnight while you get on with life.
- Mix Up the Crunch:
- In a wide shallow bowl, whisk together the flour, panko crumbs, paprika, onion powder, salt, and pepper—don’t be shy with your hands here to blend it evenly.
- Prep the Egg Wash:
- Crack eggs and beat them with water in a separate shallow bowl until smooth and a little frothy.
- Dredge Like You Mean It:
- Pat the marinated chicken dry (the breading sticks better), then dip each piece into flour mixture, the egg wash, and back into the flour, pressing to ensure a rugged crust.
- Sizzle and Fry:
- Heat a generous glug of oil in a large skillet until it shimmers, then cook the chicken in batches for about 4-6 minutes per side—you’ll know it’s ready when it’s deep golden and smells irresistible.
- Rest and Drain:
- Transfer each finished piece to a wire rack to drain any excess oil, resisting the urge to stack them so the crust stays shatteringly crisp.
- Garnish and Serve:
- Toss a few extra pickles and sprigs of fresh dill on top, then serve piping hot before anyone else gets ideas about leftovers.
 Pin it
 When my brother took one bite and declared this the “official snack of summer,” I knew this was about more than a playful recipe experiment. Now, the scent of frying dill and garlic means everyone gravitates to the kitchen without invitation, which is just how I like it.
How to Make It Your Own
I’ve swapped in spicy bread and butter pickle juice for an amped up version, and even mixed in a little hot sauce straight into the egg wash. Don’t be afraid to add cayenne, use chicken tenders for parties, or tuck pieces into sandwiches for a late-night treat. If you find another twist, let me know—these dishes evolve most with a little bit of curiosity.
Serving Suggestions the Crowd Will Love
Honestly, it’s hard to go wrong with these crunchy cutlets. Slice them over salad, pile into buns with shredded lettuce and extra pickles, or set them alongside potato salad or coleslaw if you’re feeding a group. A crisp pilsner or cold lemonade adds just the right touch to round it out.
Little Fixes That Make a Big Difference
Let the breaded chicken sit on a rack for a few minutes before frying—it helps the crust stick tight. If you’re worried about oil temperature, a test sprinkle of breading should sizzle instantly. And remember, resisting the urge to crowd your skillet keeps everything crisp and golden.
- Quickly double the recipe—these go fast.
- Gluten-free flour and breadcrumbs swap easily for allergies.
- Don’t forget to taste as you go; seasoning makes or breaks the breading.
 Pin it
 Give this pickle-brined chicken its chance to steal the show at your table. No matter how you tweak it, there’s bound to be smiles (and maybe a little bickering over the last crispy piece).
Recipe Q&A
- → How long should the chicken marinate?
-
Marinate between 1 and 12 hours. One hour adds noticeable tang, while several hours deepen flavor. Avoid excessively long acid exposure (over 12–16 hours) to prevent mushy texture.
- → Which cut of chicken works best?
-
Boneless, skinless thighs stay juicier and tolerate longer marinating; breasts are leaner and may need slightly less cook time. Adjust thickness by pounding thicker breasts for even cooking.
- → What oil temperature and technique ensure a crisp crust?
-
Heat about ½ inch vegetable oil over medium-high so it shimmers but doesn't smoke. Fry 4–6 minutes per side depending on thickness; maintain steady heat to brown the panko without burning.
- → How can I make this gluten-free?
-
Use a gluten-free all-purpose flour and certified gluten-free breadcrumbs or panko. Confirm all labels for hidden gluten and proceed with the same dredge and double-coat technique.
- → How do I keep the crust crisp after frying?
-
Transfer fried chicken to a wire rack over a sheet pan to drain and avoid sogginess from trapped oil. Hold in a 200°F oven briefly if needed, and avoid stacking pieces.
- → Can I bake instead of frying?
-
Yes. Brush or spray the coated chicken with oil and bake on a wire rack at 425°F for about 18–25 minutes, flipping once, until the internal temperature reaches 165°F and the crust is golden.