 Pin it
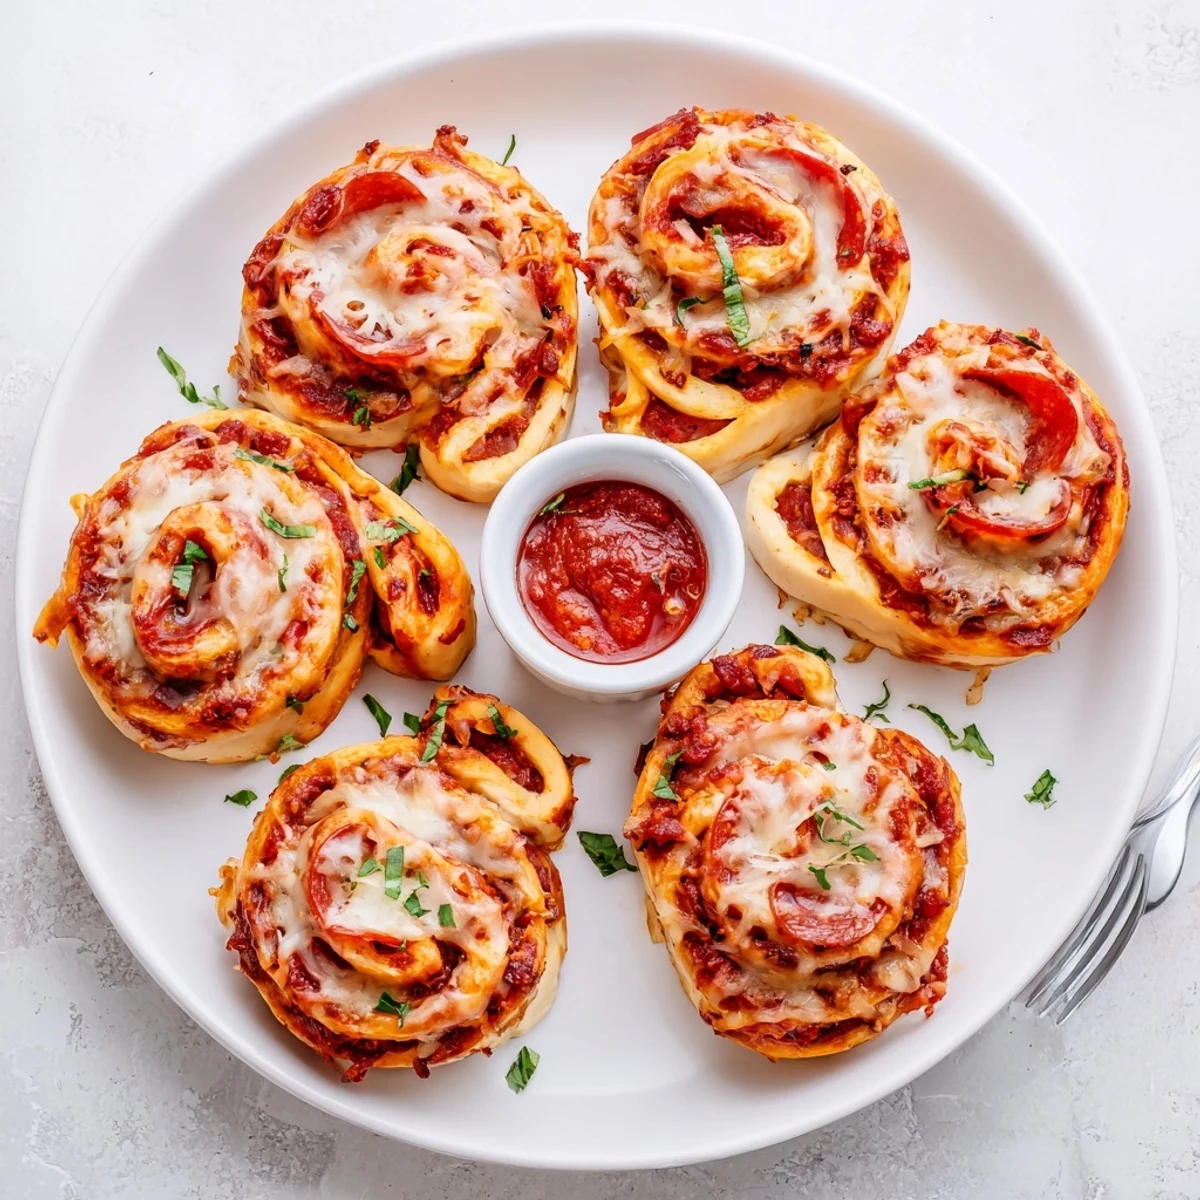
 These golden, cheesy roll ups layer seasoned ground beef, spicy pepperoni and a mix of mozzarella and Parmesan inside refrigerated pizza dough. Brown the beef with garlic and Italian herbs, spread sauce over the dough, add fillings, roll tight and slice into eight pieces. Brush with olive oil and bake at 200°C (400°F) for 12–15 minutes until bubbly and golden. Cool briefly, garnish and serve with extra sauce for dipping.
The sizzle of beef hitting the skillet often reminds me of late-night cravings after studying, when snacks needed to be both comforting and easy. These Cheesy Beef Pepperoni Pizza Roll Ups were born out of an impromptu kitchen experiment, looking for something cheesy yet finger-friendly. There was no special occasion, just a sudden urge for party food without actually throwing a party. The smell alone is enough to make anyone linger by the oven.
I once made an entire batch for a Saturday board game night, thinking eight would be far too many. Little did I know, friends would wander into the kitchen, lured by the scent, and it became a team effort to roll the dough and sneak pepperoni slices.
Ingredients
- Ground beef: Browning it well makes all the difference in flavor—drain excess fat for rolls that aren’t greasy.
- Pepperoni: I always layer them so every bite gets just enough spicy kick; thick slices can make rolling tricky though.
- Mozzarella cheese: Go for pre-shredded if you’re rushed, but freshly grated melts a bit dreamier.
- Parmesan cheese: Adds that punchy, salty finish—don’t skip it if you like sharp flavors.
- Refrigerated pizza dough: This shortcut saves time and rolls beautifully; letting it rest a few minutes makes it easier to stretch.
- Pizza sauce: Spread thinly to avoid soggy bottoms, but don’t leave out extra for dipping!
- Dried Italian herbs: Sprinkle over the beef for a herby aroma—your kitchen will smell like a pizzeria.
- Garlic powder: Just a bit lifts the beef’s flavor without overpowering.
- Salt and pepper: Taste as you go—pizza dough and cheese are already salty.
- Olive oil: Brushing the tops guarantees that irresistible crisp, golden finish.
- Fresh basil or parsley: If you’re feeling fancy, the bright green finish feels extra special.
Instructions
- Get your oven ready:
- Preheat to 200°C (400°F) and line your baking sheet with parchment paper to prevent sticking.
- Brown the beef:
- Let the beef sizzle until the edges turn crispy, stirring in garlic powder, Italian herbs, salt, and pepper; once done, drain well so the rolls aren’t soggy.
- Roll out the dough:
- Lightly flour the surface, then gently stretch or roll the dough out to a big rectangle—it doesn’t have to be perfect.
- Sauce it up:
- Spread the pizza sauce almost to the edges, inhaling that tomatoey goodness as you work.
- Layer the fillings:
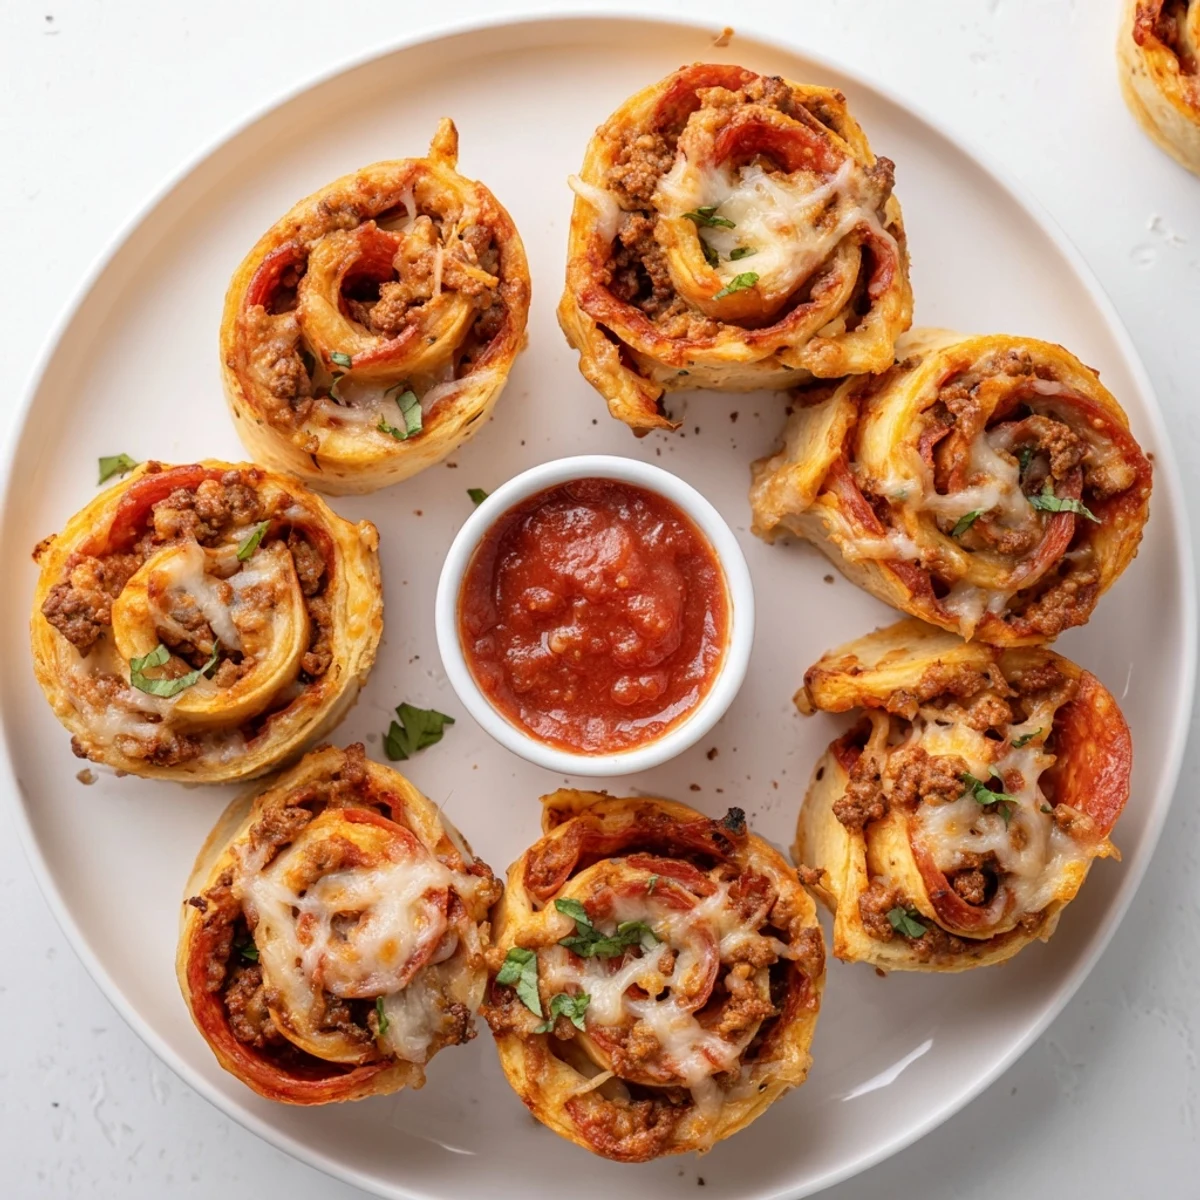
- Scatter the beef, then arrange the pepperoni, finishing with plenty of mozzarella and a good shower of Parmesan.
- Wrap and slice:
- Roll from the long side, tucking as you go for a tight log—pinch the seam closed and slice into eight even spirals.
- Brush and bake:
- Space the rolls cut-side up, brush with olive oil, and slide them into the oven; watch as they turn golden and bubbling after 12–15 minutes.
- Cool and serve:
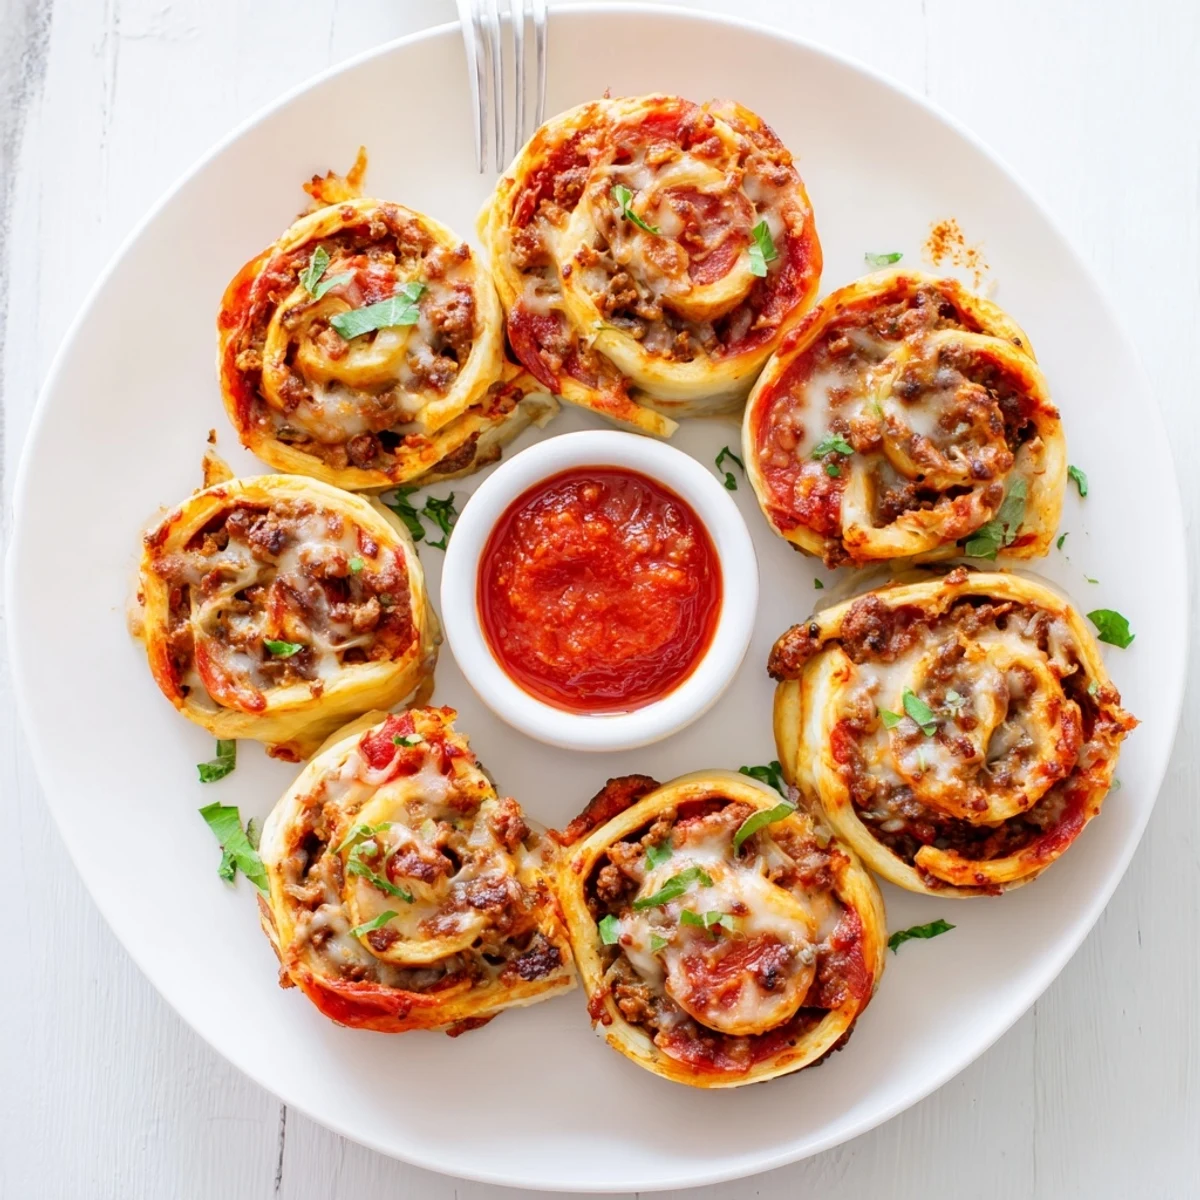
- Let the rolls rest just long enough that you don’t burn your fingers, sprinkle with herbs, and serve alongside extra sauce for dunking.
 Pin it
 One time, I gave a piping hot roll up to my little cousin and watched her eyes go wide at that first stretchy cheese pull—her delighted grin was better than any thank you.
On Snack Time Successes
Keeping a can of pizza dough in the fridge means you’re always just half an hour away from a snack hit. The beauty is that you can prep the beef filling days ahead and assemble in minutes, which rescued many a last-minute hangout for me.
Customizing Your Roll Ups
Sometimes, I sneak in chopped red bell peppers or even a handful of baby spinach for a veggie boost. You can swap the beef for ground chicken, or add chili flakes right into the meat if you like things spicier.
Easy Serving and Storage Ideas
These roll ups disappear fast at parties, but they’re just as delicious warmed up from the freezer on busy school mornings. Just a quick reheat in the oven brings back their crisp edges and melty centers.
- Let them cool completely before freezing.
- Reheat at 180°C (350°F) so they stay crisp.
- Don’t forget extra dipping sauce for maximum joy!
 Pin it
 I hope you enjoy making and sharing these as much as I do—there’s something about melted cheese and pepperoni that brings out everyone’s happiest side.
Recipe Q&A
- → What oven temperature and time work best?
-
Bake at 200°C (400°F) for 12–15 minutes until the tops are golden and cheese is bubbling. Keep an eye on edges to avoid overbrowning.
- → Can I make them ahead and reheat?
-
Yes. Bake completely, cool, then refrigerate for up to 2 days. Recrisp in a 180°C (350°F) oven for 8–10 minutes. For frozen storage, flash-freeze on a tray then transfer to a bag; reheat from frozen at 180°C (350°F) for 15–18 minutes.
- → How do I prevent soggy bottoms?
-
Drain excess fat from the cooked beef and avoid over-saucing the dough—leave a small border. Use a preheated baking sheet or parchment and brush tops with oil for even browning.
- → What are good substitutions for the beef?
-
Swap ground chicken or turkey for a lighter option, or use crumbled cooked sausage for more flavor. For a vegetarian approach, use seasoned mushrooms, sautéed bell peppers and plant-based crumbles.
- → How can I add more heat or flavor?
-
Use spicy pepperoni, fold in chili flakes with the cooked beef, or add a drizzle of hot honey before serving. Fresh basil or parsley brightens the flavors after baking.
- → Any tips for slicing and assembling?
-
Roll the dough tightly and chill the log briefly for cleaner slices. Use a sharp knife and cut in one smooth motion to keep fillings intact; place cut sides up on the sheet for even baking.