 Pin it
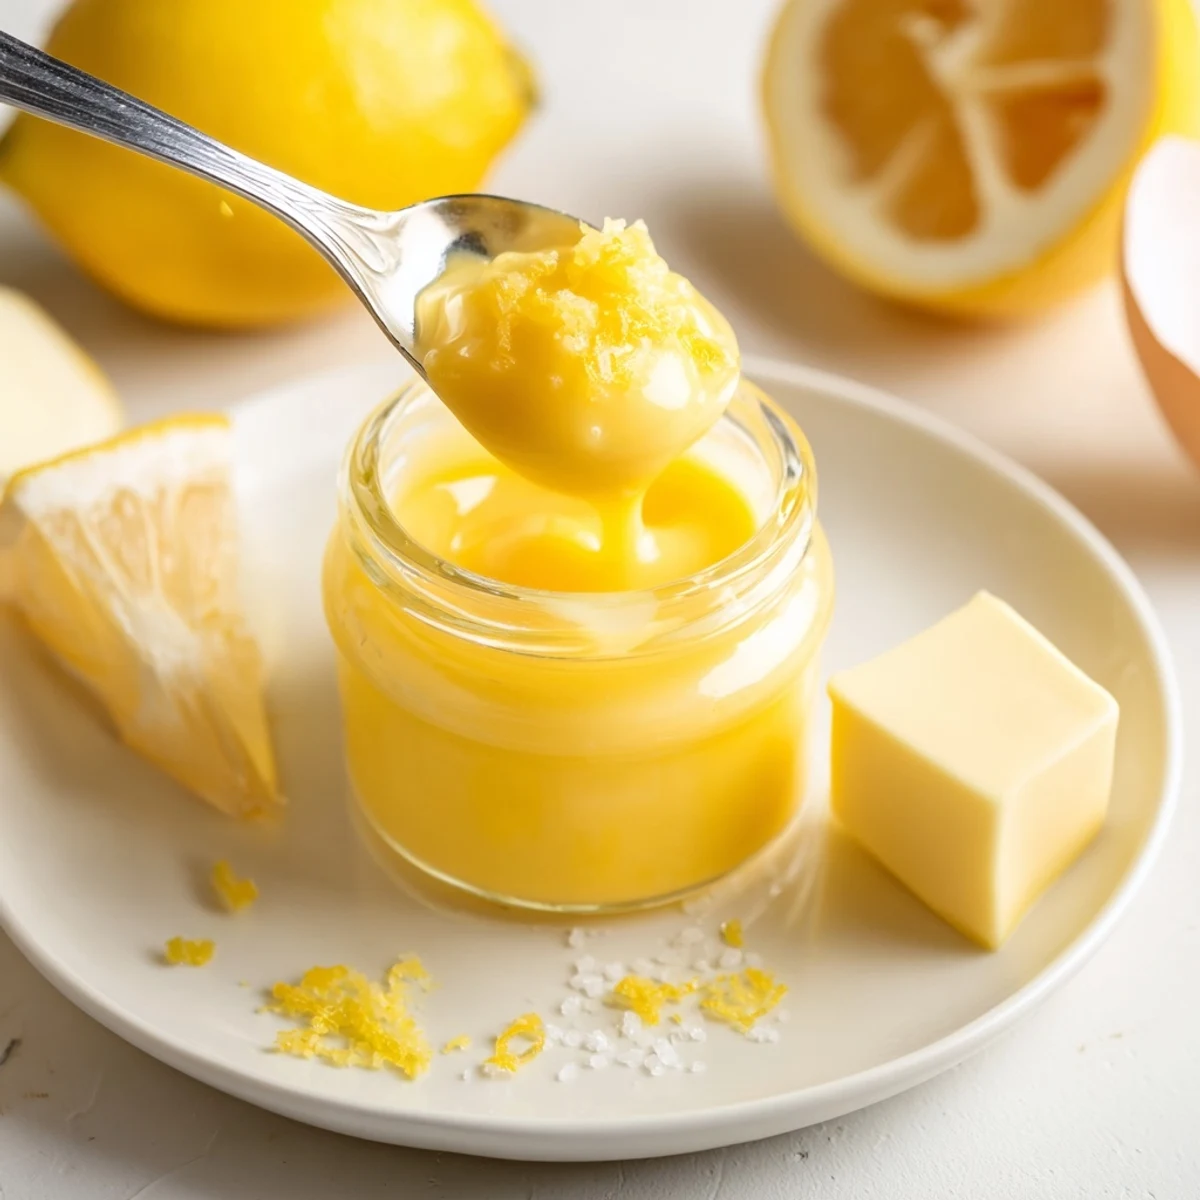
 Bright, silky lemon curd made gently over a double boiler in about 20 minutes. Whisk eggs and sugar, fold in fresh lemon zest and juice, then cook while whisking until the mixture thickly coats a spoon. Remove from heat, whisk in cold butter for a glossy finish, and strain into jars for extra smoothness. Yields roughly 2 cups; chill before using and store up to two weeks. Use as a tart filling, scone spread or swirl into yogurt; for dairy-free swap plant-based butter.
The first time I made lemon curd, the whole kitchen filled with that unmistakable scent of zested lemons, instantly lifting my mood. I wasn't even planning anything special—just a rainy Saturday and too many lemons begging for a purpose. Even now, the satisfying moment when the curd thickens on the stove never fails to make me grin. It somehow always tastes like brighter days.
I remember scrambling to finish a batch of lemon curd when my best friend called to say she was stopping by for tea—it ended up being the highlight of our afternoon, dolloped onto scones between laughter. Ever since, I keep a jar tucked away for such spontaneous moments. There&s real joy in seeing eyes wide with surprise after that first tangy-sweet spoonful. It&s one of those recipes that bring people together, even on an ordinary day.
Ingredients
- 4 large eggs: The eggs create the base for luscious curd, and cracking them into a bowl always reminds me to check for stray shell bits—using room-temperature eggs makes them easier to whisk smooth.
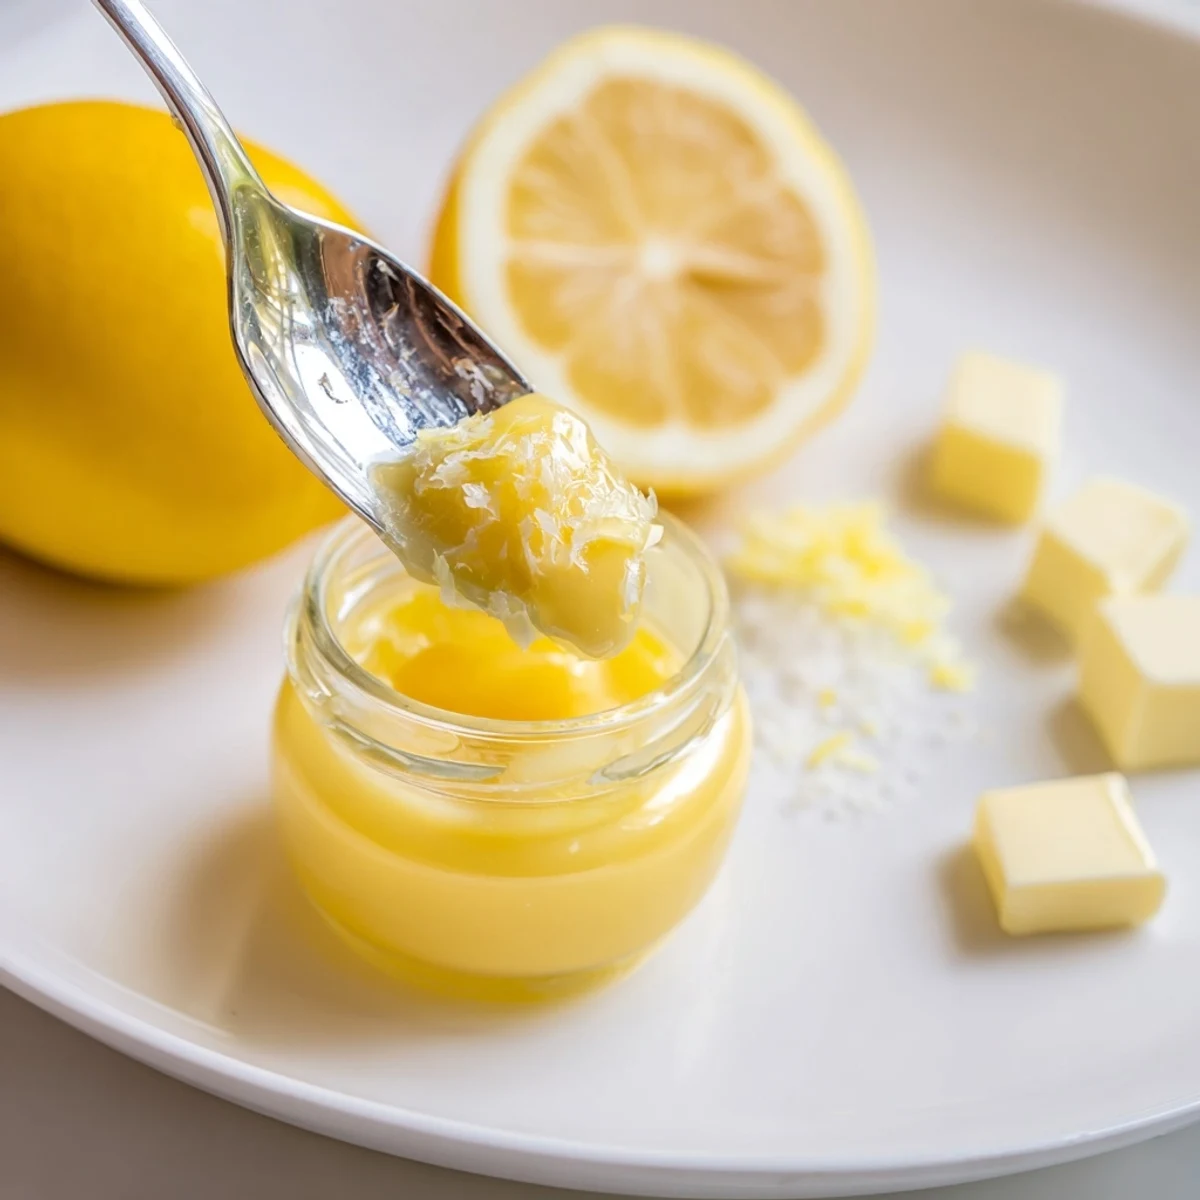
- 4 tablespoons unsalted butter (cubed): Adding the butter at the end brings out that silky texture; I learned to cut it into cubes ahead so it melts quickly without overcooking the curd.
- 3 large lemons (zest and juice; about 1 tablespoon zest, 120 ml juice): Freshly zested lemons are absolutely worth the trouble—the kitchen smells incredible and the flavor is bright and punchy.
- 200 g (1 cup) granulated sugar: Sugar balances the lemon, and after a few tweaks, I found just the right amount to make the curd tangy but not too sharp on the tongue.
Instructions
- Whisk the base:
- In a heatproof bowl, whisk the eggs and sugar together until they&re pale and smooth—you want to feel the sugar dissolve a bit between your fingers.
- Add the citrus:
- Stir in the lemon zest and juice; the mixture will smell fresh and tart, and you might already start to imagine how good this will taste.
- Gently heat:
- Set the bowl over a pan of simmering water (double boiler style), making sure the bowl doesn’t touch the water, and whisk gently and constantly.
- Thicken the curd:
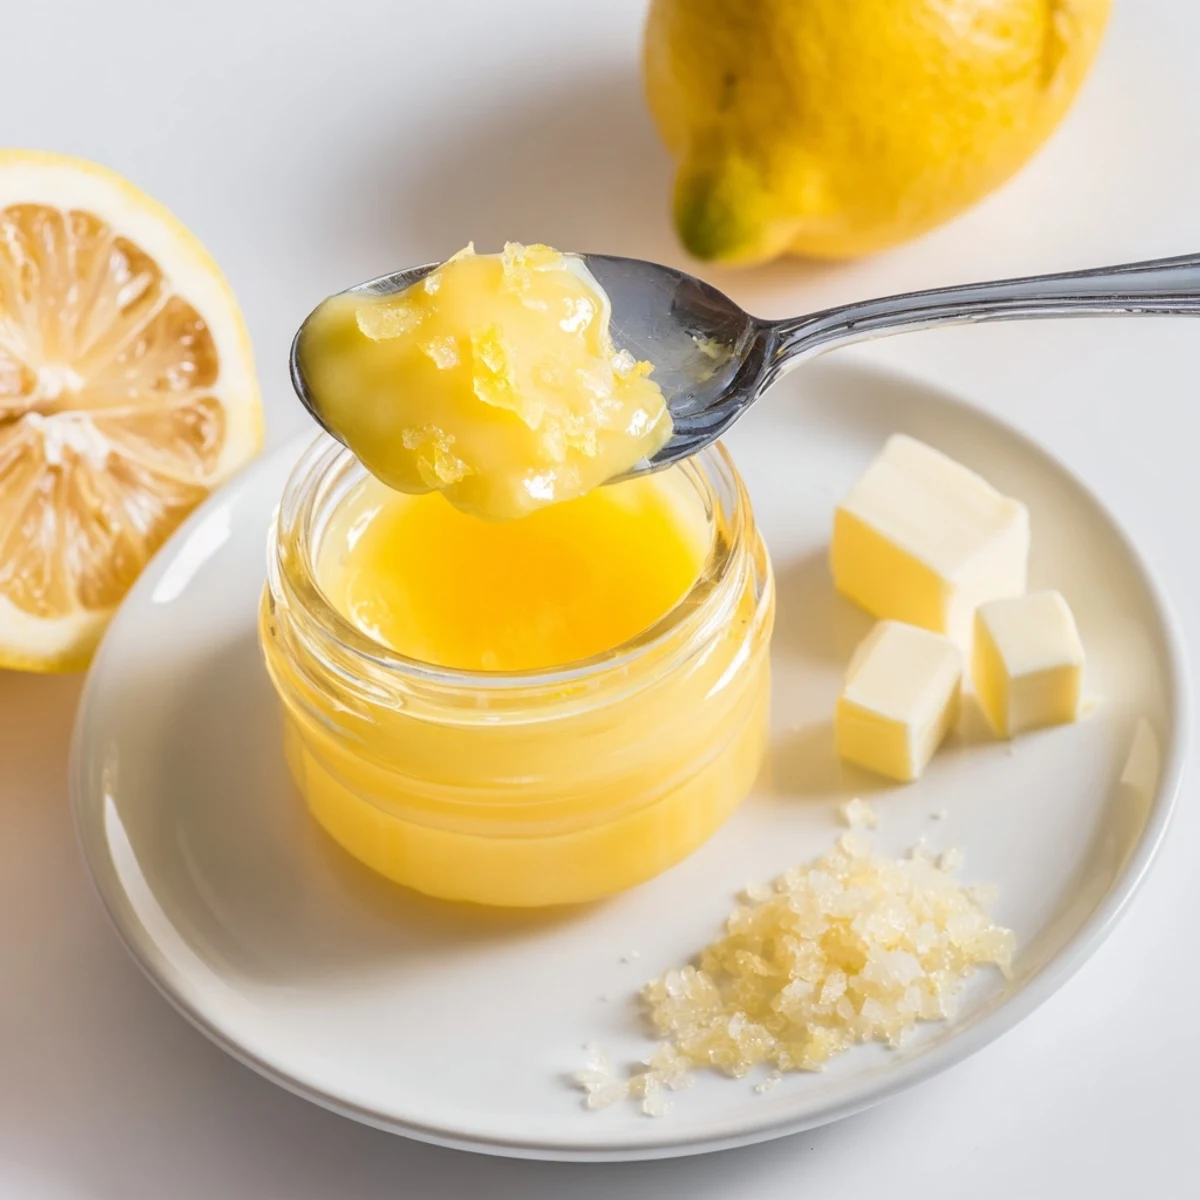
- Keep whisking as the mixture heats; after 8–10 minutes it thickens noticeably, and coating the back of a spoon is your sign it’s ready.
- Incorporate butter:
- Remove the bowl from heat and add butter cubes, whisking until each one melts in and the curd turns glossy and smooth.
- Strain for silkiness:
- Use a fine-mesh sieve to strain the curd into a clean bowl; this step catches any stubborn bits for a truly velvety finish.
- Cool and store:
- Let it cool to room temperature, then transfer to sterilized jars—don’t forget to sneak a taste.
 Pin it
 One afternoon, my niece insisted on licking the whisk, making a sticky, lemony mess that had us both giggling—now it’s our little tradition with every batch. Sometimes these little accidents turn into the sweetest rituals. There&s something special about how a simple jar of curd keeps those shared kitchen moments alive long after the last bite.
Simple Swaps & Serving Ideas
I've played around with this curd more times than I can count—sometimes using plant-based butter for a dairy-free version without anyone even noticing, other times swirling it into yogurt or using it as a tart filling for last-minute dessert flair. It keeps mornings and gatherings equally bright, and the best part is, you can adapt it for what you have on hand. Try pairing it with anything from scones to piped pastries; truly, it’s hard to go wrong.
What Makes It Foolproof
The trickiest part is watching the curd closely while it thickens—if you set a timer and make sure never to step away, you’ll avoid gummy or watery results. I love that as soon as the curd coats a spoon, you know it’s time for the magic finish: whisking in the cold butter for that glossy sheen. Every batch delivers that same happy payoff, even if you’re making it on a whim.
Last Serving Touches
Just before spooning the finished curd into jars, I like to sneak a spoonful while it&s still warm—the flavor is at its brightest. Use this moment to make memories in your kitchen, even if it’s just you and your favorite music on repeat. Trust me, it’s always worth it.
- Store in small jars for easier gifting.
- If you swirl the curd into Greek yogurt, drizzle a little honey on top.
- Don’t forget to label jars with the date—they disappear quickly.
 Pin it
 There&s something magic about transforming simple lemons into something so vibrant and versatile. May every batch spark a little joy in your kitchen too.
Recipe Q&A
- → How can I tell when the curd is done?
-
The curd is ready when it thickly coats the back of a spoon and a line drawn with your finger holds its shape. Continuous whisking over gentle heat helps reach the right thickness without curdling.
- → Can I make the curd dairy-free?
-
Yes. Replace the butter with an equal amount of firm plant-based butter or clarified coconut oil, then finish off the heat for a smooth, dairy-free finish.
- → Should I strain the curd?
-
Straining through a fine-mesh sieve removes any cooked egg bits or zest fragments, yielding an extra-smooth texture. Strain once or twice depending on desired silkiness.
- → How long does it keep in the fridge?
-
Properly sealed in sterilized jars, the curd will keep in the refrigerator up to two weeks. Always use a clean spoon to avoid contamination.
- → Can I freeze lemon curd?
-
Yes. Freeze in airtight containers, leaving headspace for expansion. Thaw in the fridge and gently re-whisk before using; texture may be slightly looser after freezing.
- → What are good uses and pairings?
-
Use as a tart or cake filling, a spread for scones or toast, or stirred into yogurt. Its bright citrus notes pair especially well with Earl Grey or Darjeeling tea.