 Pin it
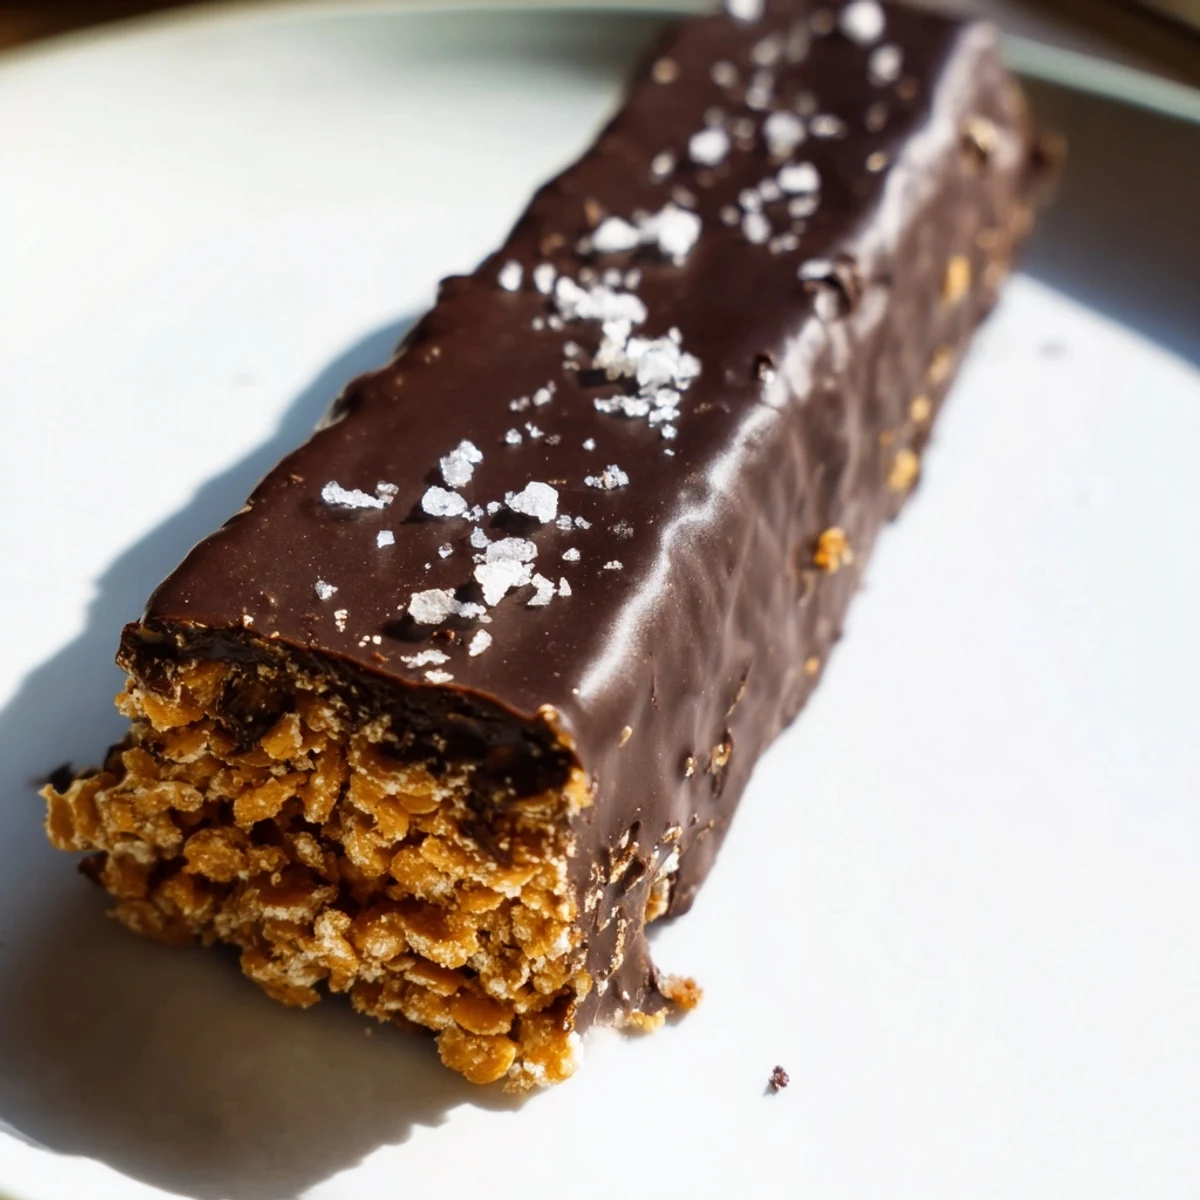
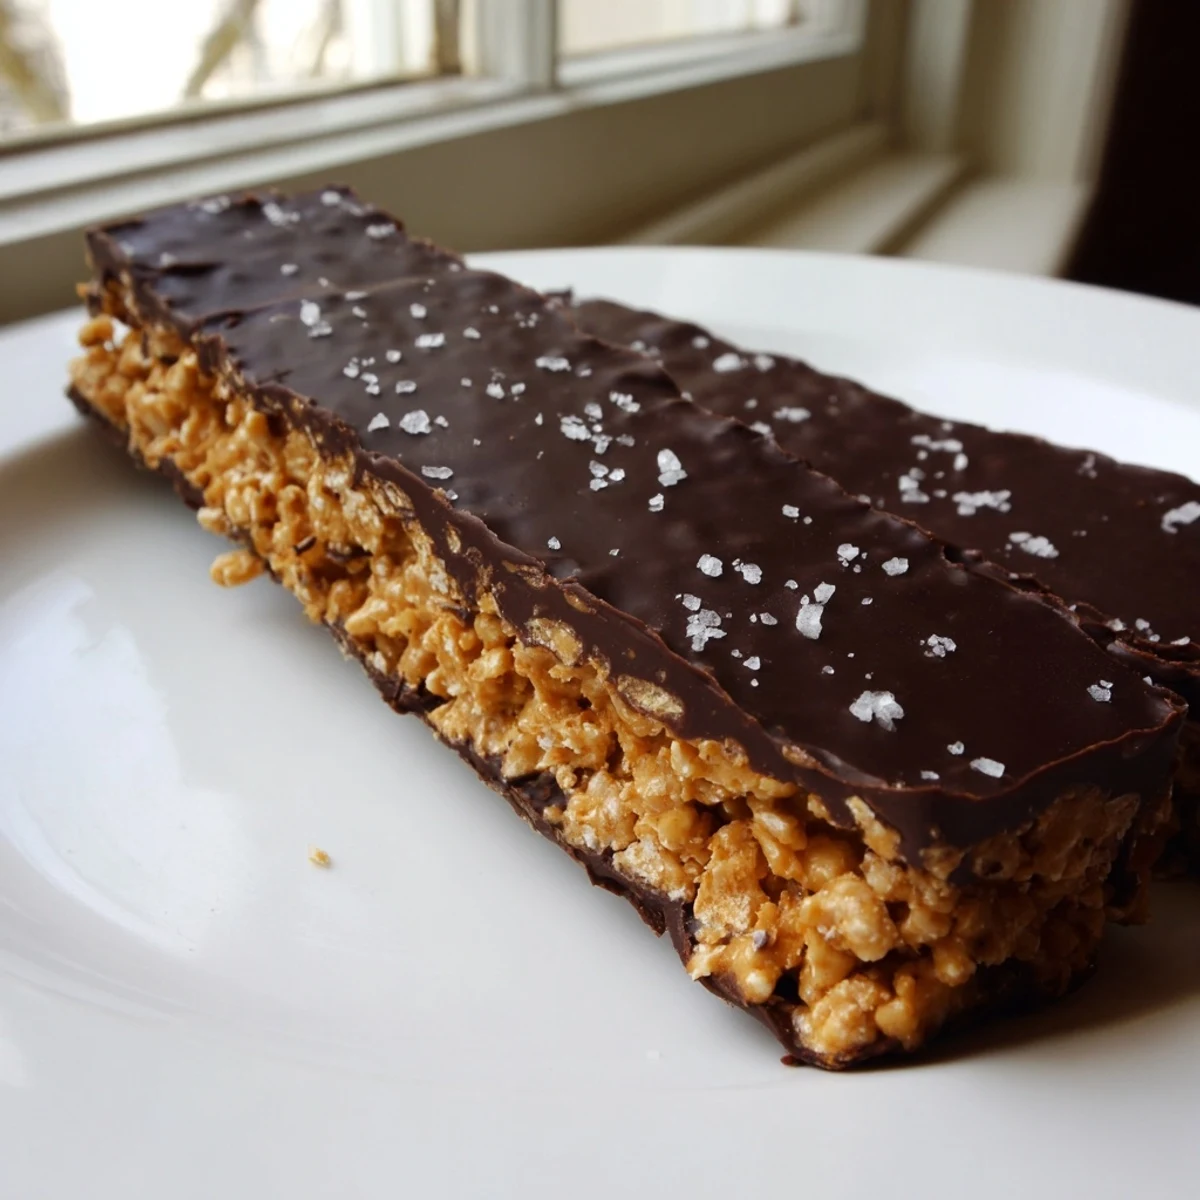
 These homemade Butterfinger-style bars deliver the signature crunchy peanut butter center you love, without the heavy ingredients. A simple mixture of natural peanut butter, maple syrup, and crushed cornflakes creates that unmistakable crispy texture.
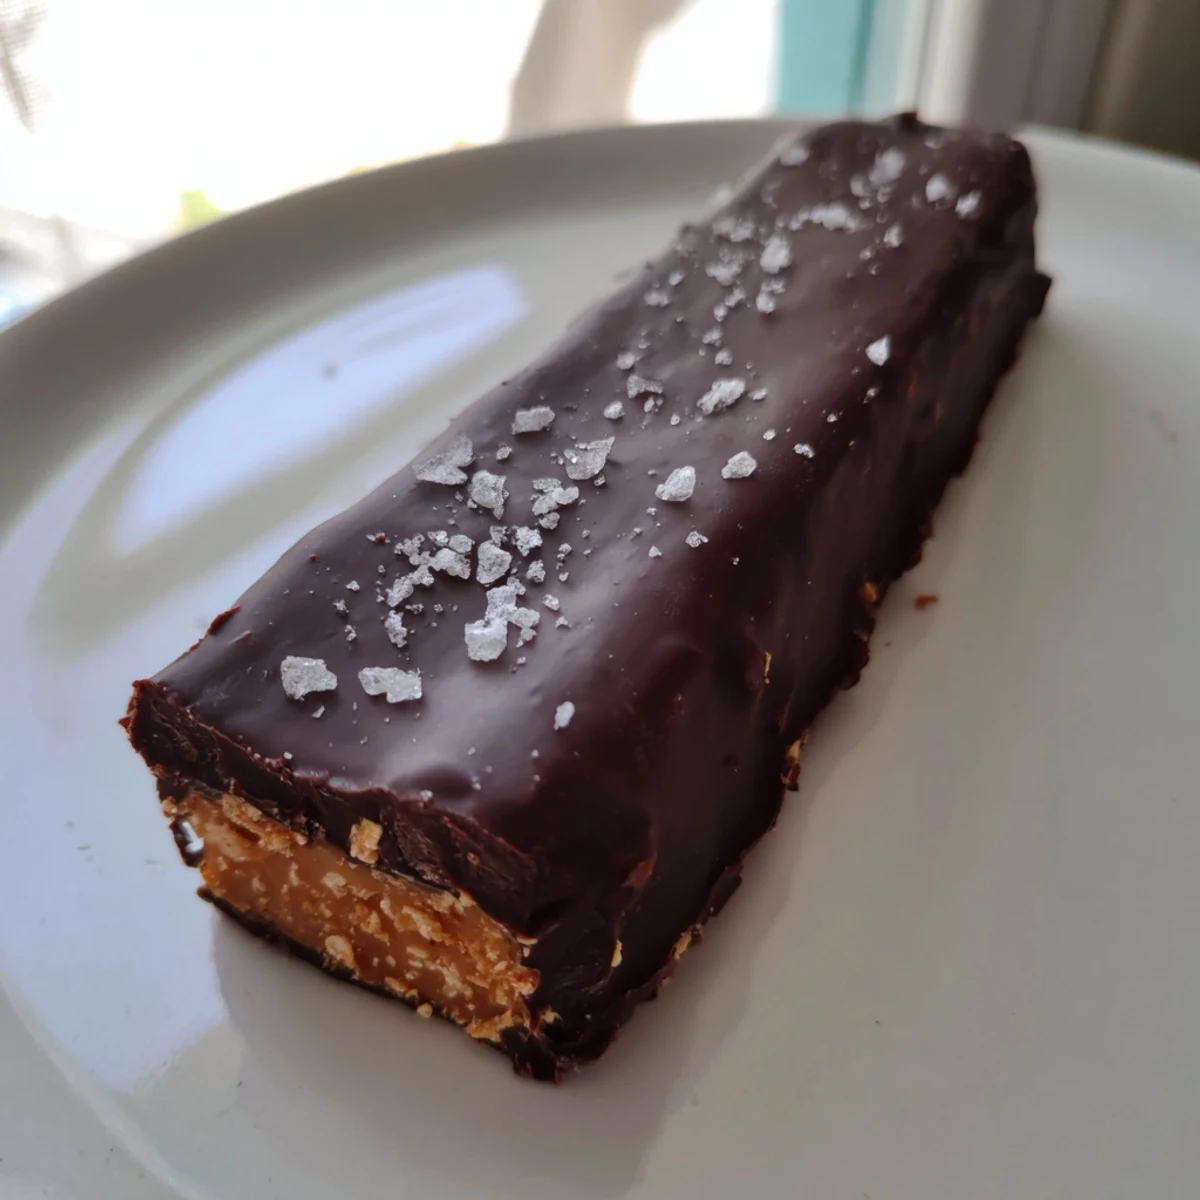
Each bar gets fully coated in melted dark chocolate mixed with coconut oil for a smooth, glossy finish. The contrast between the snap of the chocolate shell and the crunchy interior makes every bite satisfying.
Ready in about an hour with only 10 minutes of active cooking, these no-bake bars are perfect for meal prep and stay fresh in the fridge for weeks or frozen for up to three months.
The candy aisle at the grocery store always gets me, especially around Halloween when those orange and yellow Butterfinger packages are stacked everywhere. Last October I decided to stop fighting the craving and figure out a version I could actually feel good about eating. Turns out, peanut butter, maple syrup, and crushed cornflakes come together in a way that is shockingly close to that flaky, crunchy center I grew up obsessing over. Now I keep a batch in my freezer pretty much year round.
I brought a plate of these to a movie night at a friends house and watched three people argue over who got the last one before the credits even started rolling. My friend Sarah actually hid two in her purse, which I consider the highest compliment a homemade candy can receive.
Ingredients
- Natural creamy peanut butter (1 cup): Use the kind with just peanuts and salt on the label, since stabilizer filled brands make the mixture greasy instead of cohesive.
- Pure maple syrup or honey (1/2 cup): Maple syrup keeps the bars vegan, while honey adds a subtle floral sweetness that pairs beautifully with the peanut butter.
- Vanilla extract (1 teaspoon): A small amount rounds out the sweetness and makes the peanut butter flavor taste more complex than it has any right to be.
- Cornflakes (2 cups, lightly crushed): Crush them gently with your hands, leaving some larger shards for that authentic Butterfinger flakiness.
- Sea salt (pinch): Just a pinch in the filling balances the sweetness and enhances the roasted peanut flavor.
- Dark chocolate chips (1 1/2 cups): Good quality dark chocolate makes a huge difference here, so grab something you would happily eat by the handful.
- Coconut oil (1 tablespoon): This thins the chocolate into a dipable coating that sets with a satisfying snap.
Instructions
- Prep the pan:
- Line an 8x8 inch baking dish with parchment paper, leaving some overhang on the sides so you can lift the whole block out later without wrestling it.
- Warm the peanut butter mixture:
- In a saucepan over medium low heat, stir the peanut butter and maple syrup together until everything melts into one smooth, glossy liquid that smells like the best thing in your kitchen. This should take about two or three minutes, then pull it off the heat and stir in the vanilla and salt.
- Fold in the crunch:
- Gently fold the crushed cornflakes into the warm peanut butter mixture until every flake is coated and the whole thing looks like a beautifully messy, sticky heap.
- Press and freeze:
- Spread the mixture into your prepared pan and press it down firmly and evenly with a spatula, then slide the whole thing into the freezer for twenty to thirty minutes until it holds together when you press it with your finger.
- Cut into bars:
- Lift the set block out of the pan using the parchment overhang and cut it into sixteen bars with a sharp knife, using a gentle sawing motion so the cornflakes do not fly everywhere.
- Melt the chocolate:
- Combine the chocolate chips and coconut oil in a microwave safe bowl and heat in thirty second bursts, stirring between each one, until the mixture is completely smooth and pourable.
- Coat the bars:
- Dip each bar into the melted chocolate, using a fork to flip it and tap off the excess, then set it on a clean piece of parchment paper.
- Set and store:
- Place the coated bars in the fridge for fifteen to twenty minutes until the chocolate shell hardens completely, then store them in an airtight container in the refrigerator.
 Pin it
 There is something about homemade candy that makes people treat it like a tiny gift, and these bars in particular seem to carry that energy.
Making It Your Own
A sprinkle of flaky sea salt on top of the wet chocolate turns these into something that rivals fancy chocolate shop confections. You could also drizzle white chocolate over the finished bars for visual drama, or swap in crunchy peanut butter if you want even more texture happening in every bite.
Storing for Later
These bars freeze beautifully for up to three months if you layer them between sheets of parchment in an airtight container. I usually double the batch specifically so I can stash half in the freezer and forget about them until a rainy afternoon when only chocolate will do.
Allergens and Swaps
If you are serving a crowd with allergies, label these clearly since the peanut content is significant and cornflakes can be a hidden concern.
- For a vegan version, use maple syrup instead of honey and choose dairy free chocolate chips.
- Check your cornflake box carefully, as not all brands are certified gluten free.
- Always read the full ingredient list on every product since formulations change without warning.
 Pin it
 Keep a stash of these in your freezer and you will never be caught without something sweet when the craving hits. They are proof that homemade candy does not have to be complicated to be completely irresistible.
Recipe Q&A
- → Can I use a different cereal instead of cornflakes?
-
Yes, crushed rice cereal or bran flakes work as substitutes. Avoid highly sweetened cereals since the maple syrup already adds sweetness. The texture will vary slightly but still produces a crunchy, satisfying bar.
- → How should I store these peanut butter bars?
-
Keep bars in an airtight container in the refrigerator for up to two weeks. For longer storage, freeze them for up to three months. Separate layers with parchment paper to prevent sticking.
- → Why did my chocolate coating seize or become grainy?
-
Chocolate seizes when water touches it or when it overheats. Melt chocolate slowly using a double boiler or microwave in 30-second intervals, stirring between each. The coconut oil helps create a smoother, more forgiving coating.
- → Can I make these bars vegan?
-
Absolutely. Use maple syrup instead of honey, and choose dairy-free dark chocolate chips. Check that your cornflakes are certified vegan, as some brands contain animal-derived vitamin D3.
- → What if my peanut butter mixture is too runny?
-
Natural peanut butters vary in oil content. If the mixture seems too wet, add a few extra crushed cornflakes to absorb moisture. Chilling the bars in the freezer for the full 30 minutes also helps them set firmly before cutting and dipping.
- → Do I need to temper the chocolate for the coating?
-
No tempering required here. The addition of coconut oil creates a smooth coating that sets well in the fridge. Since these bars are stored chilled, tempering is unnecessary for both appearance and texture.