 Pin it
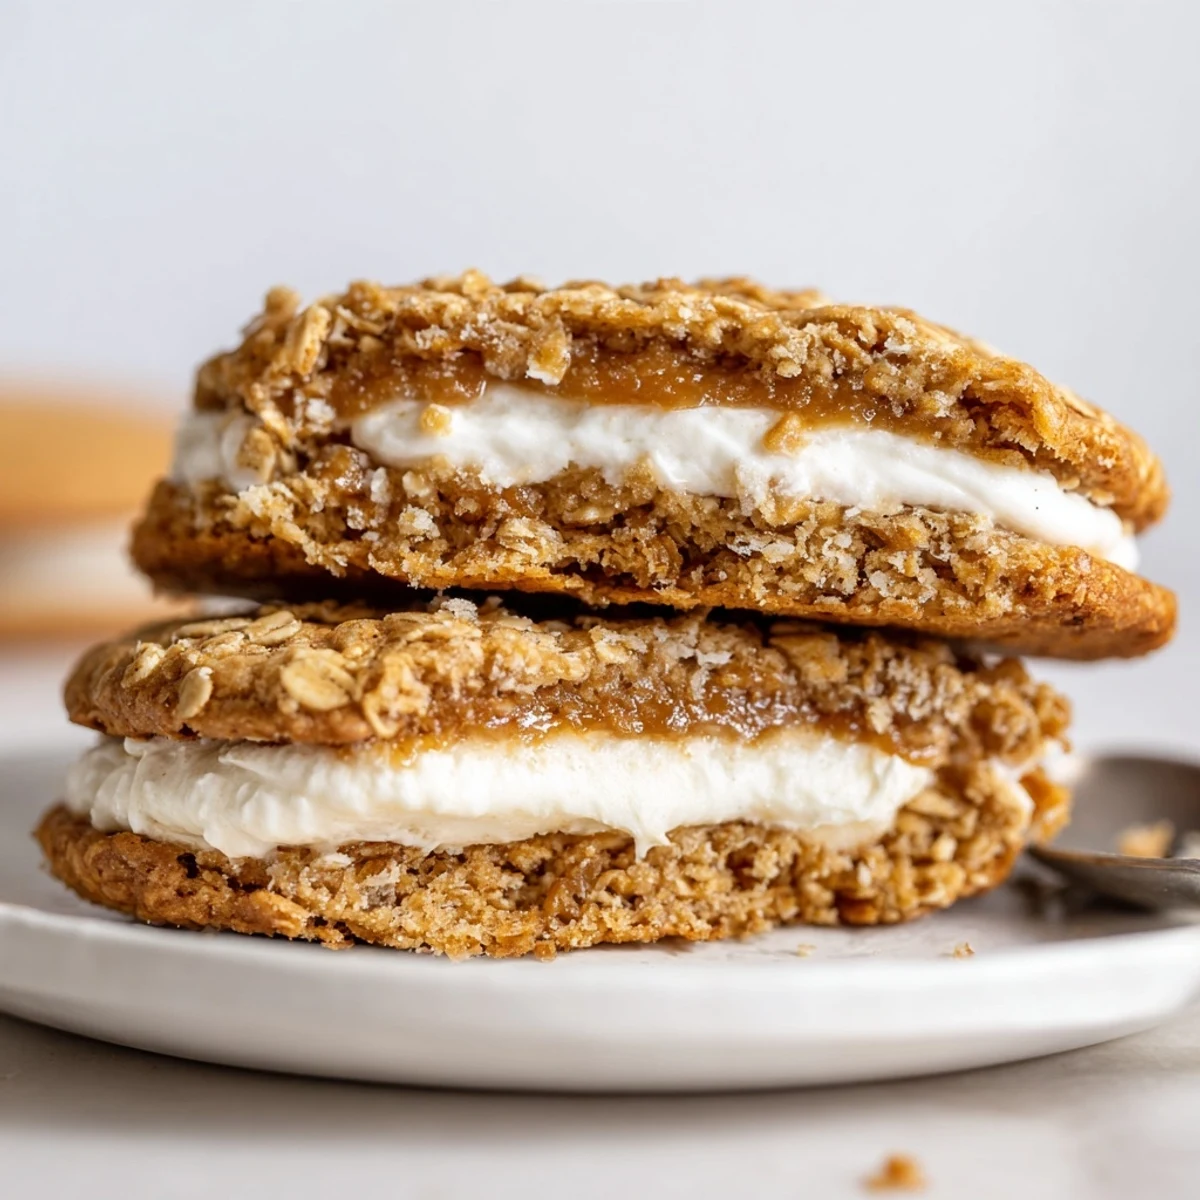
 Soft, chewy gluten-free oatmeal cookies are baked at 180°C until the edges are golden, then paired into sandwiches with a fluffy vanilla creme made from butter, powdered sugar and a splash of cream. Use certified gluten-free oats and a GF flour blend for best texture. For dairy-free versions, swap in plant-based butter and non-dairy milk; chill the filling briefly for a firmer finish. Store airtight and enjoy within a week.
My sister showed up to a family barbecue with a crumpled bag of store-bought oatmeal creme pies, and my niece devoured three before anyone else got near them. That tiny moment of pure cookie-joy stuck with me long after the coals cooled. I spent the next several weekends trying to recreate that soft, sandwiched magic from scratch, sans gluten, because my brother-in-law had recently gone GF and kept getting left out of dessert. These little pies are the result: chewy, spiced cookies hugging a cloud of vanilla creme that tastes like childhood should.
I burned through an entire batch the first time I tested these because I walked away to answer the phone and forgot the oven was on. The smoke alarm became my kitchen timer that afternoon. My partner walked in, coughed through the haze, and said, So, are they supposed to be black? We ordered pizza that night, but the next attempt was golden and gorgeous.
Ingredients
Oatmeal Cookies
- Gluten-free old-fashioned rolled oats (100 g): The backbone of every chewy bite. Make sure the label certifies GF processing because cross-contamination sneaks in everywhere.
- Gluten-free all-purpose flour blend (90 g): Binds everything together without toughness. A blend with xanthan gum already included saves you an extra ingredient.
- Coconut sugar or light brown sugar (70 g): Brings deep caramel notes that pair beautifully with cinnamon and oats.
- Granulated sugar (70 g): Keeps the edges crisp and the centers tender. The combination of two sugars is what makes the texture work.
- Baking soda (1/2 tsp): Gives the cookies a gentle lift so they do not spread into flat crackers.
- Baking powder (1/2 tsp): Works alongside the soda for a soft, cakey middle.
- Ground cinnamon (1/4 tsp): Just enough warmth without overpowering the vanilla filling later.
- Fine sea salt (1/2 tsp): Balances the sweetness and wakes up every other flavor in the bowl.
- Unsalted butter, softened (115 g): Room-temperature butter creams properly and traps air for a lighter cookie.
- Large egg (1): Provides structure and richness. Let it come to room temperature for even mixing.
- Pure vanilla extract (1 tsp): Do not skimp here. Good vanilla is the quiet hero of both the cookie and the filling.
Vanilla Creme Filling
- Unsalted butter, softened (100 g): The base of the creme, so use something you would happily spread on toast.
- Powdered sugar, sifted (120 g): Sifting is non-negotiable unless you enjoy crunchy lumps in your silky filling.
- Heavy cream or milk (2 tbsp): Thins the filling to pipeable perfection. Heavy cream gives the most luxurious result.
- Pure vanilla extract (1 tsp): Double the vanilla love. This is what makes the filling taste like nostalgia.
- Fine sea salt (pinch): A tiny pinch cuts the sweetness just enough to keep you coming back for more.
Instructions
- Prepare your oven and pans:
- Heat the oven to 180 degrees C (350 degrees F) and line two baking sheets with parchment paper. The parchment is your insurance policy against sticking and makes cleanup almost nonexistent.
- Mix the dry ingredients:
- Whisk together the oats, gluten-free flour, baking soda, baking powder, cinnamon, and salt in a medium bowl until evenly distributed. Set it aside so the flavors mingle while you work on the wet mixture.
- Cream the butter and sugars:
- Beat the softened butter, coconut sugar, and granulated sugar in a large bowl until the mixture looks pale, fluffy, and almost whipped. This aeration is what gives you that dreamy soft texture later.
- Add the egg and vanilla:
- Beat in the egg and vanilla extract until the batter looks smooth and cohesive. Scrape down the sides of the bowl because butter loves to hide in corners.
- Combine wet and dry:
- Gradually fold the dry ingredients into the wet mixture, mixing only until everything is just incorporated. Overmixing is the enemy of tender cookies.
- Scoop and shape:
- Drop rounded tablespoons of dough onto the prepared sheets, leaving about 5 cm (2 inches) of space between each one. They will spread, and crowded cookies become one giant cookie (which is not the worst accident, honestly).
- Bake until golden:
- Slide the sheets into the oven for 10 to 12 minutes, watching for edges that are set and lightly golden. Let them rest on the hot pan for 5 minutes before moving to a wire rack to cool completely.
- Whip the creme filling:
- Beat the butter and powdered sugar until light and fluffy, then blend in the cream, vanilla, and salt until the mixture is silky smooth. If it feels too soft, pop it in the fridge for 15 minutes.
- Assemble the pies:
- Spread or pipe a generous dollop of filling onto the flat side of one cooled cookie, then press a second cookie on top to form a sandwich. Repeat until every cookie has a partner.
 Pin it
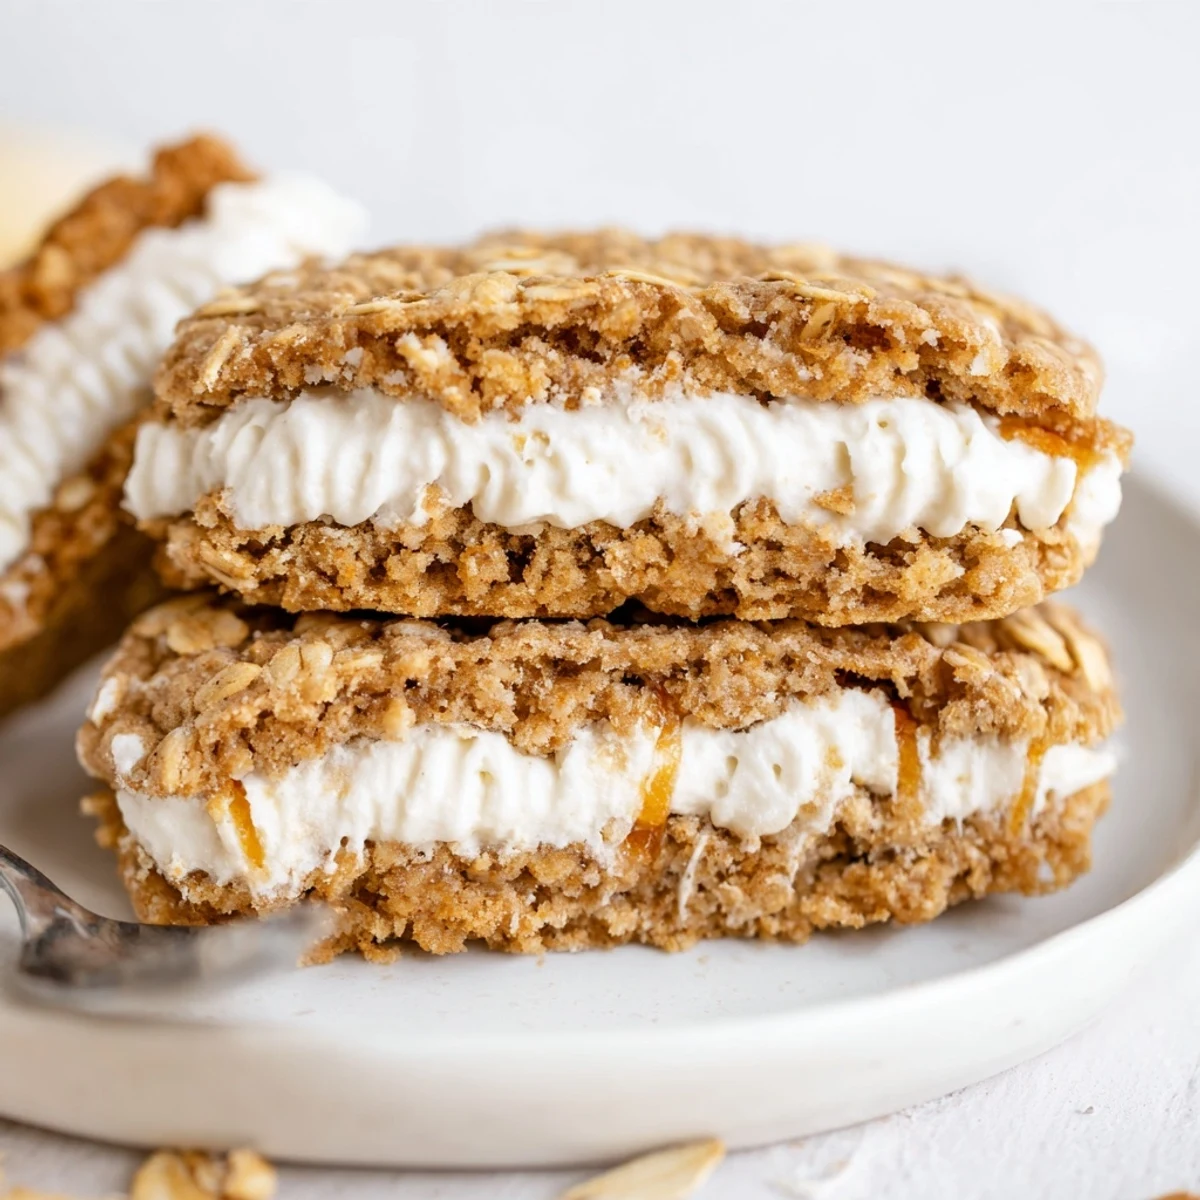
 I packed a tin of these for a road trip last fall, and somewhere around mile 200 my friend Elena bit into one and went completely silent for about ten seconds. Then she whispered, These are gluten-free? like she had been deceived in the best possible way. That sealed-it moment is why I keep making them.
Serving Suggestions
A cold glass of milk is the obvious companion, but a strong espresso or flat white cuts through the sweetness beautifully. I have also crumbled leftover pies over vanilla ice cream and called it a Friday night.
Storage That Actually Works
Keep assembled pies in an airtight container at room temperature for up to two days, or refrigerate them for a week. The creme firms up in the fridge, so let them sit out for about 15 minutes before eating if you prefer that soft, just-made texture.
Making It Your Own
Once you have the base recipe dialed in, the variations are endless. A pinch of nutmeg in the dough adds cozy warmth. You can swap the vanilla filling for maple or add a smear of fruit jam for a twist. Get creative and make them yours.
- Dairy-free butter and plant milk work seamlessly if you need to skip dairy entirely.
- Toast the oats in a dry skillet for five minutes before mixing for a deeper, nuttier flavor.
- Always double-check that your oats and flour are certified GF, because labeling can be tricky.
 Pin it
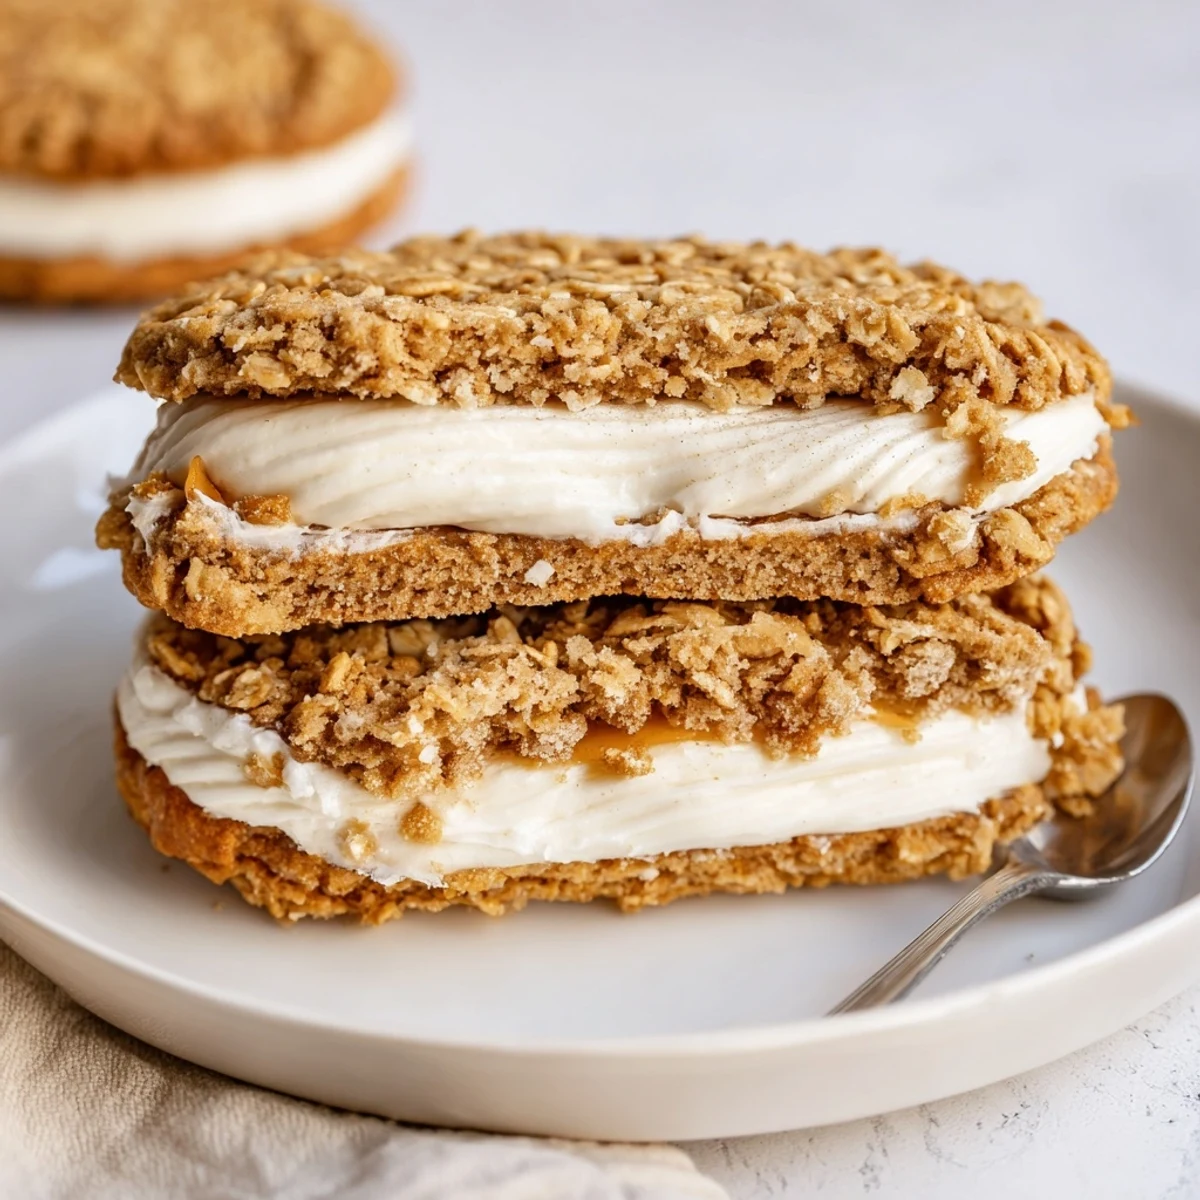
 These oatmeal creme pies are proof that gluten-free baking does not mean missing out on the treats you grew up loving. Make a batch, share them freely, and watch faces light up.
Recipe Q&A
- → Can I make these dairy-free?
-
Yes. Substitute plant-based butter and a dairy-free milk alternative for the filling. Chill the creme for 15 minutes to firm it before assembling if needed.
- → How do I ensure the oats are gluten-free?
-
Buy oats labeled as certified gluten-free, and check that your all-purpose flour blend is processed in a gluten-free facility to avoid cross-contamination.
- → How do I get chewy, not crumbly cookies?
-
Measure flour accurately, avoid overmixing once dry ingredients are added, and bake until the edges are set but centers remain slightly soft. Cooling on the sheet a few minutes helps retain chewiness.
- → Can I make the creme firmer for piping?
-
Yes. Increase chilling time for the filling by 15–30 minutes after whipping, or add a little more powdered sugar to stiffen texture for piping.
- → What's the best way to store the sandwiches?
-
Layer them in an airtight container at room temperature for up to 2 days, or refrigerate for up to a week. Bring to room temperature before serving for softer texture.
- → Any tips for flavor variations?
-
Add a pinch of nutmeg or swap part of the vanilla for almond extract. You can also fold a small amount of crushed toasted nuts into the filling for crunch.