Pin it
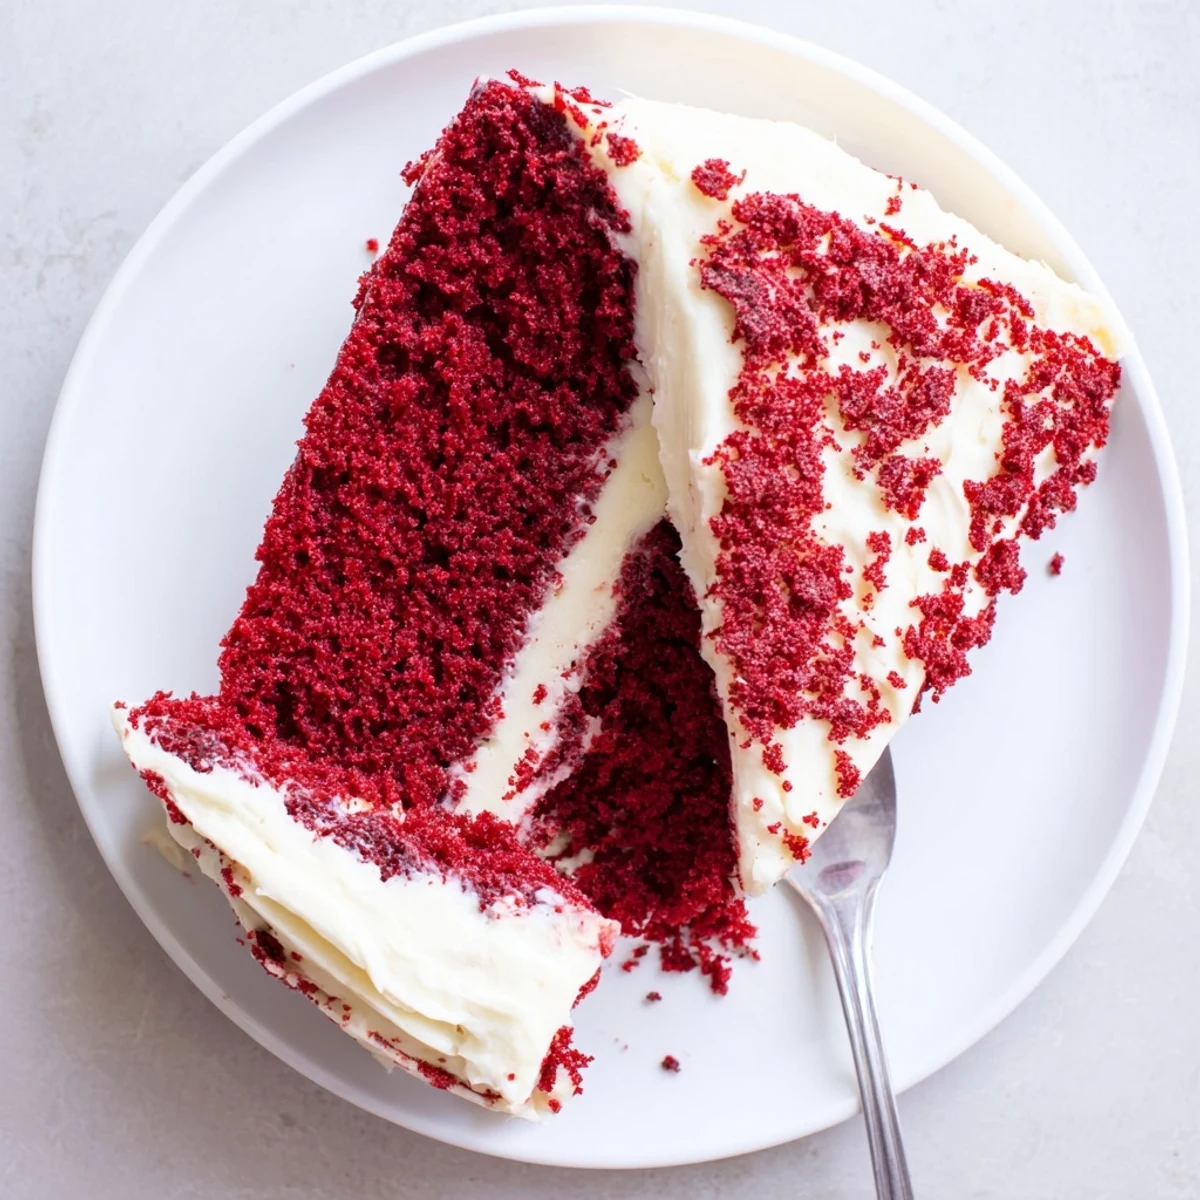
 This luscious red velvet cake combines subtle cocoa flavor with a striking red hue and rich cream cheese frosting. The moist, tender crumb comes from buttermilk and vegetable oil, while the tangy frosting balances the sweetness perfectly. Ready in just one hour, this classic American dessert yields 12 generous servings.
The first time I attempted red velvet cake, I stood staring at the vibrant red batter wondering if I had accidentally made a science experiment instead of dessert. My kitchen looked like something dramatic had happened, with red splatters on my apron and countertops. That first cake taught me that red velvet is equal parts chemistry and magic.
I made this cake for my sisters birthday last year, and she practically inhaled three pieces while declaring it the best thing that had ever come out of my kitchen. The recipe has since become my go to for celebrations because it never fails to make people feel celebrated.
Ingredients
- All-purpose flour: The foundation that gives this cake its tender structure, so measure carefully and sift it to avoid any lumps
- Granulated sugar: Sweetens without overpowering the subtle cocoa notes that make red velvet distinctive
- Baking soda: Works with the vinegar and buttermilk to create that signature rise and velvety texture
- Fine salt: Enhances all the flavors without making the cake taste salty
- Unsweetened cocoa powder: Just enough to deepen the flavor profile without turning this into a chocolate cake
- Vegetable oil: Keeps the cake incredibly moist for days, unlike butter which can firm up when chilled
- Buttermilk: The acidity here is crucial for both tenderness and reacting with the baking soda
- Large eggs: Bring everything together and add structure, so let them come to room temperature first
- Red food coloring: Creates that iconic color that makes this cake so striking on any dessert table
- Vanilla extract: Adds warmth and rounds out the flavor profile in both cake and frosting
- White vinegar: Reacts with the baking soda and buttermilk for extra tenderness and a subtle tang
- Cream cheese: Make sure it is properly softened so your frosting will be silky smooth without any lumps
- Unsalted butter: Room temperature butter combines perfectly with cream cheese for the ideal frosting consistency
- Powdered sugar: Sift it first to prevent any gritty texture in your finished frosting
Instructions
- Preheat your oven:
- Set it to 350°F (175°C) and generously grease and flour two 9-inch round cake pans, tapping out any excess flour
- Whisk the dry ingredients:
- In a medium bowl, sift together the flour, sugar, baking soda, salt, and cocoa powder until well combined
- Mix the wet ingredients:
- In a large bowl, whisk together the oil, buttermilk, eggs, food coloring, vanilla, and vinegar until completely smooth
- Combine the batter:
- Gradually add the dry ingredients to the wet ingredients, mixing gently just until you cannot see any flour streaks
- Fill the pans:
- Divide the batter evenly between your prepared cake pans, using a spatula to smooth the tops
- Bake to perfection:
- Bake for 28 to 30 minutes, until a toothpick inserted into the center comes out clean or with just a few moist crumbs
- Cool completely:
- Let the cakes rest in their pans for 10 minutes, then carefully turn them out onto a wire rack to cool entirely before frosting
- Make the frosting:
- Beat the softened cream cheese and butter until perfectly smooth, then gradually add the powdered sugar followed by vanilla and salt until light and fluffy
- Assemble the cake:
- Place one cooled cake layer on your serving plate, spread a generous layer of frosting on top, then add the second layer and frost the top and sides
- Chill before serving:
- Refrigerate the finished cake for 30 minutes to set the frosting, which will give you cleaner slices when serving
 Pin it
 This cake has become my standard for celebrating milestones because it feels special without being fussy. The way people light up when they see those red layers never gets old.
Making It Ahead
You can bake the cake layers up to two days in advance, wrap them tightly in plastic, and store them at room temperature. The frosting can also be made ahead and kept refrigerated in an airtight container.
Storage Secrets
Keep your finished cake in the refrigerator because of the cream cheese frosting, but bring it to room temperature for about 30 minutes before serving. Properly stored, it will stay fresh for up to four days.
Serving Suggestions
This cake needs nothing else to shine, but fresh berries or a dusting of cocoa powder on top never hurt anyone. Serve it with coffee after dinner or bring it to a potluck and watch it disappear.
- Run your knife under hot water and wipe it dry between slices for the cleanest cuts
- Chill the frosted cake for at least 30 minutes before serving to make slicing easier
- Save a small amount of cake crumbs to sprinkle on top for a professional looking finish
 Pin it
 Every time I pull this cake out of the oven, I am reminded that some recipes become classics for a reason. Hope it finds its way into your celebration rotation too.
Recipe Q&A
- → What makes red velvet cake different from chocolate cake?
-
Red velvet cake contains significantly less cocoa than traditional chocolate cake, creating a subtle chocolate flavor rather than an intense one. The buttermilk and vinegar reaction also creates a softer, more tender crumb, while the cream cheese frosting provides a tangy contrast to standard buttercream.
- → Can I make red velvet cake without food coloring?
-
While you can omit the red food coloring, the cake won't have its signature vibrant red hue. Some natural alternatives include beet juice or beet powder, though these may slightly alter the flavor profile and result in a deeper, more burgundy shade rather than bright red.
- → How do I store red velvet cake?
-
Store frosted red velvet cake in an airtight container in the refrigerator for up to 5 days. The cream cheese frosting requires refrigeration due to its dairy content. For best texture, bring the cake to room temperature for about 30 minutes before serving. Unfrosted cake layers can be frozen for up to 3 months.
- → Why is my red velvet cake dry?
-
Dry red velvet cake usually results from overbaking or measuring flour incorrectly. Overmixing the batter can also create a tough texture. Ensure you're using room-temperature ingredients, measuring flour by weight if possible, and checking for doneness a few minutes before the suggested baking time.
- → Can I use natural food coloring for red velvet cake?
-
Natural red food coloring options include beet juice, beet powder, or pomegranate juice. However, these alternatives often produce a more muted, brownish-red color and may affect the flavor slightly. Beet-based colorings work best when the batter includes acidic ingredients like buttermilk and vinegar, which help maintain the red pigment.
- → What can I use instead of buttermilk?
-
You can create a buttermilk substitute by adding 1 tablespoon of lemon juice or white vinegar to 1 cup of regular milk. Let the mixture sit for 5-10 minutes until it thickens and curdles slightly. This homemade version provides the necessary acidity for the chemical reaction with baking soda.