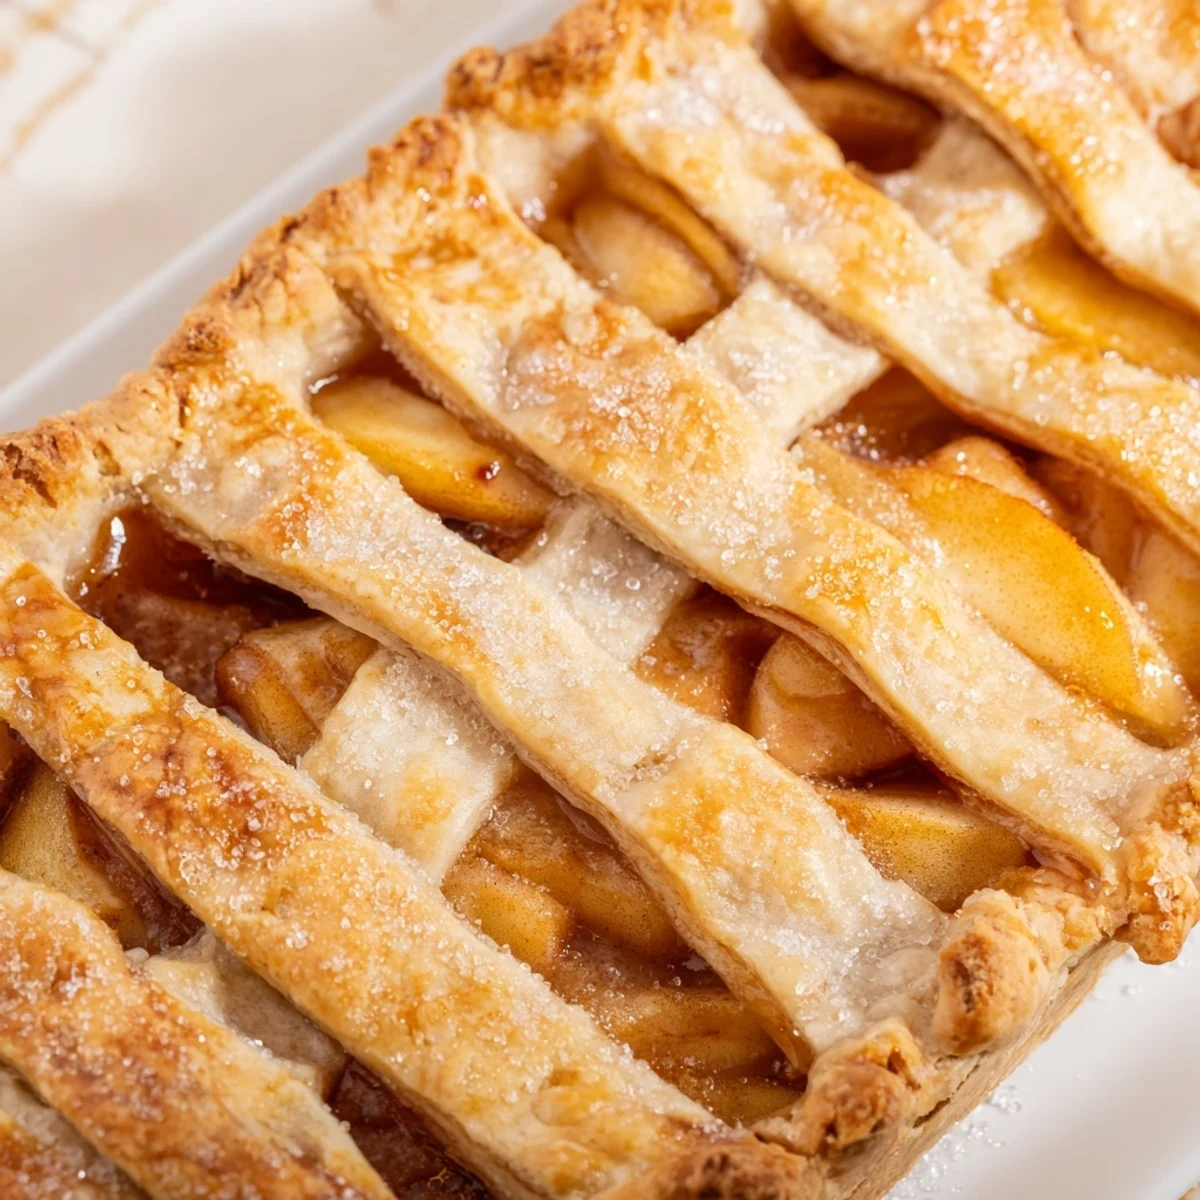
 Pin it
 This apple slab pie delivers all the comforting flavors of a classic apple pie in a shareable format that's perfect for feeding a crowd. The double crust is buttery and flaky, enclosing layers of tender apples tossed with warm cinnamon, nutmeg, and just the right amount of sweetness. Baked in a large rimmed baking sheet, it yields generous square portions that are ideal for potlucks, holiday celebrations, or weekend family dinners. Serve warm with vanilla ice cream for the ultimate dessert experience.
The first time I brought this slab pie to a neighborhood potluck, I watched it disappear in record time while people kept asking who made "that incredible apple thing." Something about the rustic, home-style presentation makes everyone instantly comfortable, like they're at a family gathering even when they're meeting new people. My neighbor's daughter actually asked if she could have the recipe for her birthday instead of a present. That's when I knew this wasn't just another dessert recipe.
Last Thanksgiving, my sister-in-law arrived with her traditional round apple pie, and while it was lovely, we all kept gravitating toward my slab pie slices. There's something about that slightly thicker, more substantial filling-to-crust ratio that just hits different when you're stuffed from dinner. My dad, who rarely eats dessert, went back for seconds and asked if I could teach him the technique. Now he makes it for his poker nights, and apparently it's quite the hit.
Ingredients
- 3 1/2 cups all-purpose flour: This amount gives you enough dough for both bottom and top crusts without stretching too thin
- 1 tablespoon granulated sugar: Just a touch helps the crust brown beautifully and adds subtle sweetness
- 1 1/2 teaspoons salt: Essential for balancing flavors in both crust and filling
- 1 1/2 cups cold unsalted butter, cubed: Keeping it ice-cold is non-negotiable for those flaky layers we all love
- 1/2 cup ice water: Add gradually, you might not need all of it depending on humidity
- 8 medium apples: A mix of Granny Smith and Honeycrisp gives you the perfect tart-sweet balance
- 2/3 cup granulated sugar and 1/3 cup brown sugar: The combination creates depth that white sugar alone can't achieve
- 1 1/2 teaspoons cinnamon and 1/4 teaspoon nutmeg: Classic warm spices that make everything taste like home
- 3 tablespoons cornstarch: This thickens the apple juices so you get a perfect slice, not a soupy mess
- 2 teaspoons lemon juice: Brightens everything and prevents apples from browning too quickly
- 1 egg and 1 tablespoon milk: The egg wash creates that gorgeous golden bakery-style finish
- Coarse sugar: Optional but absolutely worth it for that sparkling crunch
Instructions
- Get your oven ready and prepped:
- Preheat to 400°F and line your rimmed baking sheet with parchment, or grease it well if you prefer.
- Make the crust dough:
- Whisk flour, sugar, and salt in a large bowl, then cut in cold butter until you see coarse crumbs. Sprinkle in ice water gradually, tossing gently until dough just holds together when squeezed.
- Roll out the bottom crust:
- On a floured surface, roll the larger dough portion to fit your pan, lifting carefully and pressing into corners and sides.
- Prepare the spiced apple filling:
- In your largest bowl, combine sliced apples with both sugars, spices, salt, cornstarch, and lemon juice until everything is evenly coated.
- Assemble the pie:
- Spread apples over the bottom crust, then roll out remaining dough for the top. Trim edges, seal by pinching firmly, and cut steam vents.
- Add the golden finish:
- Whisk egg with milk and brush generously over the top crust, then sprinkle with coarse sugar for that bakery sparkle.
- Bake to perfection:
- Bake 35 to 40 minutes until deeply golden and filling bubbles visibly through the vents.
- Patience pays off:
- Let cool at least 30 minutes before slicing, otherwise the filling will run everywhere and you'll lose those perfect squares.
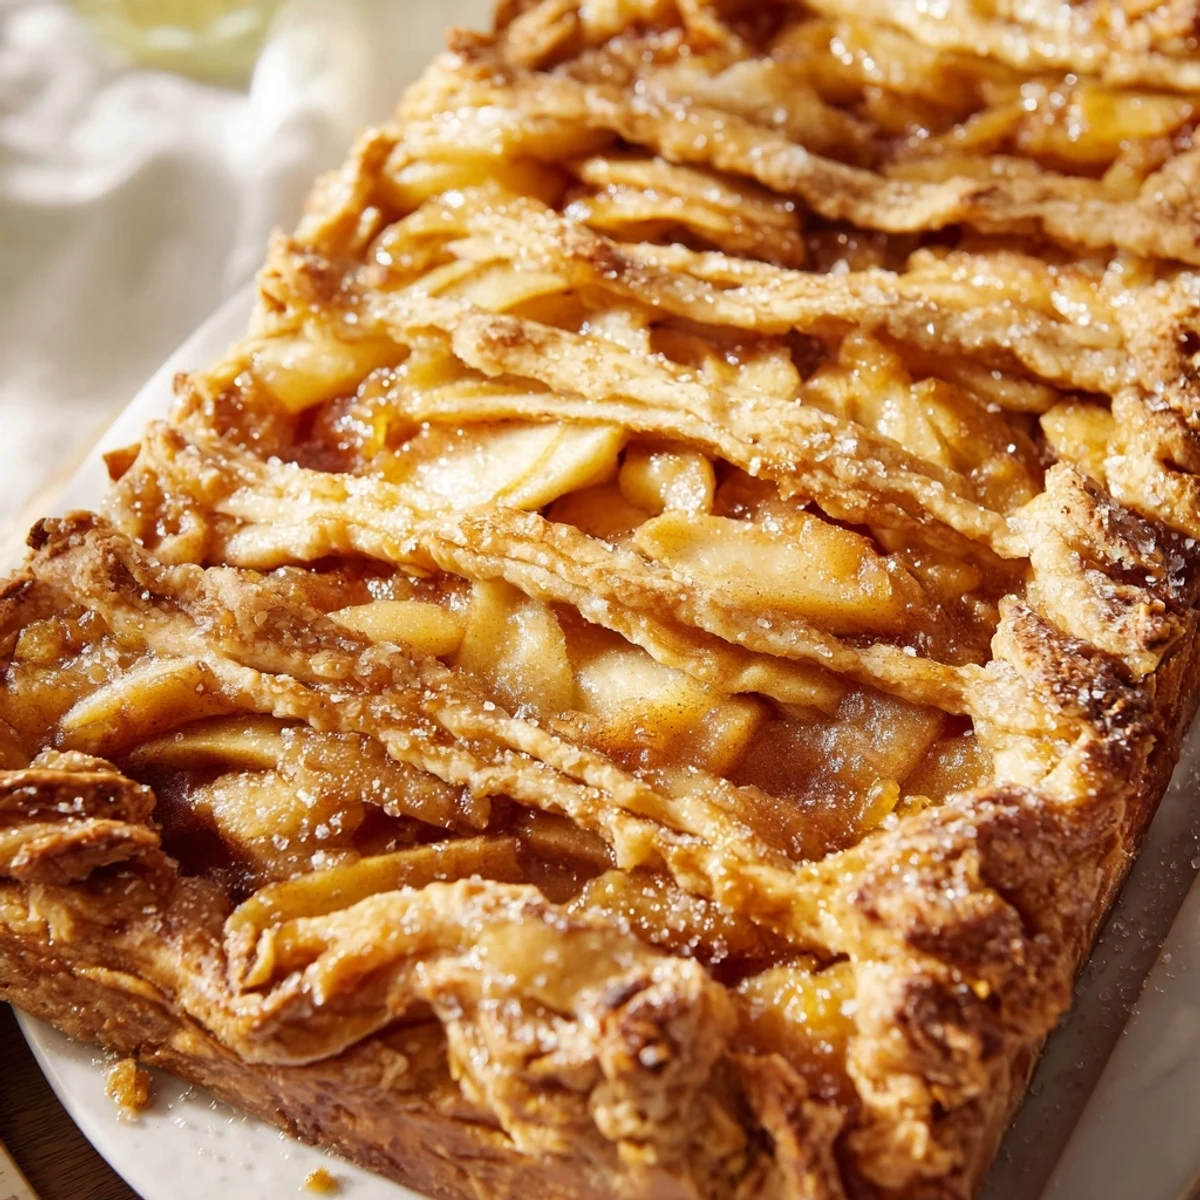 Pin it
 My youngest son helped me make this for his school's fall festival last year, and he was so proud pointing out "his pie" to everyone who walked by. There's something incredibly special about baking with kids, the way they marvel at how flour and butter can transform into something magical. His teacher later told me it was the first time she'd seen him truly excited about sharing something he made with others.
Choosing the Perfect Apples
I've learned through many failed experiments that using only sweet apples makes the pie cloyingly one-dimensional. The Granny Smith apples provide essential tartness and structure, while Honeycrisp or Fuji add that lovely sweetness and hold their shape beautifully during baking. Last fall I experimented with adding a few Braeburn apples for their spicy notes, and that tiny addition made several people ask what my secret ingredient was. Sometimes it's the smallest changes that yield the biggest compliments.
Working with Slab Pie Dough
Rolling dough into a large rectangle can feel intimidating if you're used to traditional round pies. The trick is working quickly and keeping everything well-floured so the dough doesn't stick to your counter or rolling pin. I've found it helpful to rotate the dough frequently rather than rolling back and forth in the same direction, which helps maintain an even thickness throughout. If the dough starts feeling too soft or sticky, pop it in the refrigerator for 10 minutes before continuing.
Make Ahead and Storage Tips
This slab pie actually tastes even better the next day, giving the flavors time to meld and develop. You can prepare the filling and dough separately the day before, keeping everything refrigerated until you're ready to assemble and bake. I've also frozen the unbaked assembled pie successfully, just add an extra 10 to 15 minutes to the baking time and bake from frozen.
- Wrap leftovers tightly and they'll keep at room temperature for two days
- Reheat individual squares in a 350°F oven for 10 minutes to restore that fresh-baked crust
- The pie also freezes beautifully after baking for up to three months
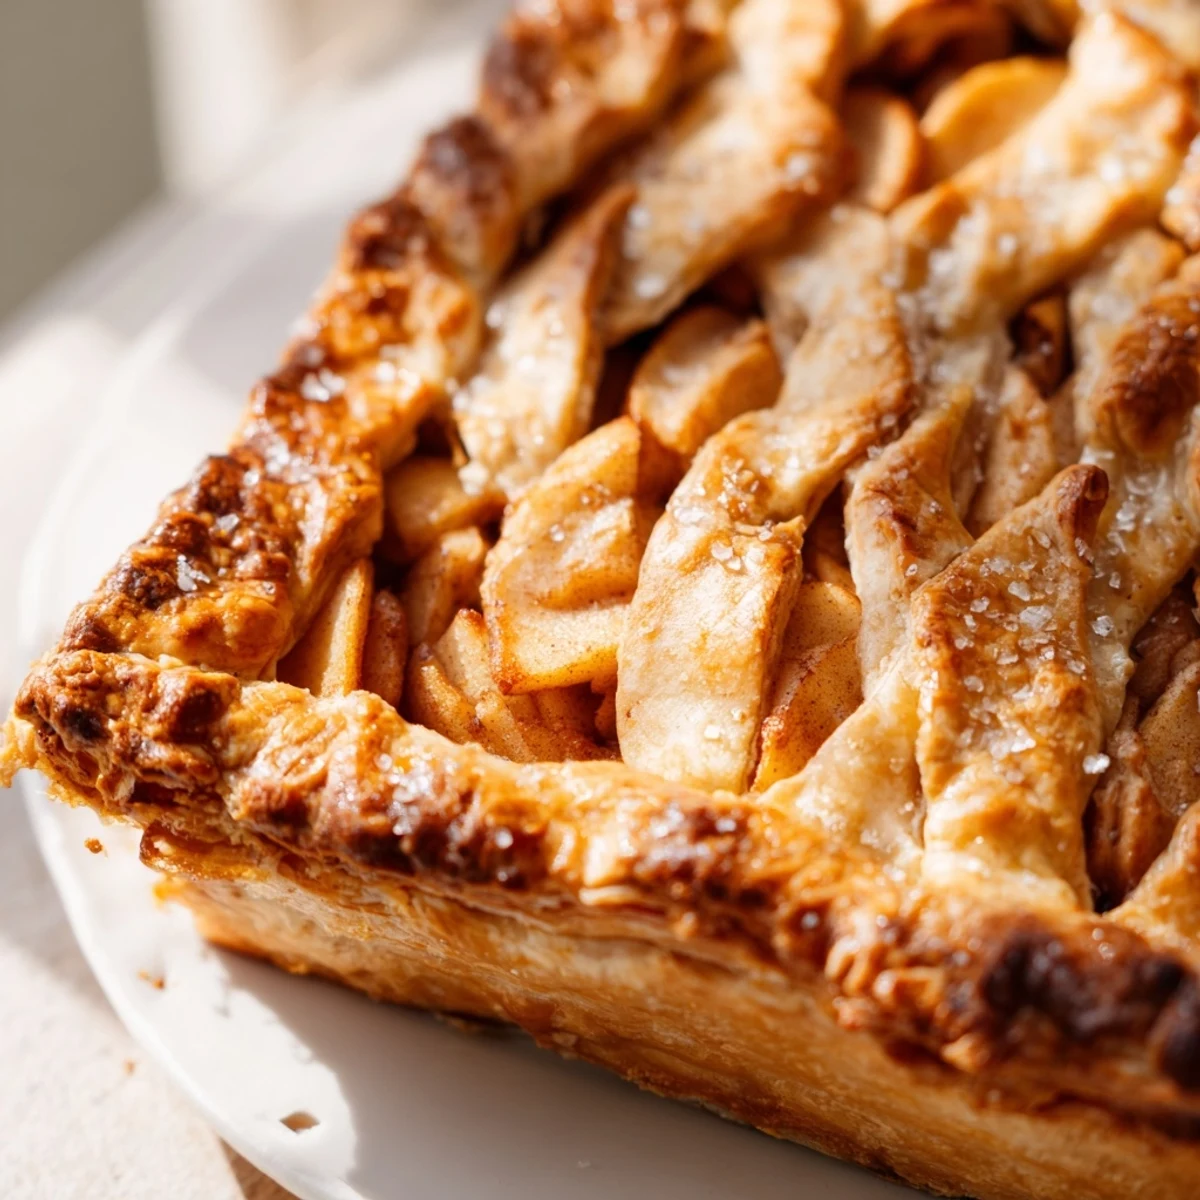 Pin it
 There's nothing quite like serving warm slices of this slab pie while steam still rises from the spiced apple filling. Every time I make it, I think about how the simplest recipes often create the most lasting memories around the table.
Recipe Q&A
- → What type of apples work best?
-
Granny Smith and Honeycrisp apples are excellent choices because they hold their shape during baking. You can also use a mix of varieties for more complex flavor.
- → Can I make this ahead of time?
-
Yes, you can prepare the filling and crust up to a day in advance. Store them separately in the refrigerator, then assemble and bake when ready to serve.
- → How should I store leftovers?
-
Cover tightly with aluminum foil or plastic wrap and keep at room temperature for up to 2 days, or refrigerate for up to 5 days. Reheat gently before serving.
- → Can I freeze this slab pie?
-
Absolutely! Wrap the baked and cooled pie thoroughly in plastic wrap and foil, then freeze for up to 3 months. Thaw overnight in the refrigerator before reheating.
- → Why is my crust not flaky?
-
Keep your butter and water very cold throughout the process. Work quickly when handling the dough, and avoid over-mixing which can develop gluten and toughen the crust.
- → Can I make this vegan?
-
Yes, substitute plant-based butter for the unsalted butter, use almond milk instead of regular milk in the egg wash, and skip the egg or use a plant-based alternative.