 Pin it
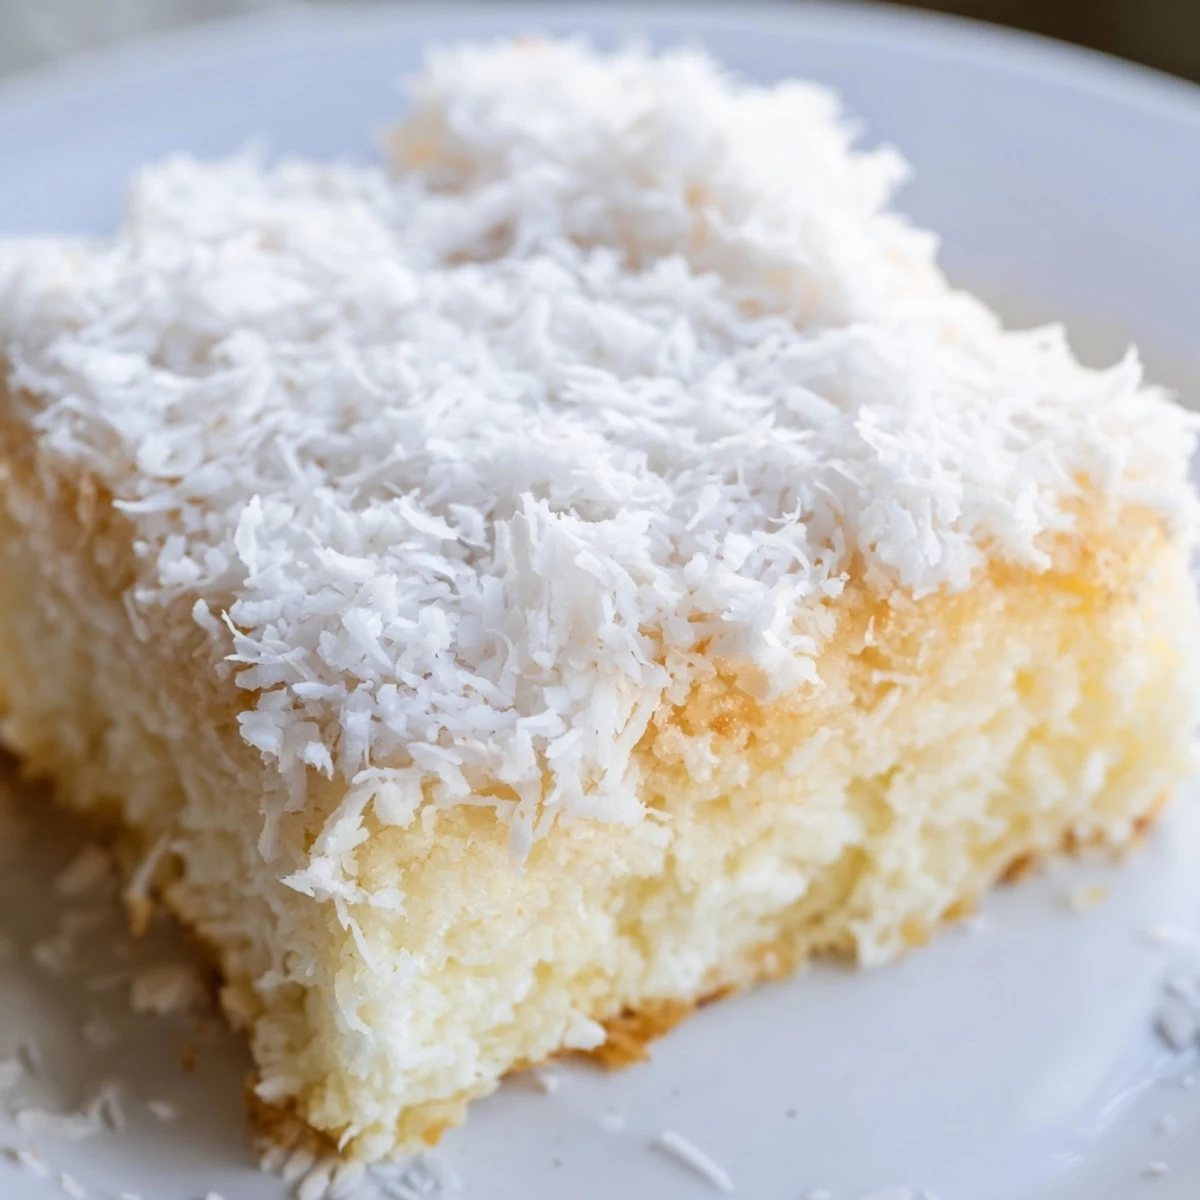
 This coconut mochi cake delivers the perfect balance of chewy texture and tropical sweetness. Made with sweet rice flour and creamy coconut milk, it bakes into golden squares with a delicate coconut topping. The preparation comes together quickly—just whisk the dry ingredients, combine with the wet mixture, and let the oven work its magic. In about an hour, you'll have a gluten-free dessert that's naturally satisfying and endlessly customizable.
The first time I encountered coconut mochi cake was at a neighborhood potluck where someone brought this mysterious, jiggly, golden slab that disappeared faster than anything else on the table. I hovered near the serving area waiting to see who would claim the recipe, and learned it had been passed down through three generations of a Hawaiian family. Something about that chewy, springy texture combined with the tropical richness felt like discovering a secret language between flour and coconut that I never wanted to stop speaking.
Last summer my sister in law asked me to bring dessert to her daughters graduation party and I decided to attempt doubling this coconut mochi cake recipe. I baked two pans side by side in my tiny apartment oven, checking them obsessively as the coconut topping turned into delicate golden islands. When my niece took her first bite and immediately grabbed two more squares for later, I knew this recipe had earned its permanent place in my collection.
Ingredients
- Sweet rice flour (mochiko): This glutinous rice flour creates the signature chewy texture that regular rice flour simply cannot achieve
- Coconut milk: Full fat coconut milk provides the richest flavor and most tender crumb, so shake the can well before measuring
- Unsalted butter: Melted and slightly cooled butter adds depth while helping the texture stay moist without making it greasy
- Unsweetened shredded coconut: The topping toasts beautifully in the oven, creating little islands of crunch against the soft cake
Instructions
- Prepare your baking vessel:
- Preheat your oven to 350°F and generously grease a 9x13 inch pan before lining it with parchment paper. This paper is your insurance policy because mochi cake loves to stick despite the greasing.
- Whisk the dry foundation:
- In a large bowl, combine sweet rice flour, sugar, baking powder, and salt until everything looks uniformly blended. Take your time here because uneven distribution of leavening will show in the final texture.
- Blend the wet mixture:
- In a separate bowl, whisk coconut milk, whole milk, eggs, melted butter, and vanilla extract until completely smooth. The melted butter should be warm but not hot when it meets the eggs.
- Bring it all together:
- Pour the wet ingredients into the dry mixture and fold gently with a spatula until no dry streaks remain. The batter will be thin and pourable, which is exactly what you want for that characteristic mochi texture.
- Add the crowning glory:
- Pour the batter into your prepared pan and give it a gentle tap on the counter to release any trapped air bubbles. Sprinkle the shredded coconut evenly across the surface like a snowfall.
- Bake until golden:
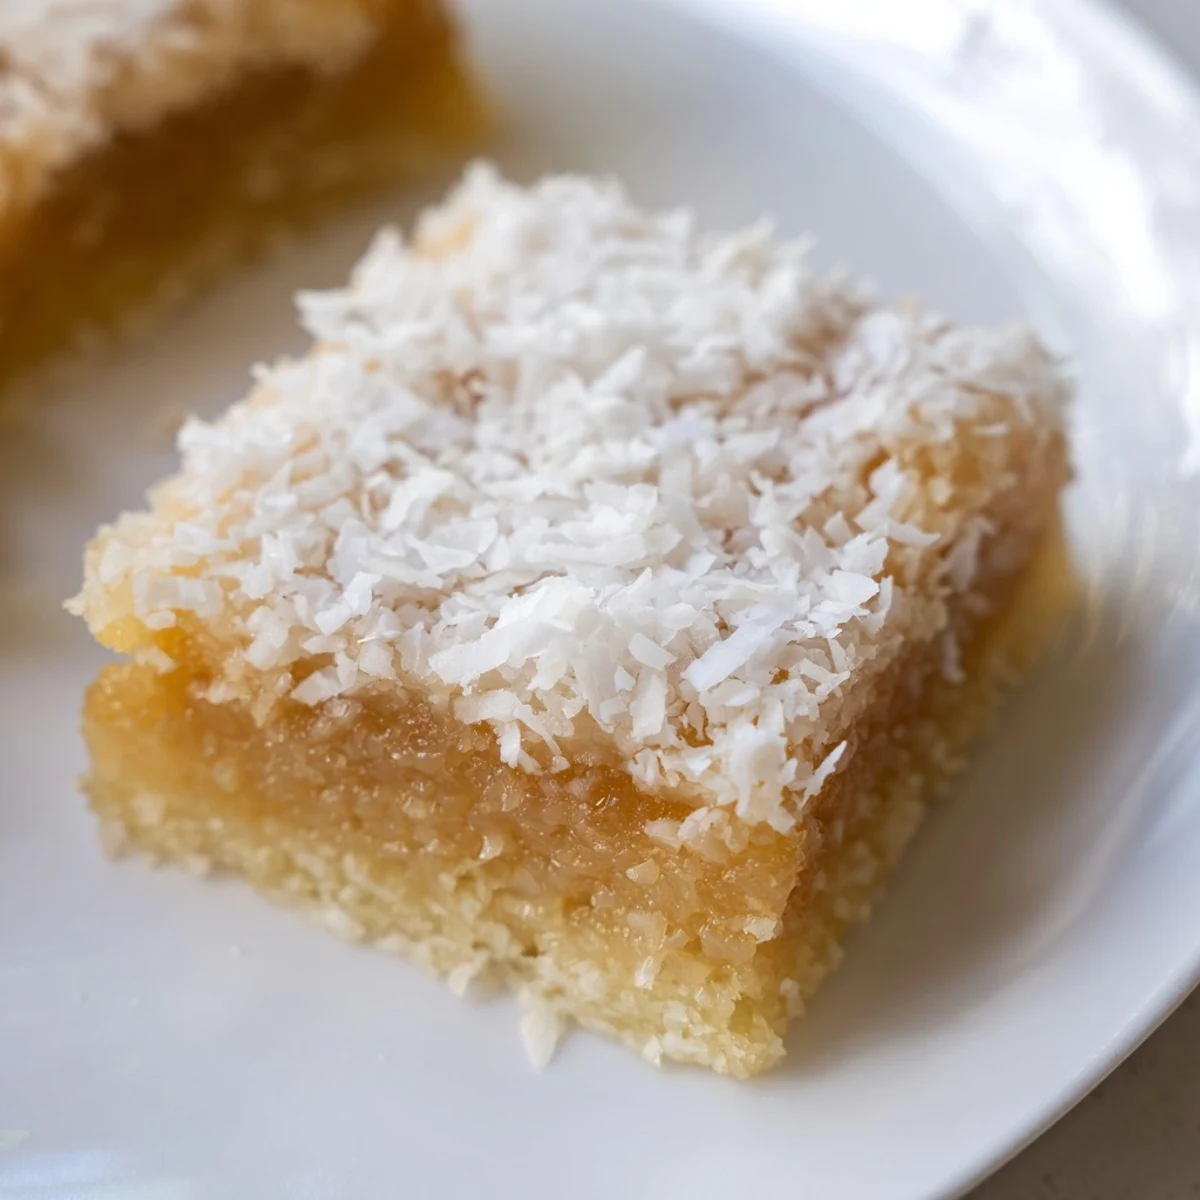
- Bake for 55 to 60 minutes until the edges turn golden brown and a toothpick inserted in the center comes out mostly clean. The center should still feel slightly jiggly, like custard, when you gently shake the pan.
- Practice patience:
- Cool completely in the pan on a wire rack before attempting to slice. The texture settles and firms up as it cools, making clean cuts possible.
 Pin it
 My grandmother always said that dessert tastes better when shared, and this coconut mochi cake proved her right countless times. I once brought a freshly baked pan to a book club meeting where nobody knew each other well, but by the time we reached the discussion portion everyone was bonding over seconds and asking for the recipe. Food has this magical way of creating community without forcing conversation.
Making It Dairy Free
Swapping whole milk for more coconut milk and using coconut oil instead of butter actually intensifies the coconut flavor throughout the cake. The texture remains just as chewy and satisfying, so nobody eating a dairy version would ever know the difference unless you told them. I often make it this way for friends with dietary restrictions, and it has become the most requested variation.
Storage Secrets
This cake has an interesting relationship with time because the texture continues to evolve over the first day, becoming slightly chewier and more cohesive. Room temperature storage in an airtight container keeps it perfectly moist for up to two days, though the refrigerator extends its life to five days at the cost of slightly firming the texture. A quick 10 second zap in the microwave brings refrigerated pieces back to their original glory.
Serving Suggestions
Fresh tropical fruits like mango or pineapple create the perfect acidic balance to cut through the rich sweetness. A scoop of vanilla ice cream melting over warm mochi cake creates a temperature and texture contrast that feels almost decadent. For afternoon tea, simply serving it plain allows the subtle coconut flavors to shine without any competition.
- Try drizzling warm coconut caramel over the top for extra indulgence
- A sprinkle of toasted macadamia nuts adds welcome crunch
- Lemon zest on the finished slices brightens everything beautifully
 Pin it
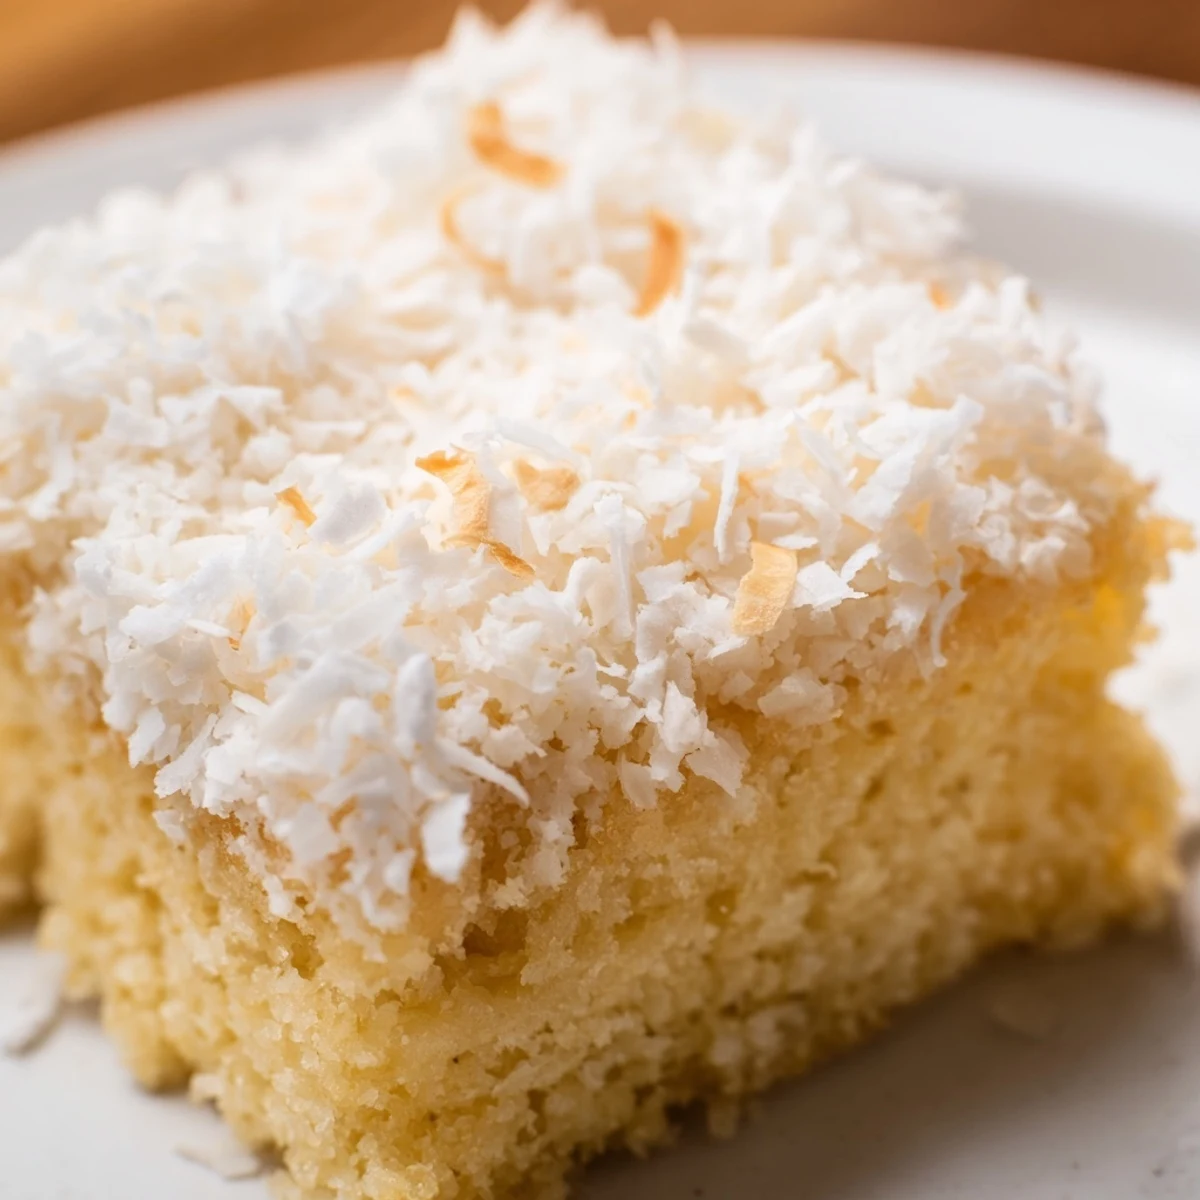
 Every time I pull a pan of coconut mochi cake from the oven, that toasted coconut fragrance fills the kitchen and reminds me why this recipe has become such a staple. Its the dessert that makes people ask for seconds before they have even finished their first serving.
Recipe Q&A
- → What makes mochi cake chewy?
-
The chewy texture comes from sweet rice flour (mochiko), which has a unique starch composition that creates a delightfully bouncy, tender crumb unlike wheat-based cakes.
- → Can I make this dairy-free?
-
Absolutely. Replace the whole milk with additional coconut milk and substitute melted butter with coconut oil. The result remains just as rich and flavorful.
- → How should I store leftovers?
-
Keep in an airtight container at room temperature for up to 2 days, or refrigerate for up to 5 days. The texture remains beautifully chewy either way.
- → Can I add other flavors?
-
Yes! Try swirling in sweetened red bean paste for a Hawaiian twist, adding a tablespoon of matcha powder for green tea flavor, or folding in fresh mango cubes.
- → Why does the toothpick come out mostly clean?
-
Mochi cake has a denser, moister texture than traditional cake. A few moist crumbs are normal and indicate the perfect chewy consistency.