 Pin it
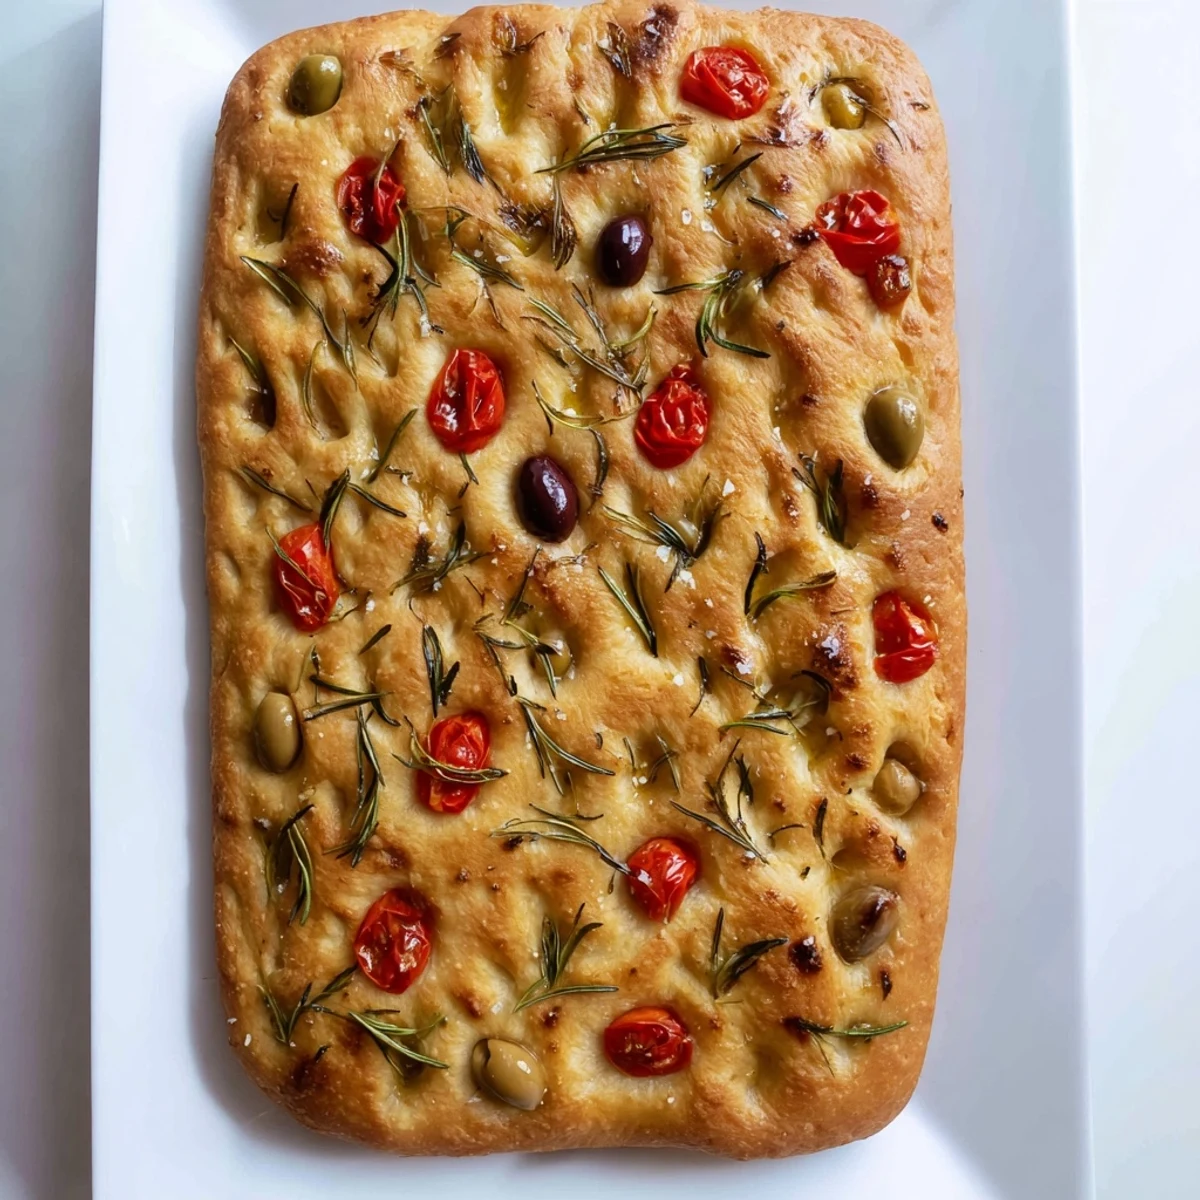
 Create an authentic Italian flatbread that achieves the perfect balance of crispy exterior and tender, airy interior. This traditional technique involves a slow rise for maximum flavor development, followed by signature dimpling that creates those characteristic pockets to capture olive oil.
The dough comes together with basic pantry staples and requires minimal kneading. After rising, press into your tray, create those iconic indentations with your fingertips, then generously brush with extra virgin olive oil and finish with flaky sea salt and fresh rosemary.
The result is a beautifully golden, aromatic flatbread ideal for dipping in soups, building sandwiches, or serving alongside antipasti. The high olive oil content ensures a rich, satisfying crumb that stays fresh for days.
The smell of rosemary and olive oil hitting hot dough is enough to make anyone forget whatever they were worried about. My apartment in Bologna had a bakery downstairs that ruined me for all other bread, and I spent months trying to recreate that golden, dimpled slab at home. Focaccia taught me patience, and also that sometimes the ugliest loaves taste the best.
My friend Marco watched me press olives into the dough one evening and declared it looked like a funny face, which only made me press more in to complete the portrait. We ate the entire tray standing in the kitchen before dinner was even ready.
Ingredients
- Bread flour (500 g): Higher protein than all purpose, giving focaccia its signature chew and structure.
- Salt (10 g): Do not skimp here, salt strengthens the gluten network and balances the oil.
- Active dry yeast (7 g): One standard packet, always check the expiry date or you will wait forever for dough that never rises.
- Lukewarm water (325 ml): Should feel like a warm bath, not hot, because scalding water kills yeast instantly.
- Extra virgin olive oil (50 ml plus 2 tbsp): The good stuff matters here since it is both a flavor and a texture agent.
- Sugar (1 tsp): Just enough to wake up the yeast, you will not taste it in the final bread.
- Fresh rosemary (1 tbsp): Strip the needles from tough stems and chop roughly for even distribution.
- Flaky sea salt (1.5 tsp): Maldon or any flaky variety adds satisfying crunch that table salt simply cannot replicate.
- Olives or cherry tomatoes (optional): Press them in gently so they sink halfway into the dough during baking.
Instructions
- Wake the yeast:
- Stir yeast and sugar into the lukewarm water and set a timer for ten minutes. When the surface looks foamy and smells faintly like bread, you are ready to proceed.
- Build the dough:
- Mound the flour and salt in a large bowl, carve a well in the center, and pour in the yeasty water along with the olive oil. Mix with your hands or a wooden spoon until everything comes together into a sticky, shaggy mass.
- Knead with intention:
- Turn the dough onto a floured counter and work it for eight to ten minutes, pushing with the heel of your palm and folding back. The dough is ready when it springs back gently when poked and feels smooth like an earlobe.
- Let it breathe:
- Transfer to an oiled bowl, cover with a damp cloth, and find something else to do for one hour while it doubles in size.
- Shape and dimple:
- Oil your baking tray generously, press the risen dough out to fill it, and push your fingertips straight down to create those classic wells. Do not be shy, the deeper the dimples, the more oil pools inside them.
- Dress the top:
- Drizzle generously with olive oil, scatter rosemary and flaky salt evenly, and tuck olives or tomatoes wherever the mood strikes you.
- Final rest:
- Leave the tray in a warm spot for twenty to thirty minutes until the dough looks puffy and the dimples have softened slightly at the edges.
- Bake until golden:
- Slide into a preheated 220 degree oven and bake for twenty to twenty five minutes until the top is deeply golden and the bottom sounds hollow when tapped.
- Cool briefly:
- Let it rest for five to ten minutes before cutting so the crumb can settle and you do not burn your tongue on trapped steam.
 Pin it
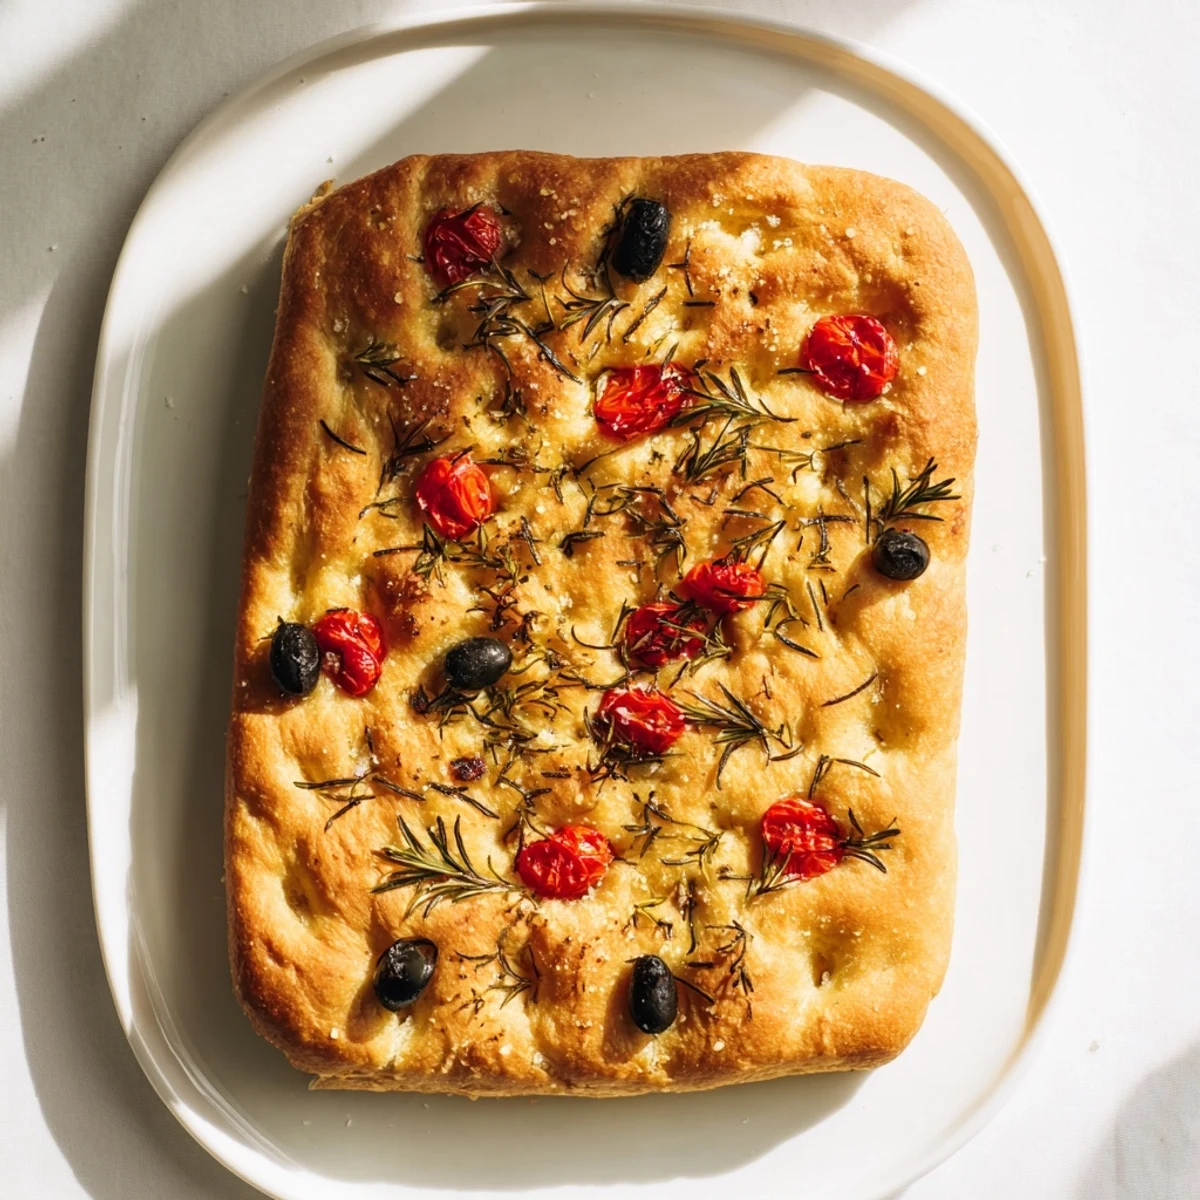
 The first time I pulled a truly golden loaf from the oven I stood over the cutting board tearing off pieces and eating them plain, oil running down my chin, completely ignoring the soup cooling on the table beside me.
Variations Worth Trying
Slice a Vidalia onion thin and scatter it over the dough before baking for a sweet, jammy top layer that pairs beautifully with sharp cheese. Sun dried tomatoes snipped into small pieces and fresh thyme create an almost Provencal character that feels completely different from the classic rosemary version.
Serving Suggestions
Split a square horizontally and fill it with prosciutto, arugula, and a smear of fig jam for a sandwich that will ruin deli bread for you forever. At dinner parties I serve wedges alongside a bowl of good olive oil mixed with cracked pepper and a pinch of salt, and people invariably eat more bread than anything else on the table.
Storage and Reheating
Focaccia keeps well wrapped in foil at room temperature for two days, though the crust softens overnight in a way that still tastes wonderful toasted. For longer storage, freeze slices between sheets of parchment and reheat directly from frozen in a hot oven for five minutes.
- A quick sprinkle of water on the surface before reheating revives the crust beautifully.
- Never refrigerate focaccia, it accelerates staling faster than leaving it on the counter.
- Day old focaccia makes exceptional croutons when cubed and toasted with extra olive oil.
 Pin it
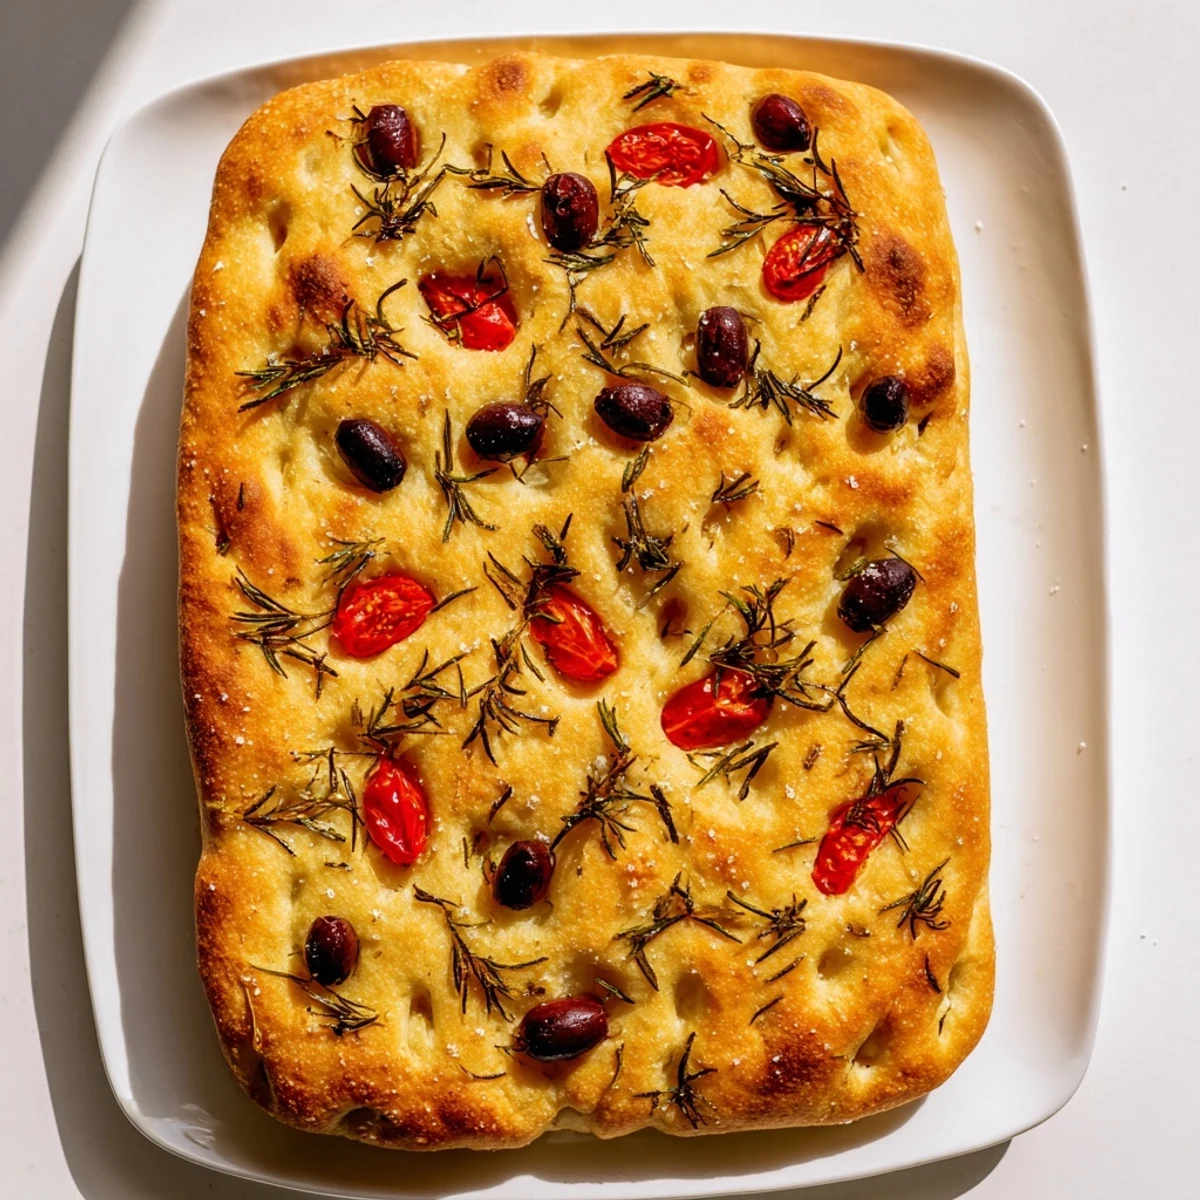
 Focaccia is the kind of recipe that becomes yours over time, shaped by your hands and your kitchen and whatever herbs happen to be growing on the windowsill. Share it generously because nothing makes people feel at home like warm bread waiting on the counter.
Recipe Q&A
- → What makes focaccia different from regular bread?
-
Focaccia has a higher olive oil content and is baked in a sheet pan rather than a loaf. The characteristic dimpling creates a thicker, chewier texture with crispy edges and a tender, airy interior that's perfect for soaking up oils and sauces.
- → Why is my focaccia not rising properly?
-
Ensure your water is lukewarm (not hot) to activate yeast without killing it. Let the dough rise in a warm, draft-free area. If your kitchen is cool, place the bowl near a warm appliance or in an oven with just the pilot light on.
- → Can I freeze focaccia dough?
-
Yes, freeze after the first rise. Punch down the dough, wrap tightly in plastic, and freeze for up to 3 months. Thaw overnight in the refrigerator, then bring to room temperature before the second rise and baking.
- → What's the purpose of dimpling the dough?
-
Dimpling creates those signature pockets that capture olive oil and toppings during baking. It also helps prevent large air bubbles from forming, ensuring an even texture throughout the flatbread.
- → How do I know when focaccia is done baking?
-
Look for a deep golden brown color across the top surface. The bottom should sound hollow when tapped, and the internal temperature should reach 190-200°F. The crust should be crisp while the interior remains tender.
- → Can I make focaccia without a stand mixer?
-
Absolutely. Hand-kneading works perfectly and takes about 8-10 minutes. The sticky dough is normal—use a dough scraper to help fold and stretch it until smooth and elastic. Wet hands can also help manage the tackiness.