
 Pin it
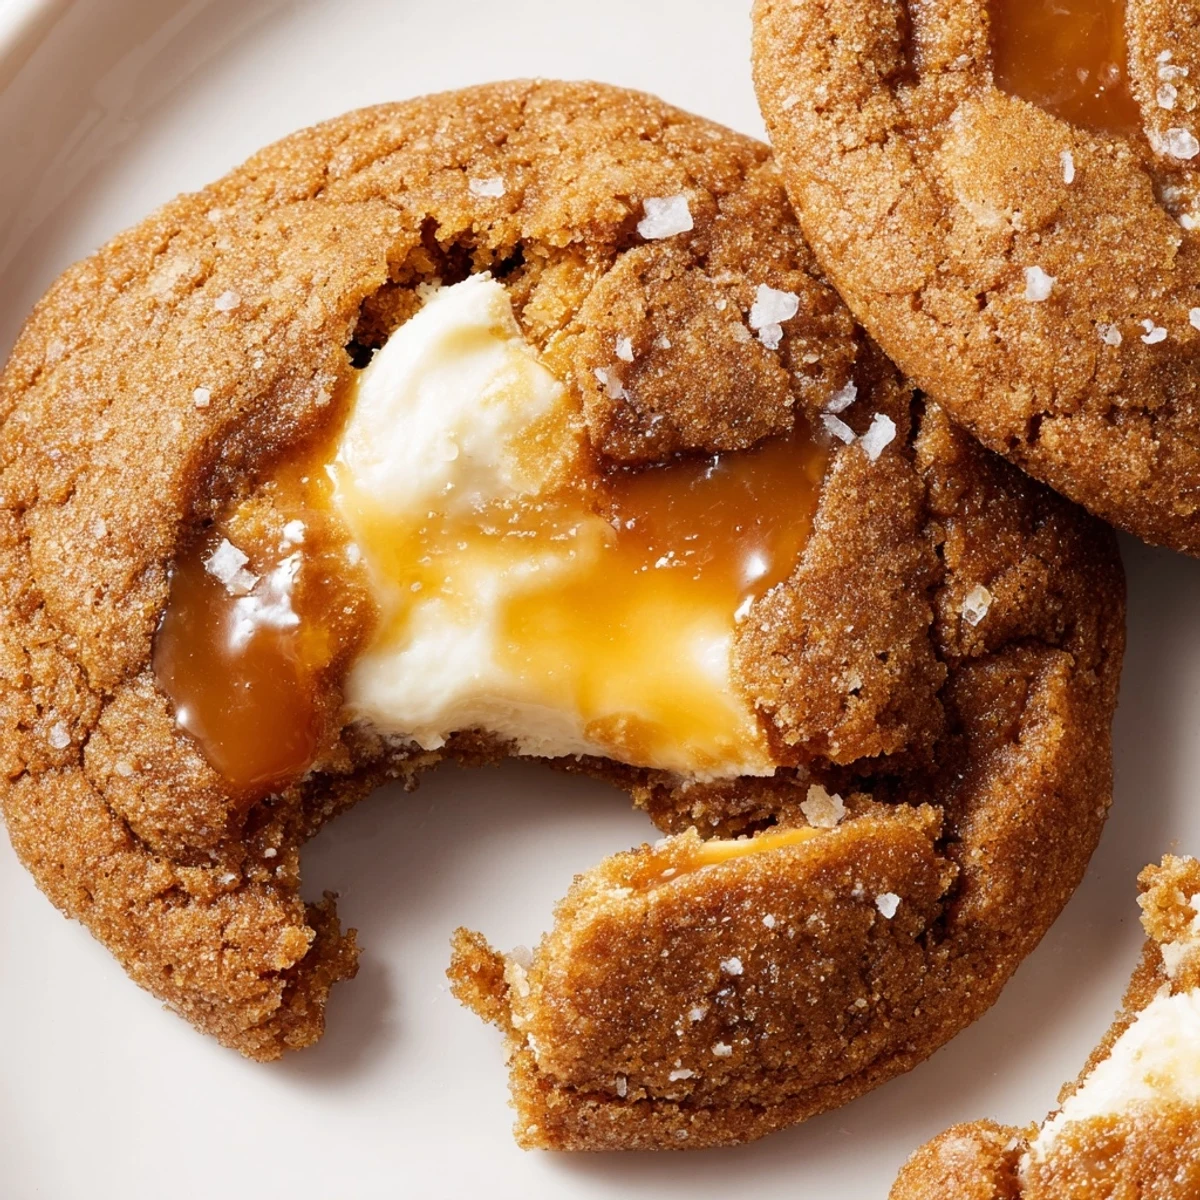
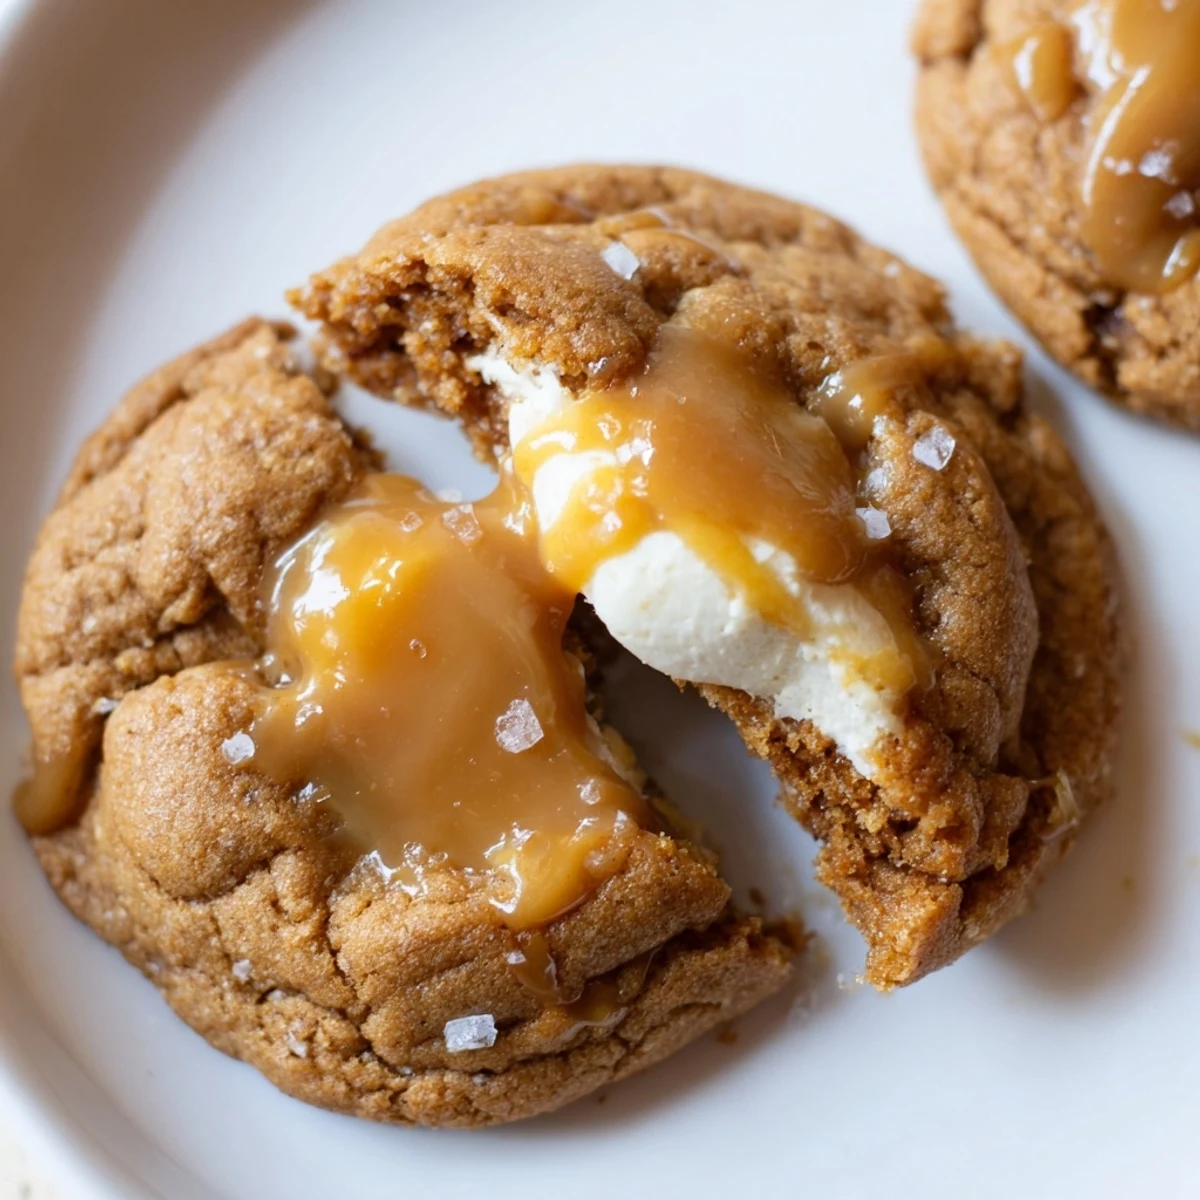
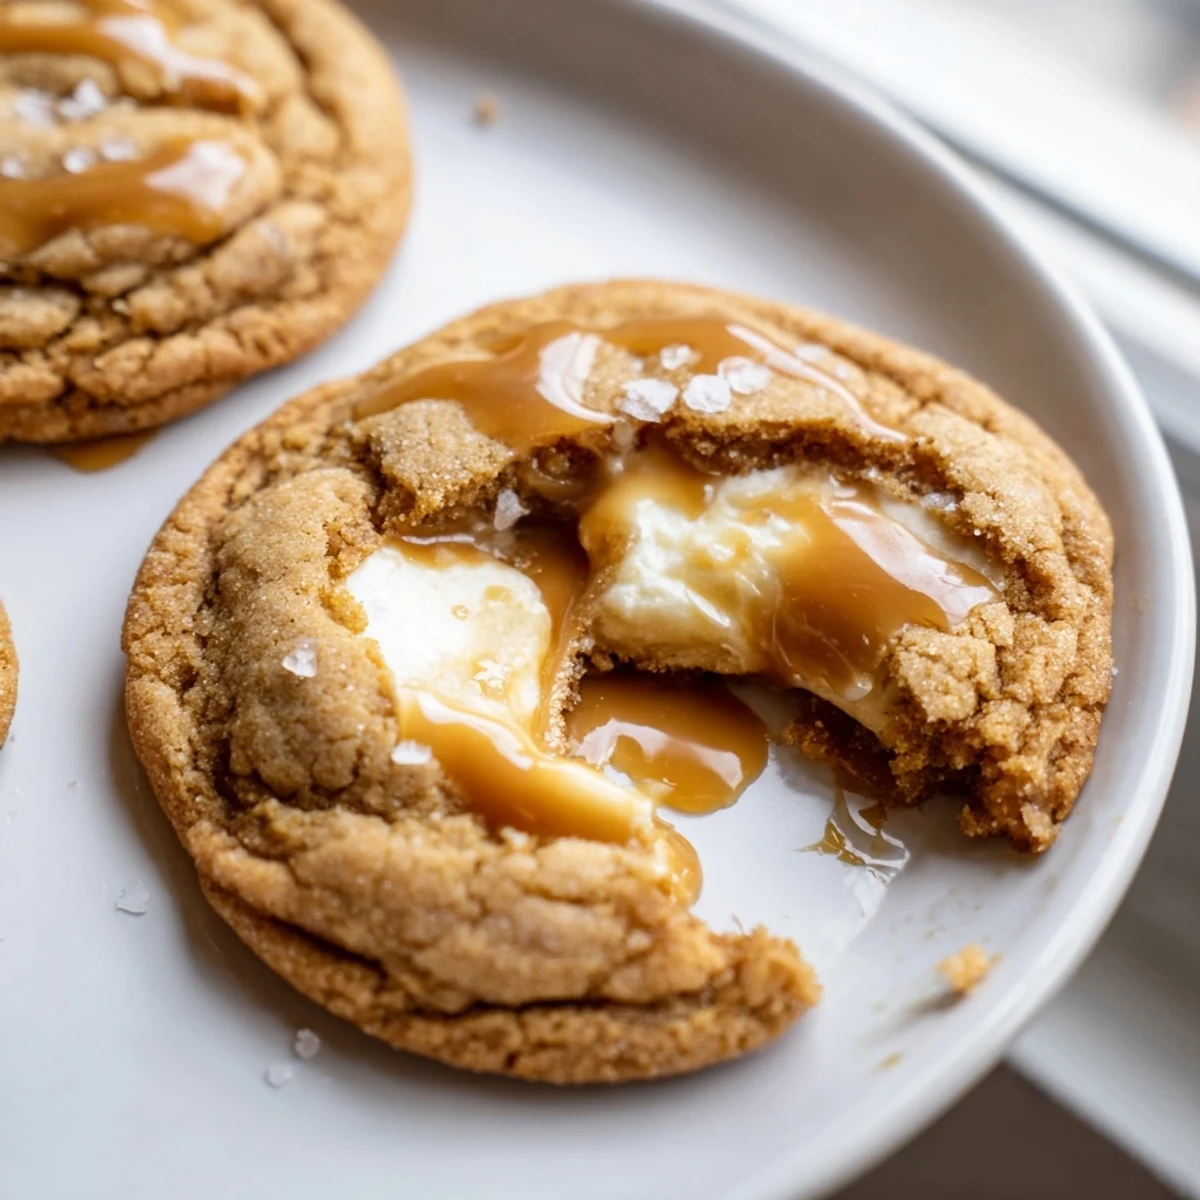
 These caramel cheesecake cookies combine a soft, chewy brown sugar cookie dough with a tangy cream cheese center and a luscious caramel drizzle on top.
The dough comes together quickly with basic pantry staples—butter, brown sugar, flour, and vanilla. After a short chill, you wrap each dough portion around a spoonful of sweetened cream cheese filling, then bake until the edges turn golden.
Once cooled, the cookies get finished with melted caramel candies and a pinch of flaky sea salt. They yield two dozen treats perfect for sharing, and the whole process takes about an hour including chilling time.
The smell of caramel melting in my kitchen on a rainy Tuesday afternoon is something I will never forget, mostly because I burned the first batch and had to start over while laughing at myself. These caramel cheesecake cookies came out of a desperate need to use up a leftover block of cream cheese and a bag of soft caramel candies sitting in my pantry since who knows when. What started as a chaotic experiment turned into the most requested treat at every gathering I have attended since. That first batch, despite the caramel mishap, disappeared in under an hour.
My neighbor stopped by unannounced one evening while I was drizzling caramel over a fresh pan of these, and she stood in my kitchen doorway just watching with wide eyes. I handed her one straight off the rack, still slightly warm, and she leaned against my counter, closed her eyes, and did not say a word for a full thirty seconds. She now texts me every Friday asking if I am making what she calls those ridiculous cookies.
Ingredients
- All-purpose flour (2 1/4 cups, 280 g): This gives the cookie its structure and chew, and I learned the hard way that spooning it into the measuring cup instead of scooping directly from the bag makes a real difference in texture.
- Baking soda (1/2 teaspoon): Just enough to give the edges a slight lift and crispness while keeping the center soft and tender.
- Salt (1/2 teaspoon): Do not skip this, because it balances the sweetness and makes every other flavor taste more like itself.
- Unsalted butter, room temperature (3/4 cup, 170 g): Room temperature is non-negotiable here, and I set mine out about an hour before starting so it creams properly with the sugars.
- Packed light brown sugar (1 cup, 200 g): This is where the chew and the subtle molasses depth come from, and packing it firmly into the cup ensures you get the right amount.
- Granulated sugar (1/4 cup, 50 g): A smaller amount alongside the brown sugar helps the edges crisp up beautifully in the oven.
- Large egg plus one egg yolk: The whole egg binds everything together while the extra yolk adds richness and keeps the centers thick and fudgy.
- Vanilla extract (2 teaspoons for dough, 1 teaspoon for filling): I use the real stuff, not imitation, because you can genuinely taste the difference in a cookie this simple.
- Cream cheese, room temperature (8 oz, 225 g): This becomes the dreamy cheesecake center, and letting it soften fully prevents any lumpy surprises when you mix it.
- Soft caramel candies, unwrapped (20 pieces): Any brand works, but I have found the softer ones melt more smoothly and coat the cookies evenly without hardening too fast.
- Heavy cream (2 tablespoons): This thins the melted caramel into a drizzleable sauce that flows beautifully instead of clumping.
- Flaky sea salt (optional, for topping): This is technically optional but I consider it essential because that tiny crunch of salt transforms the whole experience.
Instructions
- Whisk your dry ingredients together:
- In a medium bowl, whisk the flour, baking soda, and salt until evenly combined, then set it aside so it is ready when you need it. Take a moment to appreciate how simple this step is compared to what comes next.
- Cream the butter and sugars until dreamy:
- In a large bowl, beat the room temperature butter with both sugars using a hand or stand mixer until the mixture turns pale, light, and fluffy, which takes about two to three minutes. Scrape down the sides of the bowl once or twice so nothing hides from the beaters.
- Add the egg and vanilla:
- Beat in the whole egg first until it disappears into the batter, then add the egg yolk and vanilla extract and mix until everything looks cohesive and silky. The dough will start smelling like something you want to eat raw, but save that urge for later.
- Bring the dough together:
- Gradually add the dry ingredient mixture to the wet ingredients on low speed, mixing just until the last streaks of flour vanish and a soft dough forms. Cover the bowl tightly and tuck it into the refrigerator for thirty minutes so it firms up enough to handle.
- Make the cheesecake filling:
- In a separate small bowl, beat the softened cream cheese with sugar and vanilla extract until completely smooth and creamy with no lumps hiding in the corners. Pop it into the fridge to chill while the dough rests, because a firmer filling is much easier to work with.
- Preheat and prep your pans:
- Set your oven to 350 degrees Fahrenheit and line two baking sheets with parchment paper so nothing sticks and cleanup is effortless later.
- Stuff and shape the cookies:
- Scoop about one and a half tablespoons of dough, flatten it slightly in your palm, place a teaspoon of cheesecake filling in the center, and gently wrap the dough around it, rolling it into a ball between your hands. Set each stuffed ball two inches apart on the prepared sheets, and try not to eat all the filling before you finish.
- Bake until just golden at the edges:
- Bake for eleven to thirteen minutes, watching for the edges to turn a light golden color while the centers still look slightly underdone and soft. Let them rest on the hot baking sheet for five minutes before transferring to a wire rack, because they will continue setting up as they sit.
- Melt the caramel into a silky sauce:
- Place the unwrapped caramel candies and heavy cream in a microwave-safe bowl and heat in twenty-second bursts, stirring between each one, until the mixture is completely smooth and pours easily. Work fairly quickly because the caramel thickens as it cools.
- Drizzle, sprinkle, and wait:
- Drizzle the warm caramel generously over each cooled cookie, then finish with a sprinkle of flaky sea salt if you are using it, and let everything set before serving. This is the hardest part because the smell will test every ounce of your patience.
 Pin it
 I brought a tin of these to a potluck last winter and watched a quiet colleague who never goes near the dessert table come back for a third one, pretending each time he was just refilling his coffee. That is the thing about these cookies: they turn rational people into repeat offenders and make you look far more skilled than you actually are.
Getting the Texture Right
The magic of this cookie lives in the contrast between the chewy brown sugar dough and the cool, tangy cheesecake center, so getting the bake time right matters more than anything else. I pull mine out at exactly twelve minutes when the edges are just barely golden and the tops look slightly glossy and undone. They might seem too soft to handle, but those five minutes of resting on the hot pan finish the job perfectly without overcooking the centers into something dry.
Storing and Sharing
These cookies are best within the first two days when the caramel is still slightly soft and the cheesecake filling is creamy, but they will keep for up to three days in an airtight container at room temperature. I layer them between sheets of parchment paper so the caramel drizzle on top does not glue itself to the bottom of the cookie above it. You can also freeze the unstuffed dough balls for up to a month and bake them fresh whenever the craving hits, though you will need to add a minute or two to the bake time.
Making Them Your Own
Once you have the basic method down, these cookies welcome all kinds of variations depending on what you have in your pantry or what mood you are in. I have stirred mini chocolate chips into the dough, swapped the caramel for melted dark chocolate, and even pressed a thumbprint of raspberry jam into the cheesecake center before wrapping it up.
- Try folding half a cup of toasted pecans into the dough for a buttery crunch that pairs beautifully with the caramel on top.
- A teaspoon of espresso powder mixed into the dry ingredients adds a subtle coffee depth that makes the sweetness feel more grown up without tasting like coffee.
- Always taste your caramel before drizzling it, because some brands are significantly sweeter than others and a pinch more salt in the dough can bring everything into balance.
 Pin it
 These caramel cheesecake cookies are worth every sticky finger and every moment spent waiting for the caramel to set. Make them once, and I promise someone in your life will start asking for them by name.
Recipe Q&A
- → Can I make the cookie dough ahead of time?
-
Yes, you can prepare the dough and refrigerate it for up to 24 hours before assembling. The cheesecake filling can also be made a day ahead and kept chilled until needed.
- → Why do the cookies need to be chilled before baking?
-
Chilling firms up the butter in the dough, which prevents excessive spreading in the oven. This helps the cookies maintain a thick, chewy texture and keeps the cheesecake center intact.
- → How should I store leftover cookies?
-
Store them in an airtight container in the refrigerator for up to 3 days. The cream cheese filling requires refrigeration. Let them sit at room temperature for about 15 minutes before serving for the best texture.
- → Can I freeze these caramel cheesecake cookies?
-
You can freeze the baked cookies without the caramel topping for up to 2 months. Thaw overnight in the refrigerator, then add the caramel drizzle fresh before serving for the best result.
- → What can I substitute for caramel candies?
-
Store-bought salted caramel sauce or homemade caramel sauce works well as a substitute. Warm it slightly for easy drizzling. If using a thinner sauce, use less heavy cream or skip it entirely.
- → How do I prevent the cheesecake filling from leaking out?
-
Make sure the dough fully encases the filling with no gaps or thin spots. Keep the filling chilled until ready to use, and avoid overfilling—about 1 teaspoon per cookie is ideal.