 Pin it
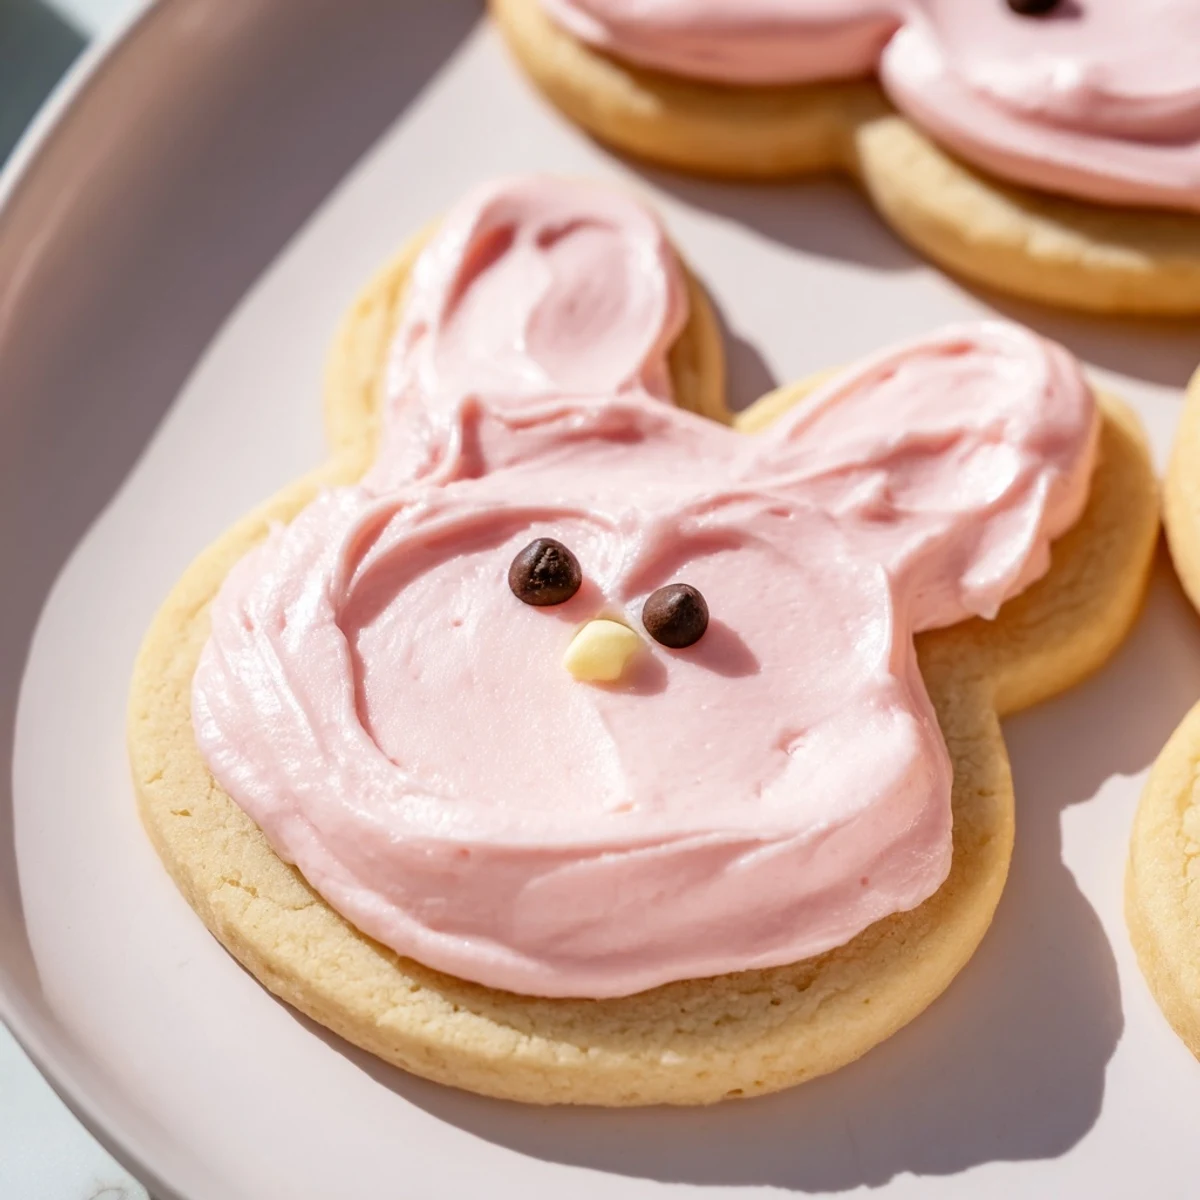
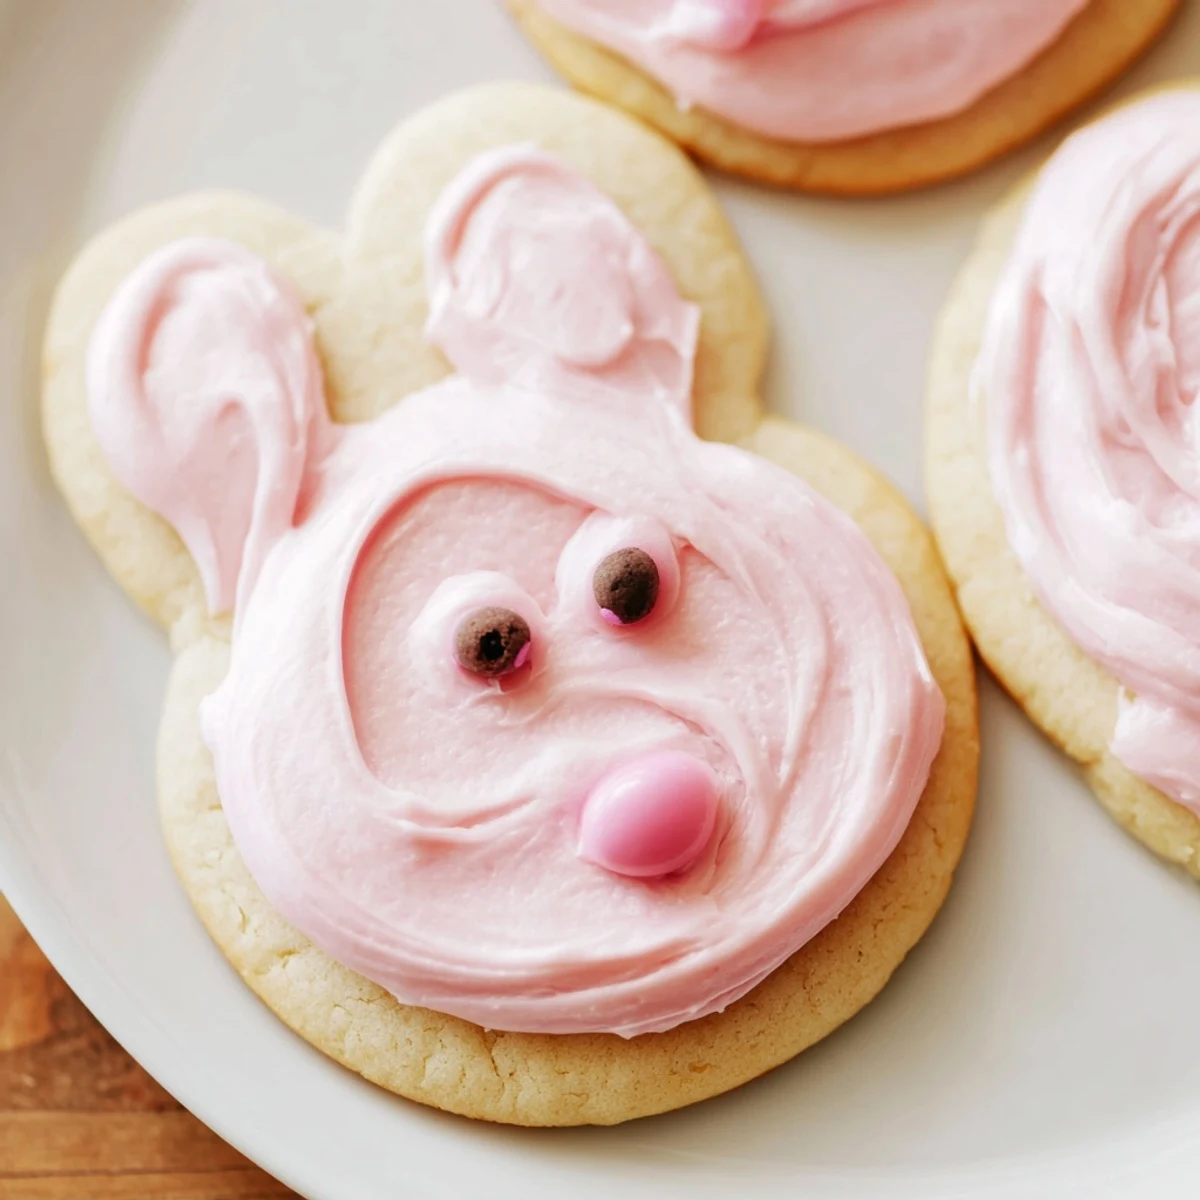
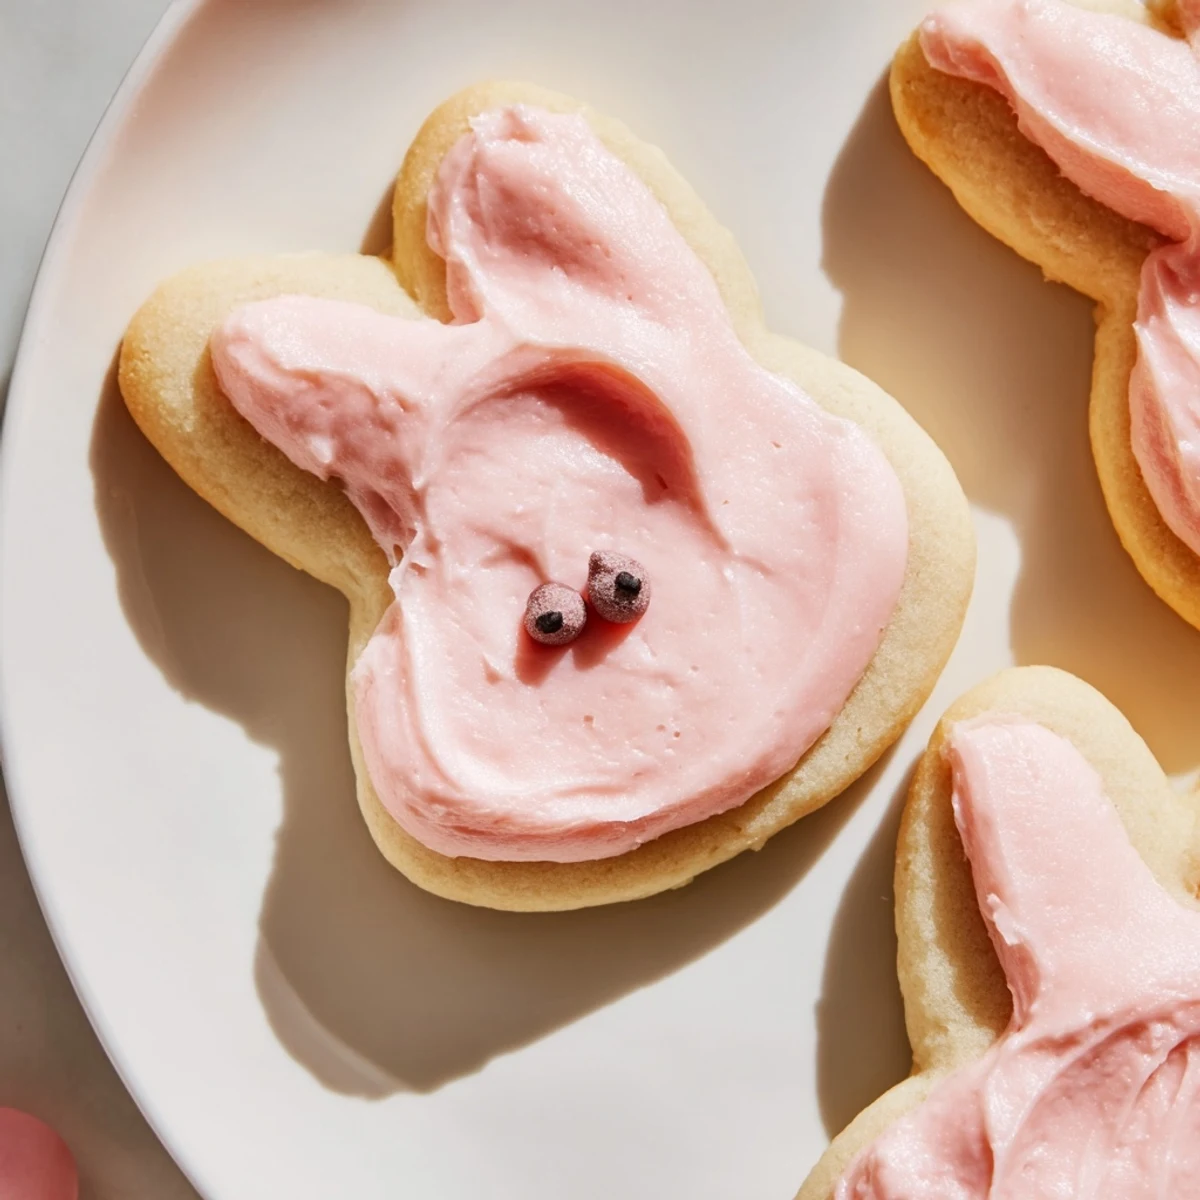
 These delightful bunny-shaped sugar cookies feature a tender, buttery base that melts in your mouth. The dough comes together quickly and requires chilling for easy rolling. Once baked to golden perfection, each cookie gets topped with silky vanilla buttercream frosting that you can tint in soft pastel shades. Decorate with candy eyes and sprinkles to bring your bunnies to life. The result is an irresistible treat that captures the joy of spring baking and makes any celebration feel special.
The first time I made these bunny cookies was on a rainy afternoon when my niece needed cheering up. Something about watching those little buttery shapes transform into characters with frosting ears made us both forget the gloom outside. Now every spring, I find myself clearing off the kitchen counter and reaching for that bunny cutter, knowing some traditions are worth keeping.
Last Easter, my kitchen became a chaotic assembly line with friends squabbling over who got to pipe the pink frosting bows. Someone accidentally made a three-eared bunny, and we laughed so hard our sides hurt. Those imperfect, joy-filled cookies disappeared faster than the picture-perfect ones ever could.
Ingredients
- All-purpose flour: Provides the structure for these cutouts, and measuring it properly prevents tough cookies
- Unsalted butter: Use this softened to room temperature, as cold butter creates pockets that distort shapes while too soft makes dough sticky
- Granulated sugar: Creamed with butter until pale, this creates air pockets for lighter cookies
- Pure vanilla extract: The backbone of classic sugar cookie flavor that shines through even with frosting
- Powdered sugar: Sift this before adding to buttercream to avoid those frustrating lumps that clog piping tips
- Whole milk: Just enough to loosen the frosting into spreadable consistency without making it runny
- Food coloring: Gel colors work best for pastel buttercream without adding liquid that could break the emulsion
Instructions
- Preheat and prepare:
- Set your oven to 350°F and line baking sheets with parchment paper, creating a nonstick surface that prevents spreading
- Mix dry ingredients:
- Whisk flour, baking powder, and salt in a medium bowl until evenly distributed
- Cream butter and sugar:
- Beat softened butter and granulated sugar for about 3 minutes until the mixture looks pale and fluffy
- Add wet ingredients:
- Mix in the egg and vanilla extract just until combined, scraping the bowl to incorporate everything evenly
- Combine dough:
- Gradually add dry ingredients to the wet mixture, mixing only until dough forms, as overworking creates tough cookies
- Chill dough:
- Divide into two discs, wrap in plastic, and refrigerate for at least 30 minutes, which prevents shapes from spreading in the oven
- Cut bunny shapes:
- Roll chilled dough to 1/4 inch thickness on floured surface, cut with bunny cutter, and place 2 inches apart on prepared sheets
- Bake to golden:
- Cook for 8 to 10 minutes until edges barely start turning golden, then cool completely on wire racks
- Make buttercream:
- Beat softened butter until creamy, then gradually add powdered sugar, milk, and vanilla, mixing until smooth
- Decorate:
- Frost cooled cookies and add candy eyes or sprinkles, letting the frosting set before serving
 Pin it
 My neighbor's daughter asked if she could help decorate last year, and her concentration face while piping frosting borders was so earnest I could barely breathe from suppressing laughter. That batch looked like a bunny circus, but they were the most delicious cookies we ate all season.
Making Dough Ahead
The dough actually develops better flavor when chilled overnight, so I often make it the day before decorating. Plus, having it ready means I can spend baking day focused entirely on the fun part—turning plain cookies into little personalities.
Frosting Consistency Secrets
If your buttercream feels too stiff, add milk one teaspoon at a time. Too thin? Beat in more powdered sugar a quarter cup at a time. The right consistency holds its shape when piped but still spreads smoothly with a spatula.
Decoration Ideas
Beyond candy eyes, try piping different colored bows or tiny flowers between the bunny ears. Some of my favorite creations came from improvising with whatever sprinkles or decorations were hiding in the pantry cabinet.
- Press coconut onto frosting to create fluffy bunny fur
- Use pink pearl sprinkles for cute noses
- Roll edges in colored sugar for a framed look
 Pin it
 There is something undeniably cheerful about a plate of bunny cookies, no matter how imperfectly decorated. May your kitchen be filled with flour dust, laughter, and the sweet smell of butter baking into memories.
Recipe Q&A
- → Can I make the dough ahead of time?
-
Absolutely! Prepare the dough, wrap it tightly in plastic, and refrigerate for up to 24 hours before rolling and baking. This actually improves the flavor and makes the dough easier to work with.
- → What's the best way to store decorated cookies?
-
Keep them in an airtight container at room temperature for up to 3 days. If you need longer storage, refrigerate for up to a week, though the frosting may soften slightly. Let them come to room temperature before serving.
- → Can I freeze the unbaked dough?
-
Yes! Wrap the dough discs well in plastic and freeze for up to 3 months. Thaw overnight in the refrigerator before rolling and baking. You can also freeze baked, undecorated cookies for up to 2 months.
- → Do I need a bunny-shaped cutter?
-
While a bunny cutter creates the classic shape, you can use any seasonal cutter you have on hand or even cut freehand shapes with a knife. The buttery dough and creamy frosting work beautifully with any design.
- → How do I get smooth buttercream frosting?
-
Beat the softened butter until completely creamy before adding powdered sugar gradually. Add milk one tablespoon at a time until you reach your desired consistency. For extra smoothness, whip for an additional 2-3 minutes after all ingredients are combined.